Overview
This article is a continuation of the Onboarding series and is the next step after creating an account in PlanetScale. We’ll cover:
- Creating your first database on PlanetScale.
- Using the Console to create a schema and add some data.
This guide will use the database schema used by Beam, an open-source message board.
Create a database
If you’ve come here directly from creating your account, you should be at one of the following two screens.
The first one is presented right after you verify your email address. Click "create" if you are here.
The second possible screen will be shown if you’ve stepped through the in-app guide. Click "Create your first database" if you are here.
A modal should appear asking you to name the database and select the region. There are several geographical regions you can host your database. You will want to select the region closest to your application servers connecting to the database. For this example, leave the region set to "AWS us-east-1" and name the database beam-demo
. Click "Create database".
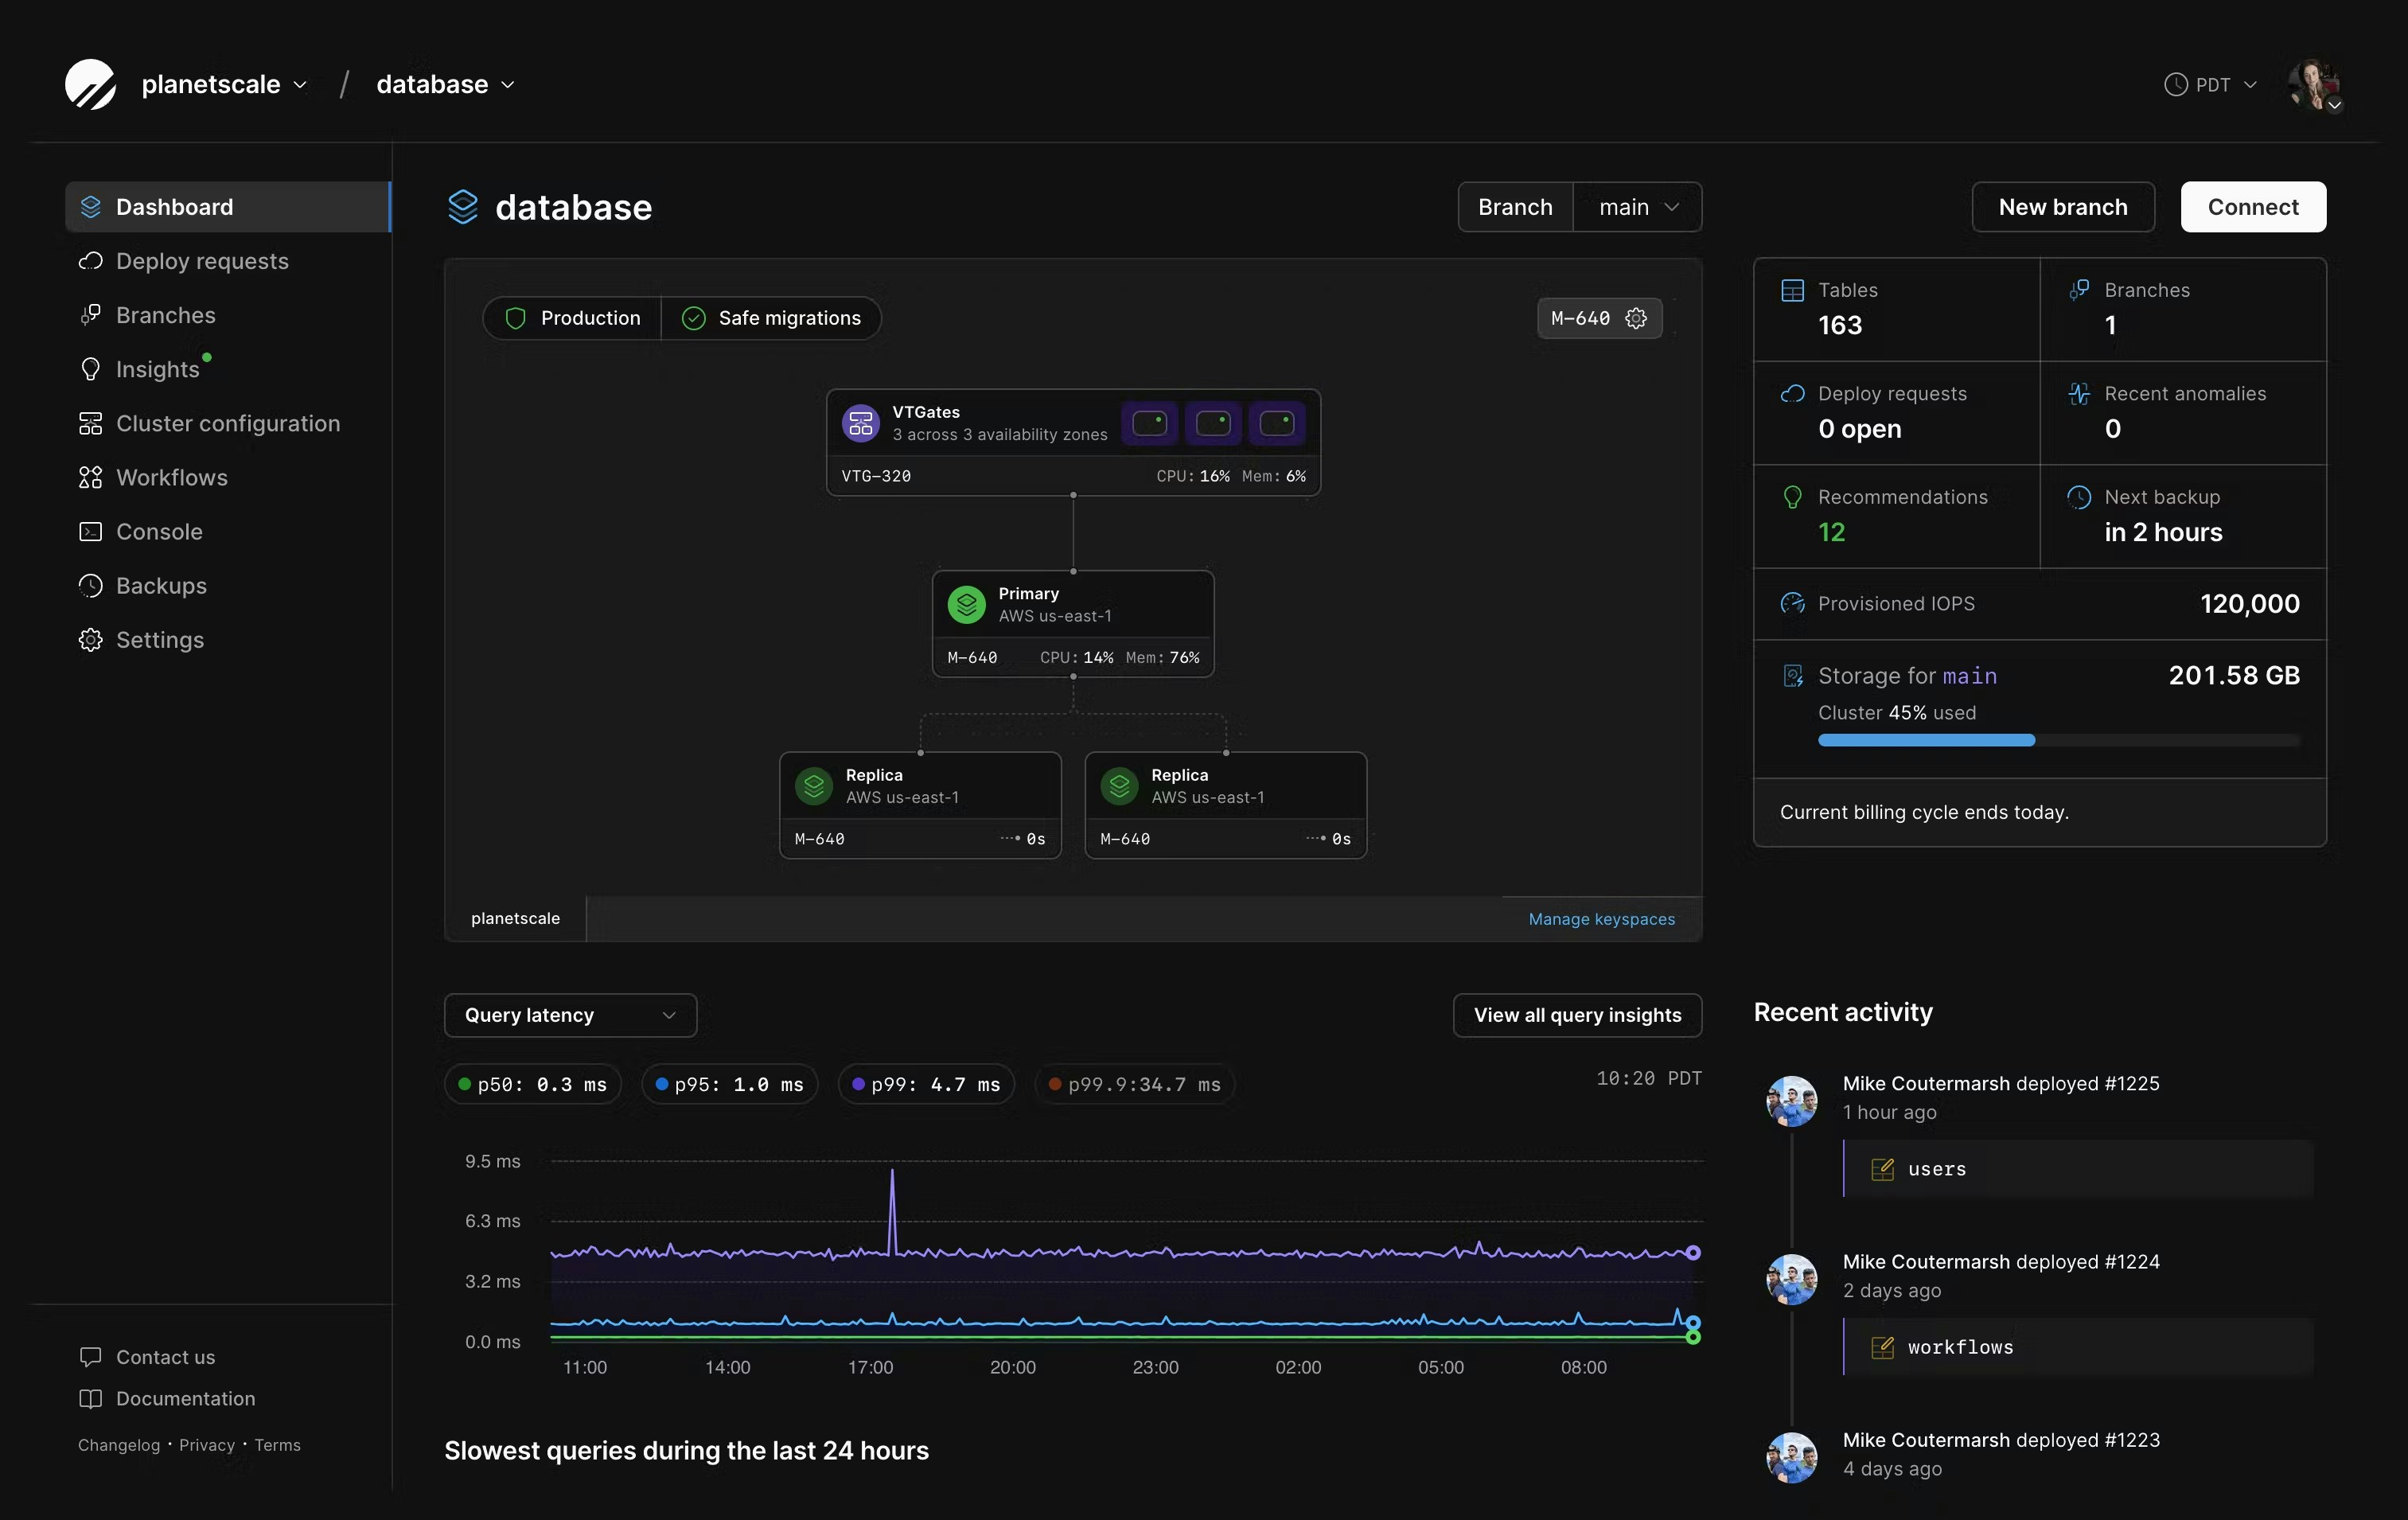
Next, you’ll be dropped into the dashboard for that specific database. Let's take a look at the layout and what each element does before moving on.
- Overview — The current tab showing an overview of your database.
- Deploy requests — How you apply changes to your database schema. More on that in the next article.
- Branches — View the different branches of your database. Again, more on that in the next article.
- Insights — Provides statistics on database operations that may be affecting performance.
- Console — Lets you run MySQL commands against branches.
- Backups — Shows you backup schedule and all backups for this database across production and development branches.
- Settings — Lets you tweak various aspects of your database like who has access to it, beta feature opt-ins, and plan management.
- Connect — Provides connection details that applications can use to connect to your database.
- New branch — Allows you to create a new branch of your schema.
Now let’s add a table and some columns to the database. PlanetScale databases leverage branches to let you create copies of your database so you can safely experiment with the schema without affecting your main production database. Branches will be covered more in detail in the next article, but since they are an integral part of the system, you’ll always be working within a database branch. The default branch created for all databases is main
. Click on "Console" to get access to an in-browser MySQL shell.
Run the following command in that console to create your first table:
CREATE TABLE Post (
id int NOT NULL PRIMARY KEY AUTO_INCREMENT,
title varchar(255) NOT NULL,
content text NOT NULL,
contentHtml text NOT NULL,
hidden tinyint(1) NOT NULL DEFAULT '0',
createdAt datetime(3) NOT NULL DEFAULT current_timestamp(3),
updatedAt datetime(3) NOT NULL,
authorId varchar(191) NOT NULL
);
Now run the following command to see the structure of the table that was just created:
DESCRIBE Post;