Branching and deploy requests
Explore how to utilize branching in PlanetScale, a key feature of the platform.
Overview
Now that you have an account and database set up, we can explore one of the key features of PlanetScale: branching.
This guide continues from the previous entry describing how to create a database. If you do not have a database created, follow the steps in that guide before proceeding
What are branches?
Branches are copies of your database schema that live in a completely separate environment from each other. Making changes in one branch does not affect other branches until you merge them, just like you manage code branches in your projects.
There are currently two types of branches in PlanetScale:
- Production branches
- Development branches
Production branches
Production branches should be used for the production version of your application. There are certain measures in place on production branches to protect your production data:
- Console access is disabled by default.
- Production branches include at least one read-only replica internally to automatically protect your database against outages.
- Scheduled backups are enabled automatically.
Safe migrations
Branches also support safe migrations. When safe migrations is enabled, the branch is affected in the following ways:
- The branch will support the PlanetScale non-blocking schema change workflow.
- Direct DDL is disabled to prevent accidental schema changes. You would instead apply schema changes using Deploy requests (covered later in this guide).
As a best practice, it is recommended that you enable safe migrations on your production branches. The remainder of theses guides will assume it is enabled.
Data definition language (DDL) is the syntax for modifying the structure of a database. This includes commands that add, remove, or alter tables, columns, views, etc.
Development branches
Your database can have one or more development branches, depending on your plan. Development branches are used for making changes or experimenting with your database structure. These branches do not have the same resources or resiliency as production branches.
Deploy requests
Deploy requests are how changes from development branches are merged into production branches with safe migrations enabled. They are similar to pull requests in your code repositories, but for databases. When a new deploy request is created, you can view the changes, comment on them, and collaborate with your team just like you would a PR.
Typical branching strategy
Most applications have at least two environments, a production environment where active users work with the application, and a development environment where developers extend the application and test changes. PlanetScale is built with this in mind, which is why branching is such a fundamental feature.
A typical strategy with branching would go something like this:
- The PlanetScale database has one branch:
main
production branch. - A developer decides to extend a form in the application and needs to add a new field. They create a branch in the code to manage their changes.
- Because this is a new data field, a new column must be added to the corresponding table in PlanetScale. The developer creates a
dev
development branch and adds this column to this branch. - After the new field has been added to the code, the developer creates a pull request to merge the code branches, and a deploy request in PlanetScale to merge the database changes.
- The PlanetScale deploy request is merged first to ensure that the column exists in the database before the application code starts writing to it. Once live, the application code pull request is merged in. With this branching workflow, the schema changes are safely applied to the
main
branch of the database without any table locking occurring and zero downtime to the users of the application. - Once it is in production and no issues are found, the developer deletes the
dev
development branch.
Branching in action
Now that you understand why branches are such an important feature in PlanetScale, let’s see how to use them. We're going to enable safe migrations on the default main
production branch, create a new development branch, add a new column, create a deploy request, and deploy it to production.
Enable safe migrations on main
Start by navigating to the beam-demo
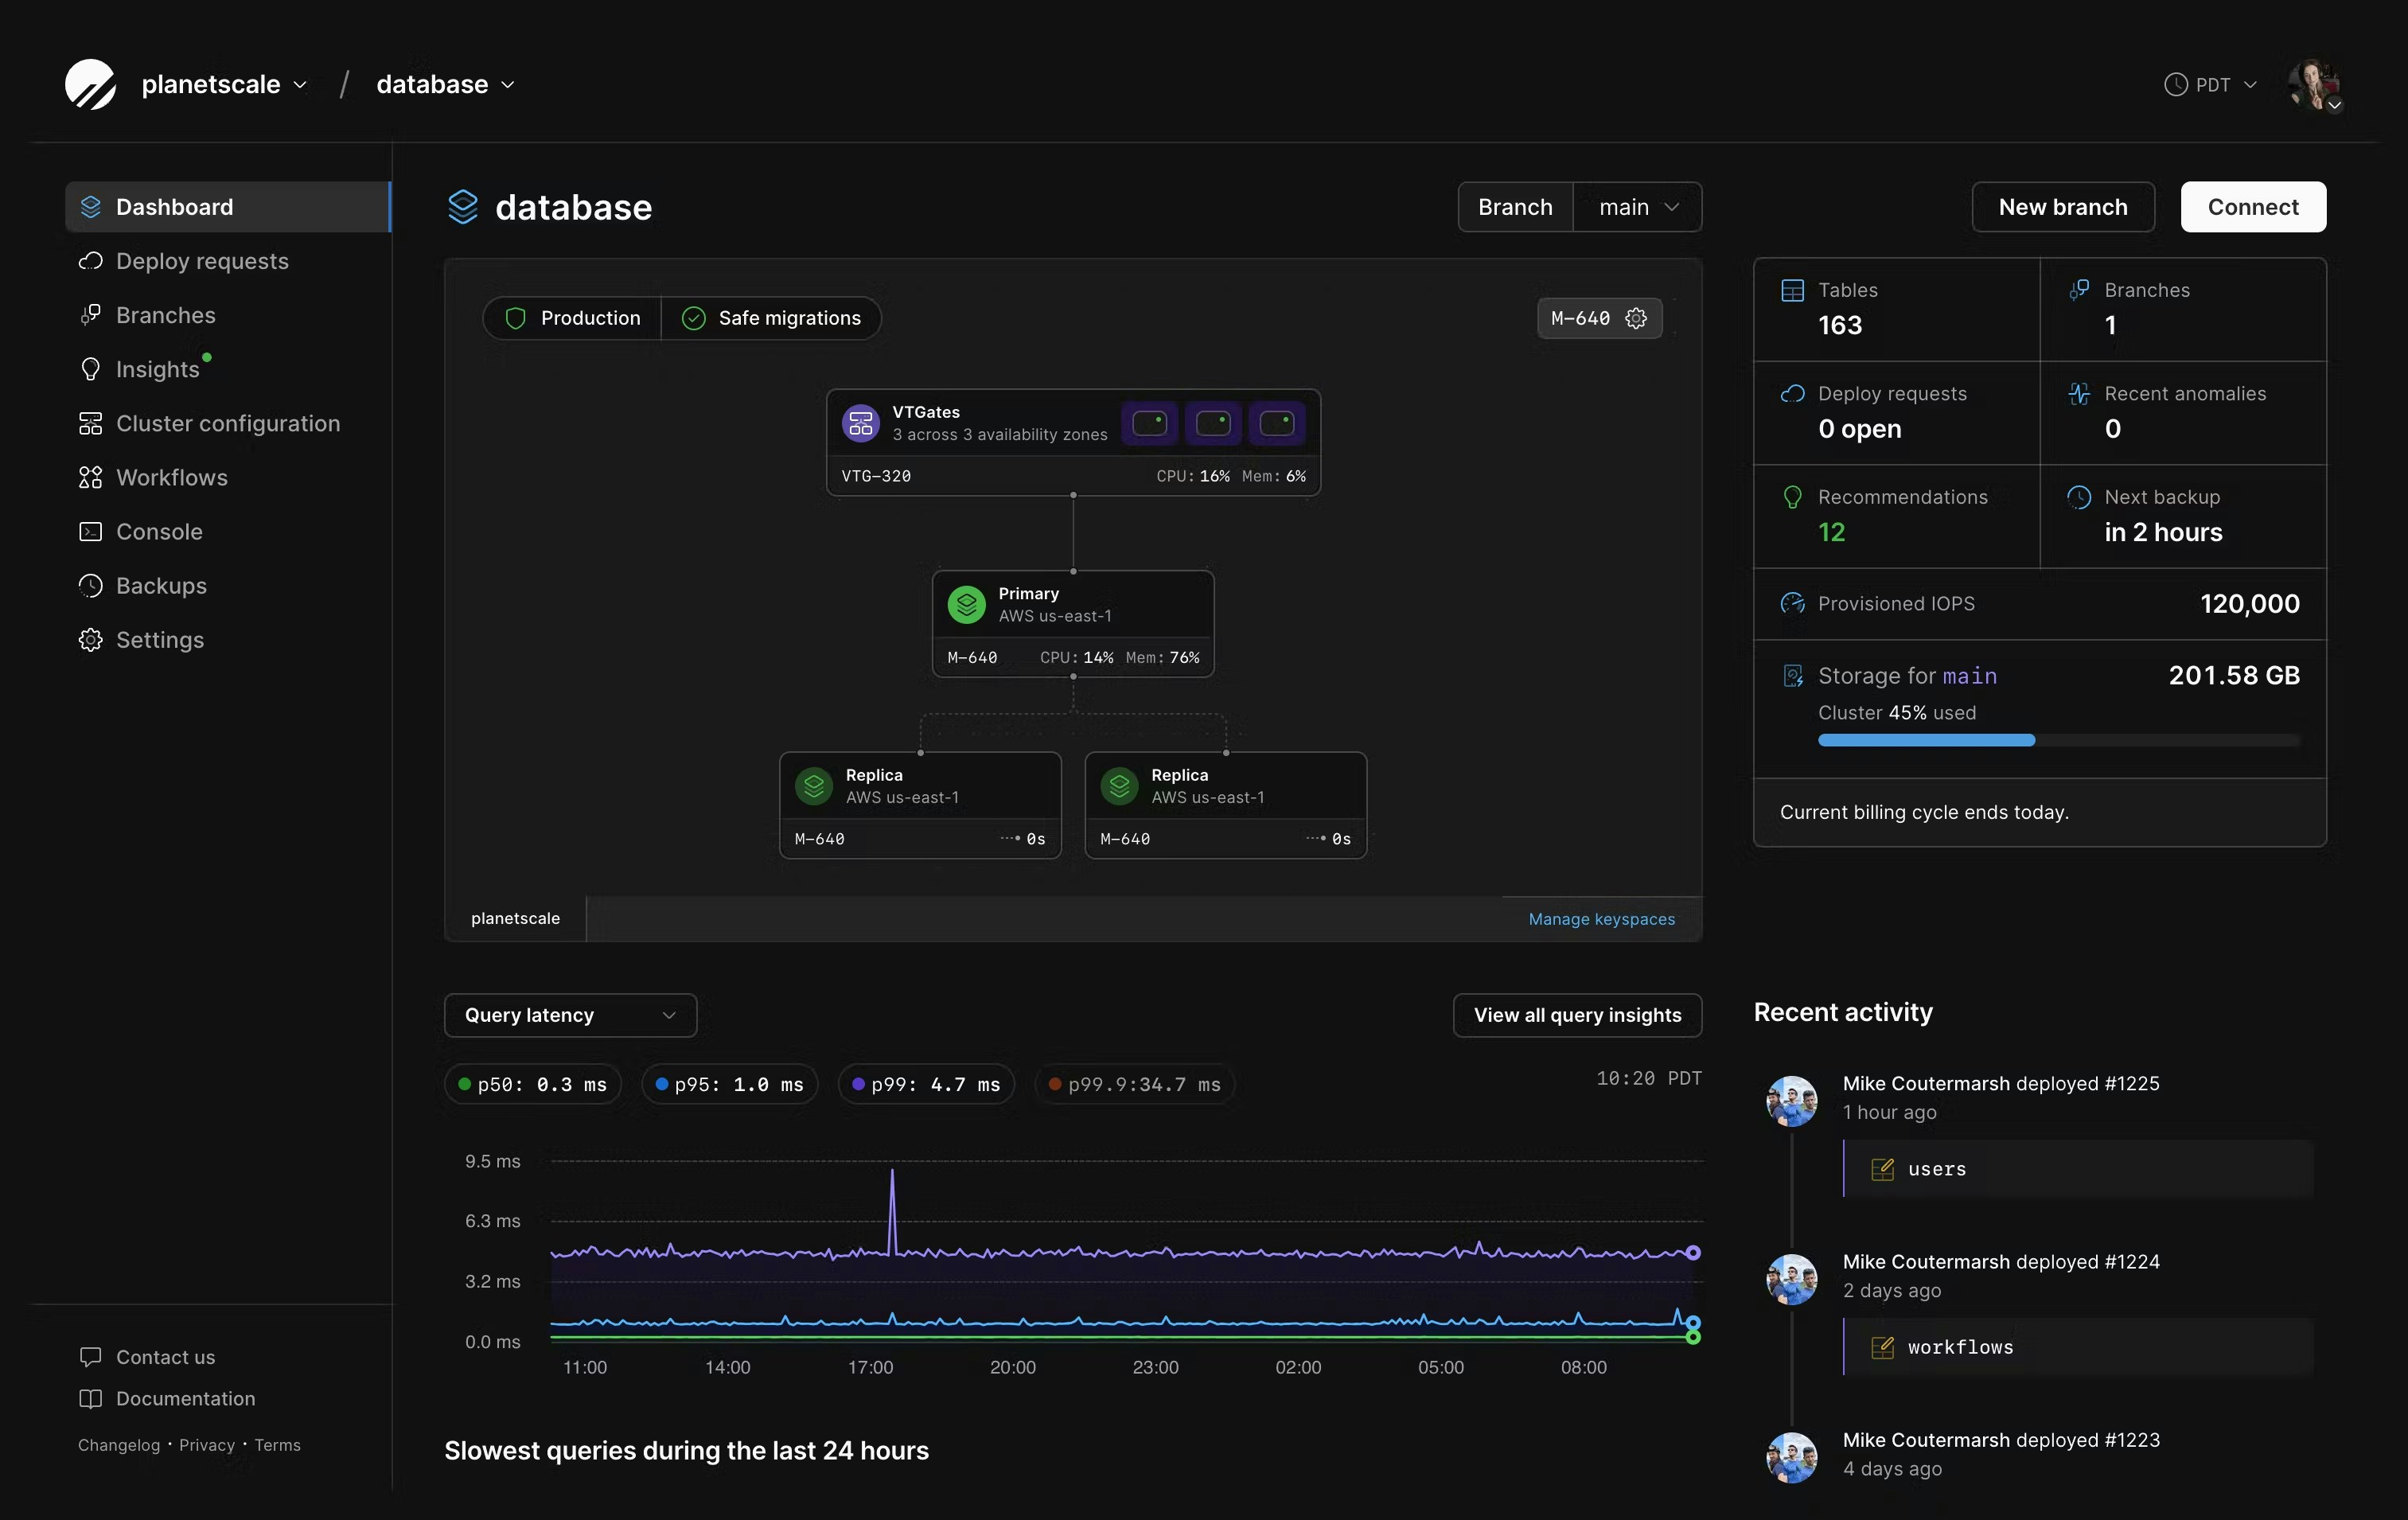
database, click the "cog" within the infrastructure card.
In the modal that appears, toggle the option labeled "Enable safe migrations" and click "Save".
The card will reflect the safe migrations status on that branch as well add an option to create a new branch.
Create a development branch
Back in the database "Dashboard" tab, click the "Create new branch" button to create a new branch.
In the New branch modal, you’ll see options to name the branch, select the base, and even change the region for this branch. Name the branch dev
and click "Create branch".
The branch takes a few minutes to initialize. Wait for this process to complete before proceeding. Once the branch is ready to go, the page will automatically update to allow you to create deploy requests directly from the "Dashboard" tab.
Make a schema change
Now that the branch is initialized, let’s update the schema of our Post
table and add a summary
column. Click the "Console" tab, select the dev
branch, and click "Connect".
Run the following script to update the schema, followed by a DESCRIBE
statement to view the changes to that table.
ALTER TABLE Post ADD summary VARCHAR(1024);
DESCRIBE Post;
Before we merge these changes, let's double-check the main
branch of the database and compare the structure of the same table. Run the following command in main
's console to see the structure of the Post
table.
DESCRIBE Post;
Notice how summary
is missing. This is because we made the change on the dev
branch and haven’t merged the changes into main
. Let’s fix that now.
Create a deploy request
On the "Dashboard" tab, you can now create a deploy request. Enter an optional comment, then click "Create deploy request".
PlanetScale will automatically check to see if your changes can be deployed by comparing the schemas between the dev
and main
branches. Once that process is completed, you’ll get the option to deploy the changes or close the deploy request. Unlike pull requests, you can only have one active deploy request on a branch at any given time. If you needed to create another deploy request, you’d have to close the previous one out.
There is also the option to auto-apply your changes after PlanetScale has finished staging them. This option is selected by default. If it is disabled, PlanetScale will stage your changes and wait for you to manually apply them before making them live, which can be helpful under certain circumstances.
Once you are done exploring, click the "Deploy changes" button on the summary tab.
Once the changes are deployed, the status of the deployment will be displayed, along with how long the deployment took and who initiated it.
Head back to the console of the main
branch and run the DESCRIBE
command again. Notice how the main
branch now has the summary
column that was added to dev
earlier in the guide.
DESCRIBE Post;
Once you are done using it, you can delete the dev
branch.
You should have a good understanding of the core concepts of PlanetScale at this point. In the next guide, we’ll cover how you can connect to your PlanetScale database using the language or client of your choice.
Need help?
Get help from the PlanetScale support team, or join our GitHub discussion board to see how others are using PlanetScale.