Overview
Users only need to sign in once with a single set of credentials (i.e. password and email) to access all of their tools and applications upon joining the company. Furthermore, SSO allows an administrator to revoke someone’s access to all tools and applications from a single place when they leave a team or the company. PlanetScale uses SAML SSO.SSO is available as an add-on for Scaler Pro plan at $199/month per organization and included in our Enterprise plans. Security is important to us, so we do not profit off of SSO. We only charge enough to cover the WorkOS cost for enrolling a new account.
Implications
It’s important to understand how enabling SSO will affect your Organization. Once enabled, the following will happen:- All non-admin members will be removed from the organization.
- Organization Administrators will remain in the Organization so they can configure SSO without losing access.
- All administrators will retain access with their old credentials, until they logout and login through their Identity Provider. Once they’ve authenticated through their Identity Provider the account will only be usable with SSO authentication.
- Each Organization Member must re-authenticate using SSO. Once they’ve authenticated, they will be automatically added back to the organization.
- Organization Member invites will be disabled when SSO is enabled; all Organization Membership will be managed through SSO.
- Organization Members that were Database Administrators before will no longer have that role upon rejoining. You must assign them the role after they re-authenticate with SSO.
- Organization Members that were on Teams will need to be re-added.
- Any database credentials and tokens that were generated by non-admin members will remain active, so you do not need to regenerate connection credentials.
- Organization Members removed from your SSO, will still appear in the Organization until they are manually removed.
- While they are visible in the Organization they will not be able to authenticate to PlanetScale.
- If you enabled Directory Sync, the Member will be removed from the Organization without manual intervention.
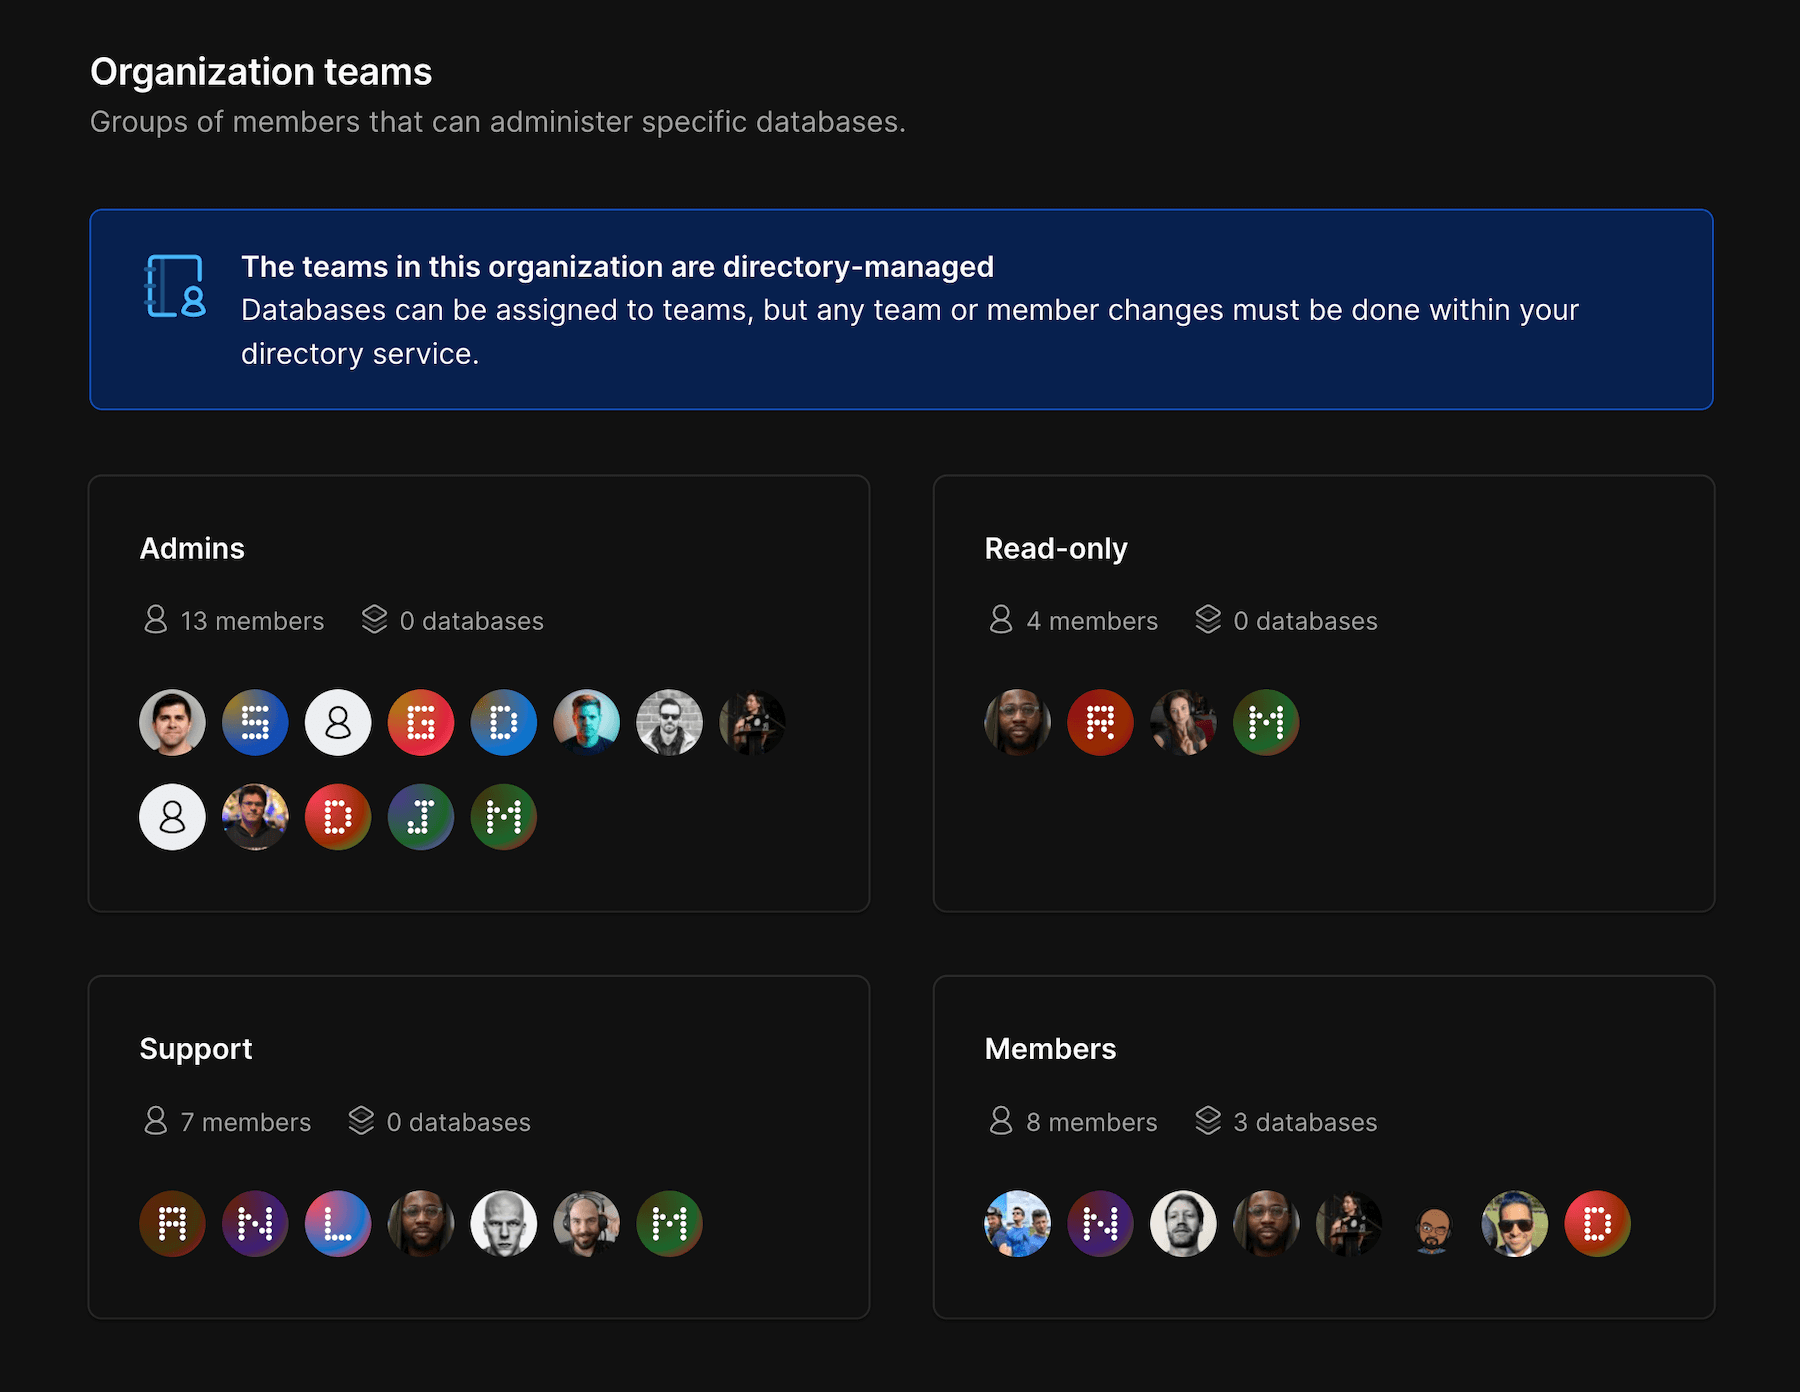
If you enable SSO and Directory Sync, the Directory will remain the source of truth, and Teams will map accordingly. Please see the Directory Sync section for more information.
Enable SSO for your organization
To enable SSO for your organization, you must be an Organization Administrator. Organization administrators can enable, configure, and disable SSO for all members of your organization. First, head to your PlanetScale organization’s authentication page under Settings -> Authentication. Type in the email domains that you would like to allow to sign in through SSO, and click “Enable single sign-on”. You can configure your SSO settings by clicking the “identity provider” link on that SSO settings page. This will take you to WorkOS where you can choose your identity provider. You can find documentation for your specific identity provider in the WorkOS integrations documentation. You also have the option to manage PlanetScale roles through your identity provider’s SSO profile. Just check the box next to that message on the settings page to enable.Multiple organizations with SSO
You can enable SSO for multiple organizations using the same identity provider. However, users across all your organizations must have unique internal IDs within your identity provider. For example, if your identity provider has a user with:- Email:
user@example.com - Internal ID:
some_user_id
- Email:
user+staging@example.com - Internal ID:
some_user_id(same as above)
Disable SSO
When SSO is disabled for an organization, users can log in with the password they initially set for their PlanetScale account. If they don’t know their password, users can go through the password reset flow to regain access to their account. Should a user lose access to the email address associated with that organization, they’ll also lose access to their account after SSO is disabled.Directory Sync
We also support the use of Directory Sync with SSO. You can use Directory Sync to make the directory the source of truth for organization membership.Enable Directory Sync
To enable Directory Sync, you first must have SSO enabled. Once enabled, go to your Organization settings page, click “Authentication”, and click the “Enable directory sync” button. You can now configure Directory Sync using your identity provider.Directory Sync access control
Directory Sync automatically adds and removes members from your PlanetScale organization to match your SSO directory. If you have groups defined within your SSO provider, it can also automatically create Teams within your PlanetScale organization mapped to those groups. If you wish to have your identity provider determine user roles in PlanetScale, please make sure to select the option forManage PlanetScale roles through identity provider in Settings > Authentication.

Once you enable Directory Sync, existing Teams will be cleared, as all Teams must map to a Directory group.

Using Okta to manage organization admins
There are two different ways to configure Okta to manage the user’s role in a PlanetScale organization. The first approach uses SAML assertions during Single Sign On to update the role just-in-time. The second approach uses an attribute defined on the directory user to update the role in real time as it changes. It is up to user to decide which approach works best for their organization.Managing roles during single sign-on (SAML)
In order to update roles using SAML, you will first need to configure the SAML application and user profile in Okta before enabling the setting within PlanetScale.Configuring the SAML Okta application
1
Click the Applications > Applications in the Okta dashboard’s sidebar.
2
Find your PlanetScale SAML application that you configured earlier for WorkOS and find the SAML Settings section. Click on the Edit link in this section.
3
In the Configure SAML step, find the Attribute Statements (optional) section, which defines the attributes of email, first and last name, and id.
4
Add a new Attribute Statement with the following values.
- Name —
planetscale_role - Name Format —
Unspecified - Value —
user.planetscale_role
Creating user profile attributes
In order to define the custom attribute in Okta, you must update the default User profile to have theplanetscale_role attribute.
1
Click Directory > Profile Editor in the Okta dashboard’s sidebar.
2
Click the User (default) profile within Okta
3
Click Add attribute and fill in the following values
- Data type:
string - Display name:
PlanetScale Role - Variable name:
planetscale_role - Enum: Enable the Define enumerated list of values checkbox and add these attributes:
- Display name:
Member, Value:member - Display name:
Administrator, Value:administrator
- Display name:
4
Click Save attribute
Enable in PlanetScale
Lastly, we will have to enable role management via SSO within the PlanetScale application.1
Go to your SSO organization’s settings page
2
Click on Authentication in the side navigation
3
Check the Manage PlanetScale roles through identity provider’s SSO profile checkbox
Managing roles using Directory Sync (SCIM)
In order to manage roles using Directory Sync, you must properly configure the SCIM user’s profile within Okta and update the Directory Sync custom attributes before enabling the setting within the PlanetScale dashboard.Configuring the SCIM user profile
1
Click Directory > Profile Editor in the Okta dashboard’s sidebar.
2
Click the user profile that maps to your SCIM application, it should be in the format of < SCIM application name > User
3
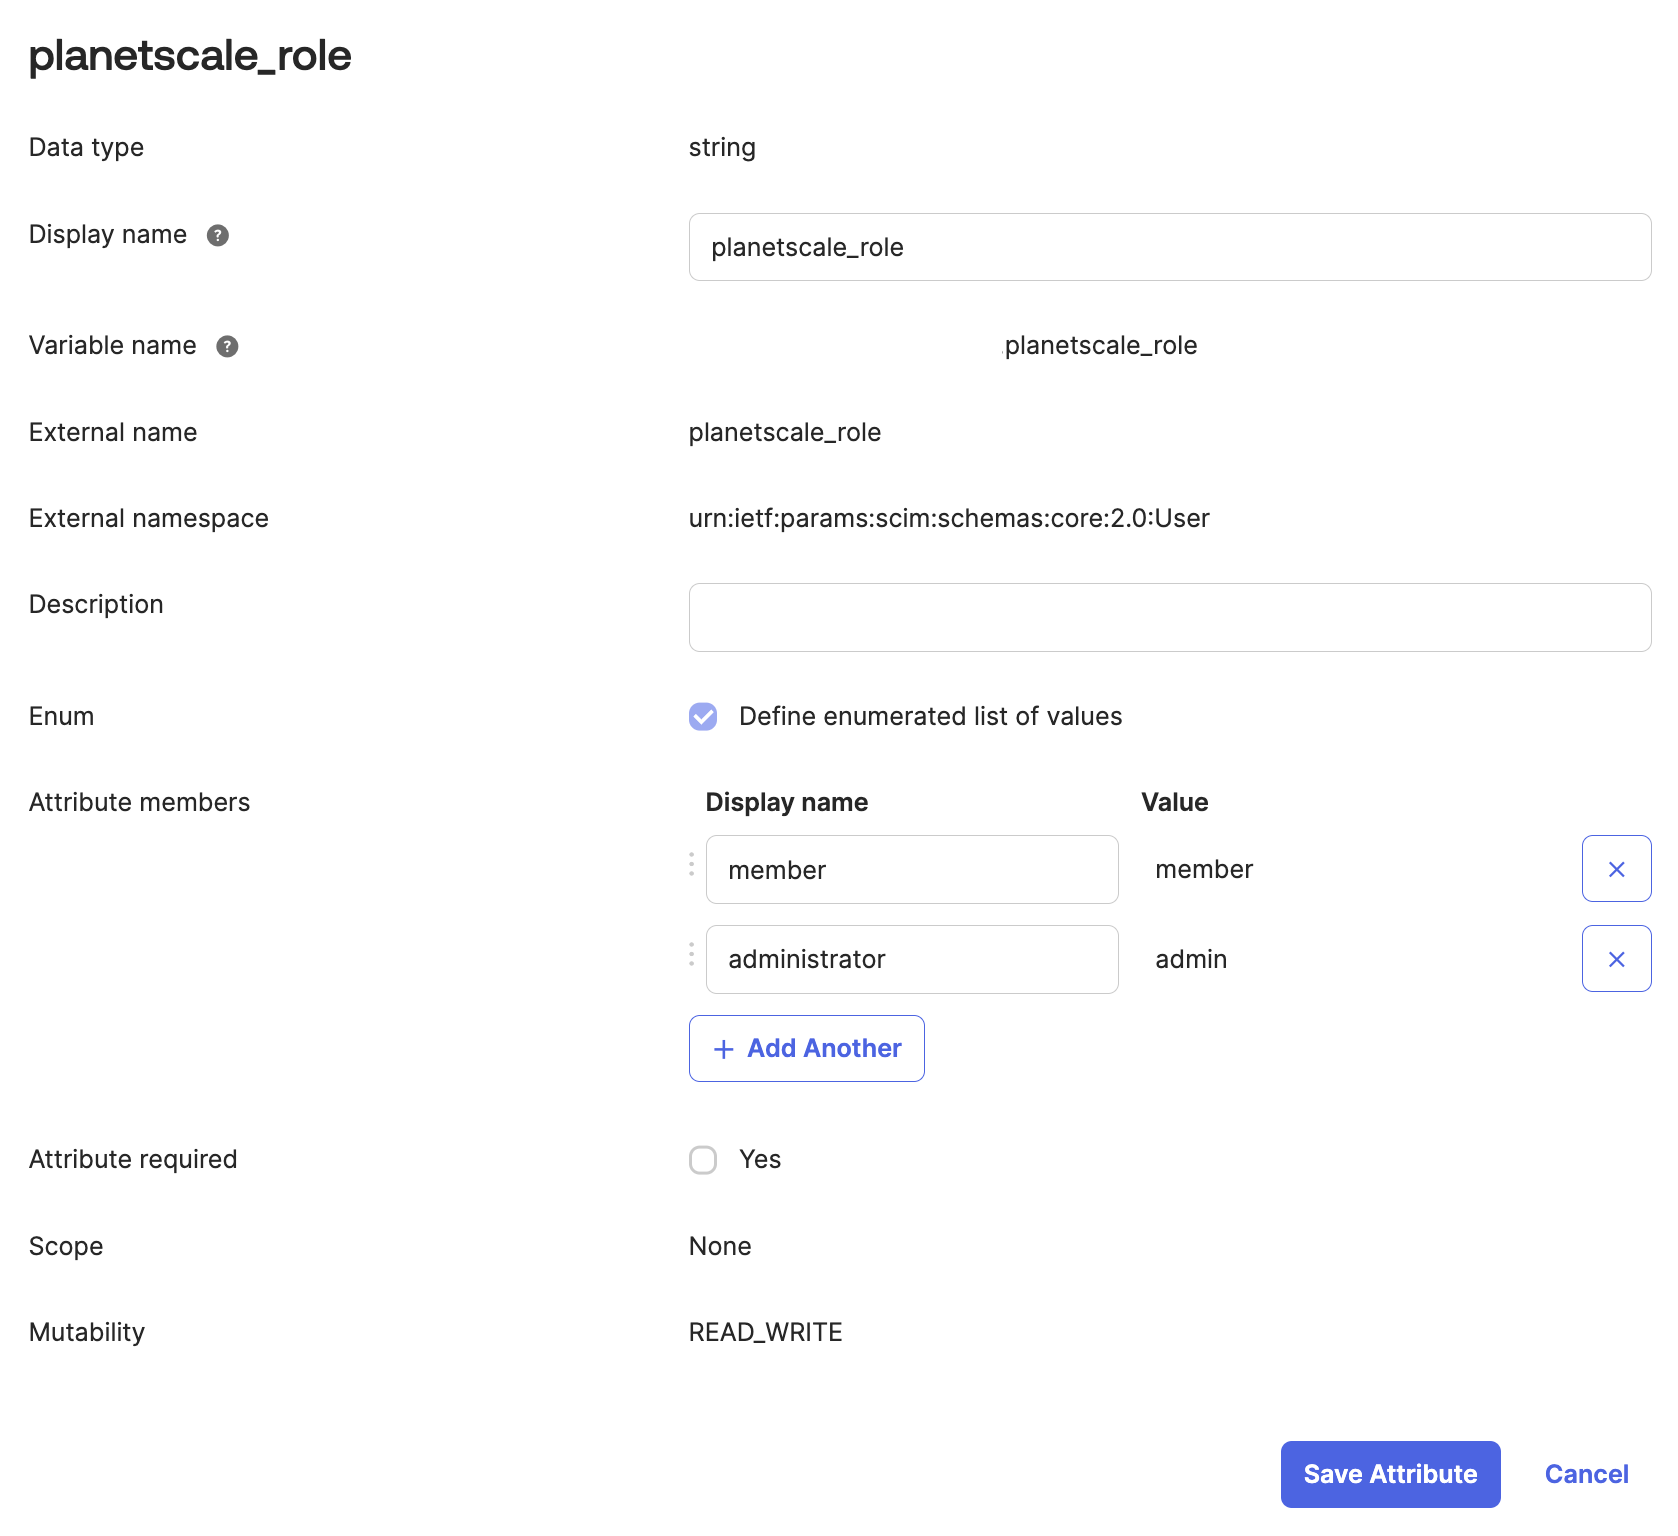
Click Add attribute and fill in the following values
- Data type:
string - Display name:
PlanetScale Role - Variable name:
planetscale_role - External name:
planetscale_role - The External namespace should be defined as
urn:ietf:params:scim:schemas:core:2.0:User. - Check the box to define an enumerated list of values, add the following:
- Display name:
member, Value:member - Display name:
administrator, Value:admin
- Display name:
4
Click Save attribute

1
Open the PlanetScale SCIM application in Okta Admin Console, then select Provisioning
2
Scroll down to the bottom of the
Okta to App provisioning page, and click Show unmapped attributes.3
Find
planetscale_role and click the 🖋️ to map the attribute.4
Select
Map from Okta Profile as the type and planetscale_role as the string.5
Save with Create & Update permission.
Configuring custom attributes within WorkOS
Next, you will need to update your WorkOS configuration to detect the custom attribute mappings.1
Go to the Authentication within your organization settings page.
2
In the Directory sync section, click the
identity provider link to open up the directory configuration page3
Click the Edit Attribute Map button and in the form, enter the folllowing:
- Directory Provider Value:
planetscale_role - PlanetScale Attribute:
planetscale_role
4
Click Save mappings
Enable in PlanetScale
Lastly, we will have to enable role management via SSO within the PlanetScale application.1
Go to your SSO organization’s settings page
2
Click on Authentication in the side navigation
3
Check the Manage PlanetScale roles through identity provider’s directory checkbox

