Integrate Cloudflare Workers with PlanetScale
By Brian Morrison II |
Over the past several weeks, we’ve been working with Cloudflare on a direct integration between our services to make it easier and more secure when connecting to your PlanetScale database from Cloudflare Workers. With the integration enabled, Cloudflare will automatically connect to your PlanetScale database to generate credentials that are managed by Cloudflare. Read on to learn how you can use the new integration with your Cloudflare Workers, or check out this video on our YouTube channel where we cover it as well!
Before you get started, make sure you have the following:
- A PlanetScale account
- The pscale CLI installed and configured
- The latest version of NodeJS installed
Set up the database
Start by creating a database in your PlanetScale account named bookings_db.
pscale database create bookings_db
Next, use the pscale shell command to open a connection to the main branch of the new database.
pscale shell bookings_db main
Finally, run the following two commands to create a table in the database and populate it with some data.
CREATE TABLE hotels (
  id INT UNSIGNED PRIMARY KEY AUTO_INCREMENT,
  name VARCHAR(50) NOT NULL,
  address VARCHAR(50) NOT NULL,
  stars FLOAT(2) UNSIGNED
);

INSERT INTO hotels (name, address, stars) VALUES
  ('Hotel California', '1967 Can Never Leave Ln, San Fancisco CA, 94016', 7.6),
  ('The Galt House', '140 N Fourth St, Louisville, KY 40202', 8.0);
Create a Cloudflare Worker
Start by creating a new Cloudflare Worker project by running the following command in your terminal. This demo uses a fetch handler with JavaScript, so select those options when prompted.
npx wrangler init planetscale-worker
Next, switch to the directory and run the following commands to install the PlanetScale Serverless Driver for JavaScript:
npm install @planetscale/database
Now update the contents of src/index.js to the following. This will set up the worker to connect to your PlanetScale database, read the rows from it, and display them in your browser when the public worker URL is accessed:
import { connect } from '@planetscale/database'

export default {
  async fetch(request, env) {
    const config = {
      host: env.DATABASE_HOST,
      username: env.DATABASE_USERNAME,
      password: env.DATABASE_PASSWORD,
      fetch: (url, init) => {
        delete init['cache']
        return fetch(url, init)
      }
    }
    const conn = connect(config)

    const data = await conn.execute('SELECT * FROM hotels;')
    return new Response(JSON.stringify(data.rows), {
      status: 200,
      headers: {
        'Content-Type': 'application/json'
      }
    })
  }
}
Finally, publish your worker by running the following command in your terminal:
npx wrangler publish
Configure the PlanetScale integration
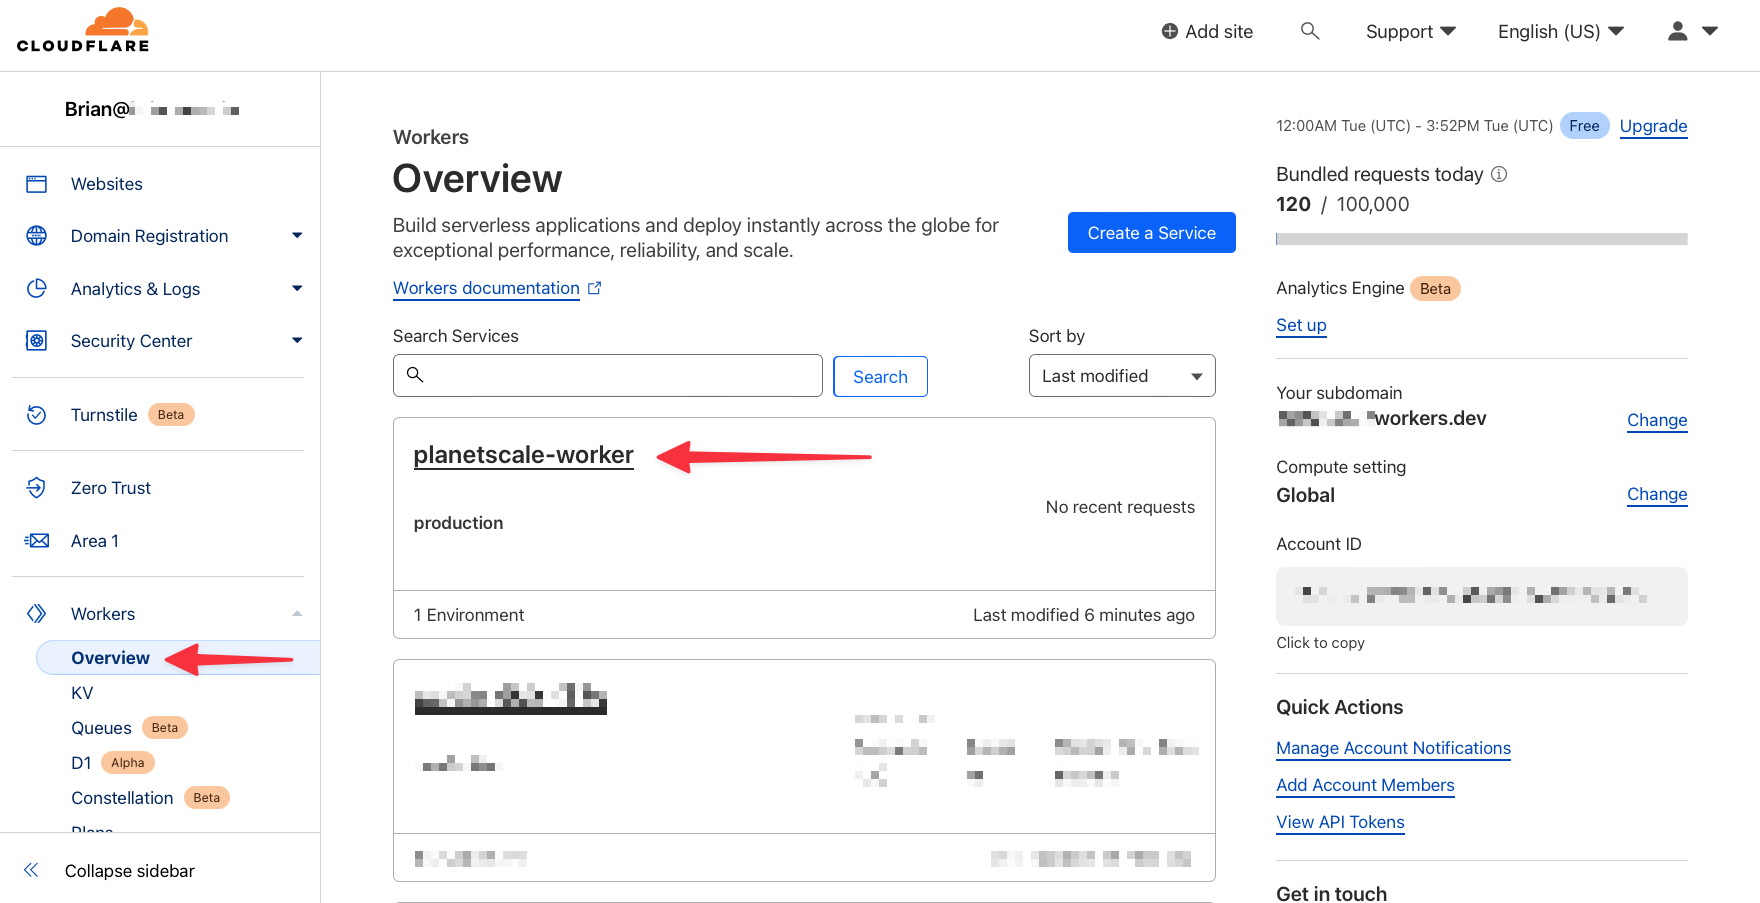
Log into the Cloudflare dashboard and navigate to "Workers" > "Overview". You should see a service in the list named "planetscale-worker". Select it from the list.
Next, select the "Settings" tab, then "Integrations", and finally "Add Integration" in the PlanetScale card.

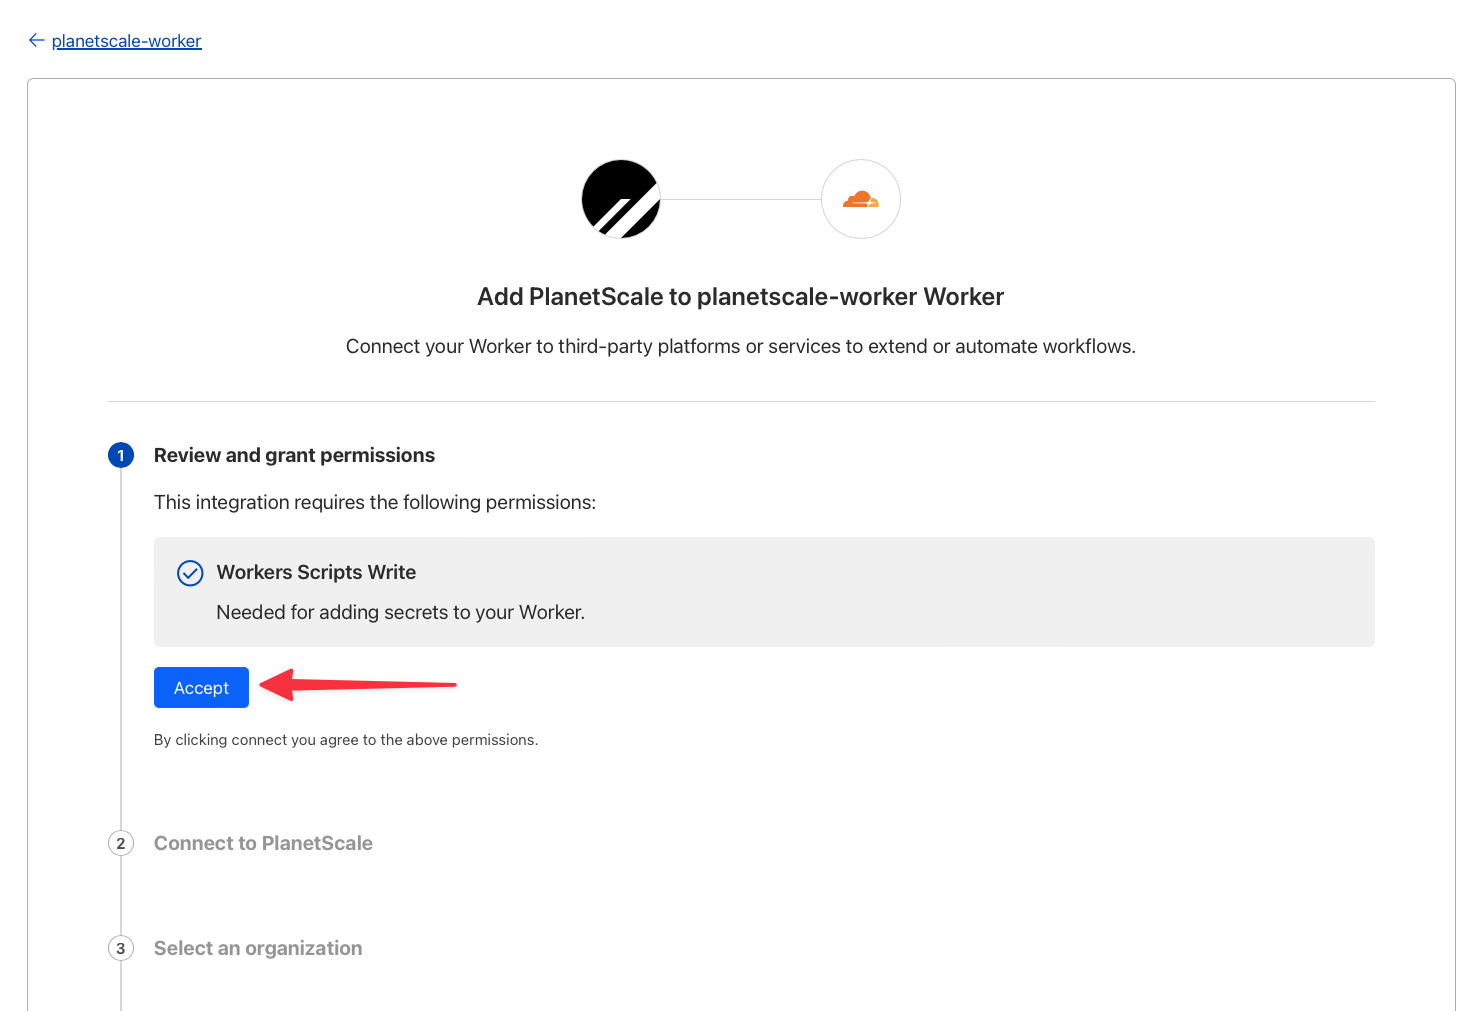
You’ll be presented with a wizard to configure the integration. Start by clicking "Accept" under Review and grant permissions.
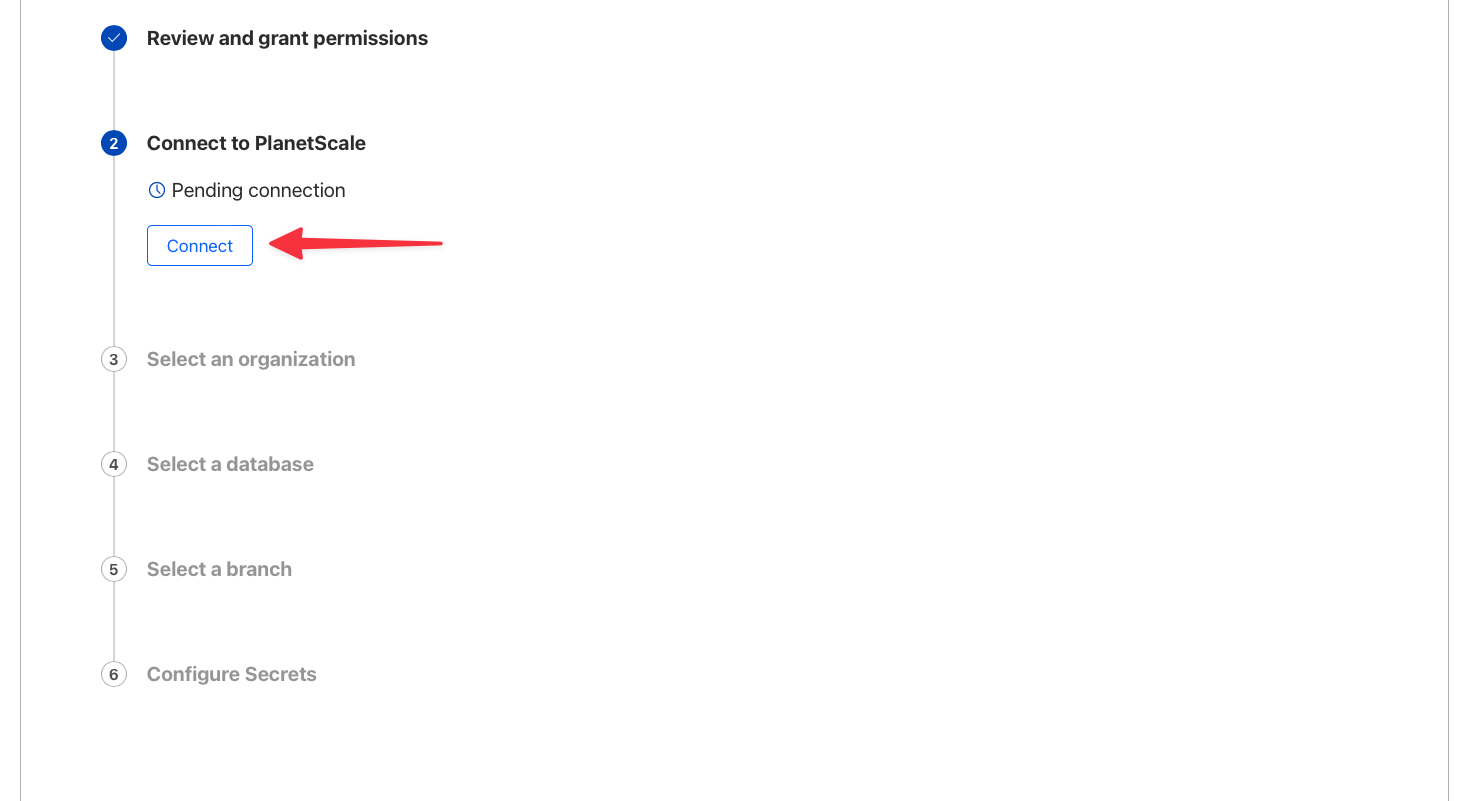
Under Connect to PlanetScale, click "Connect" to start the process of connecting your PlanetScale and Cloudflare accounts.
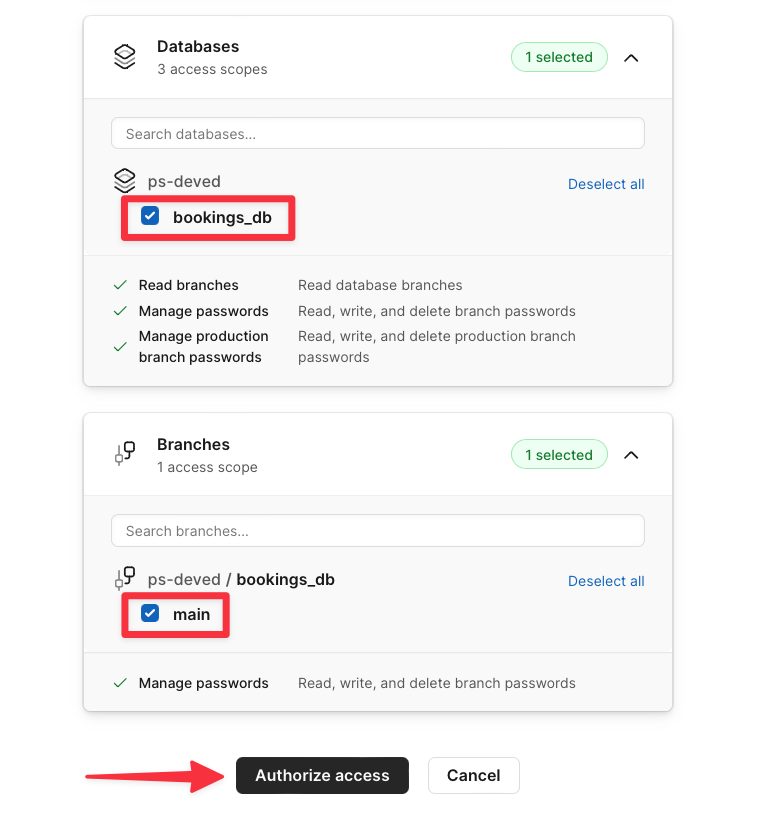
A modal will appear allowing you to grant access to your organization, database, and branch. Start by selecting your organization from the list. The org I’m working with is named “ps-deved”.

Next, select the “bookings_db” database from the list in the Databases card, and the “main” branch from the list in the Branches card. Finally, click "Authorize access".
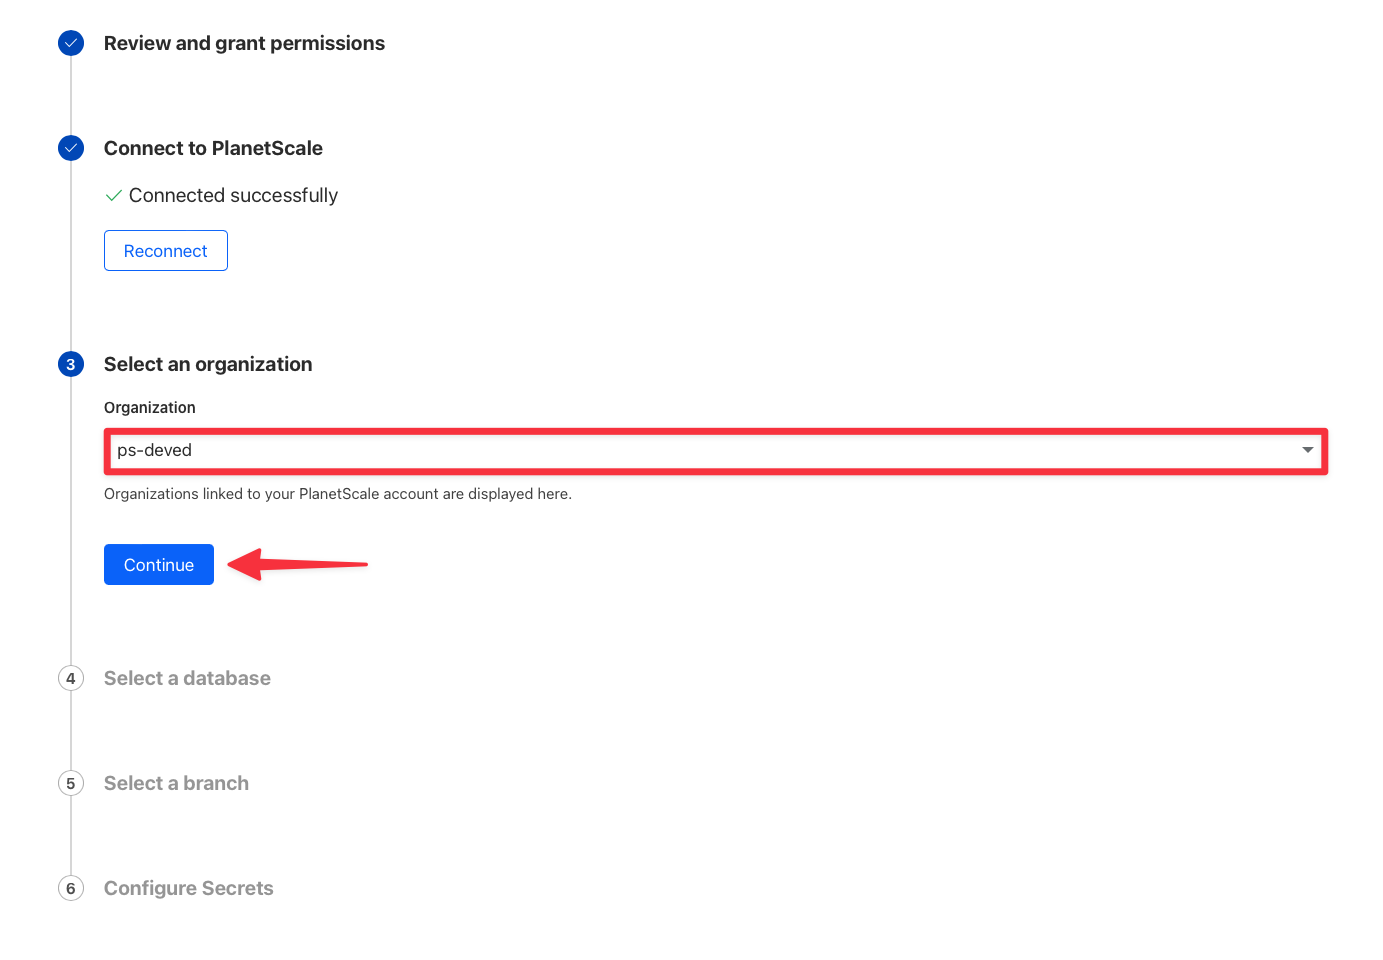
In the next step on the parent form, select your organization again from the list and click "Continue".
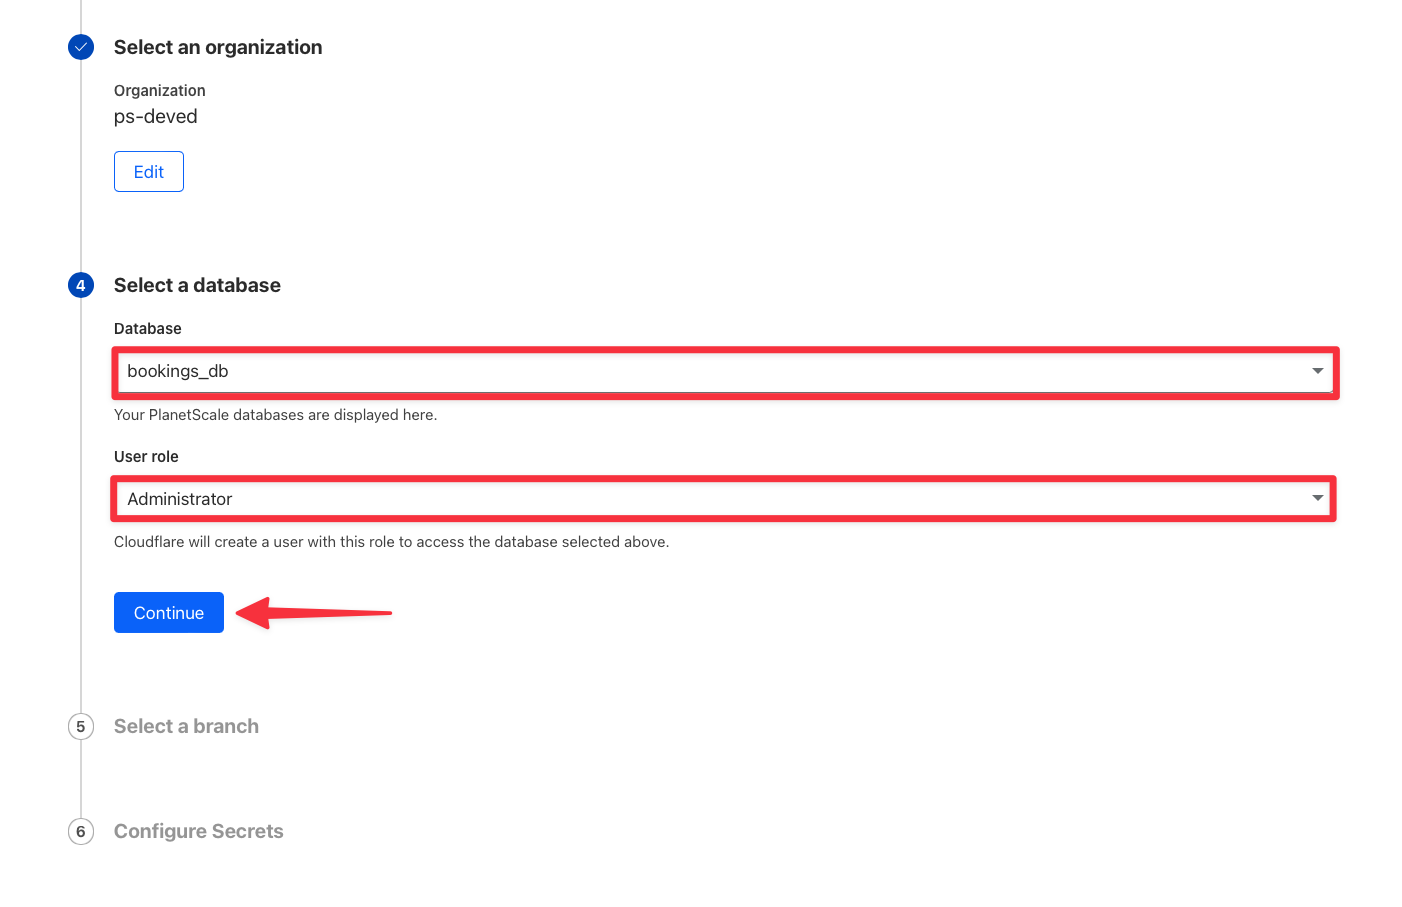
Then, select your database and the user role you want the integration to have.
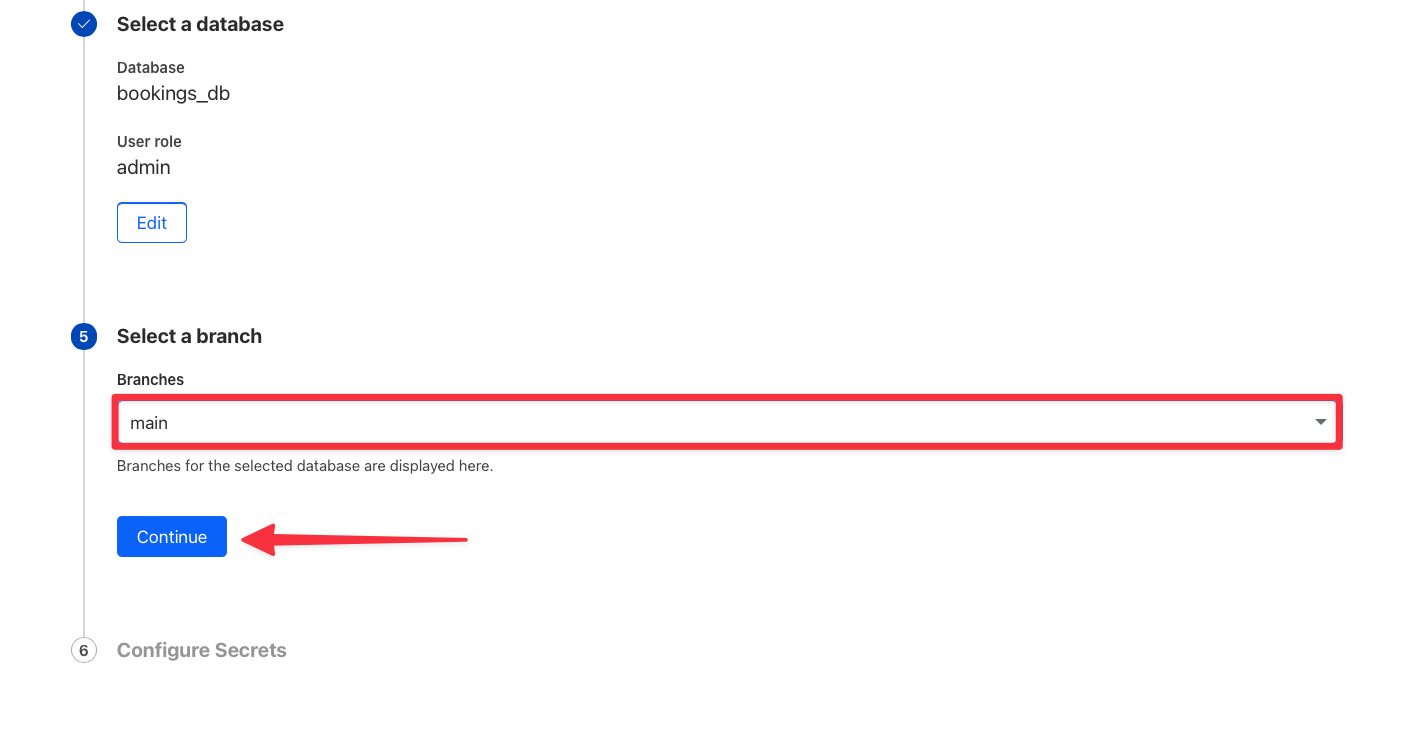
Next, select the “main” branch from the list and click "Continue".
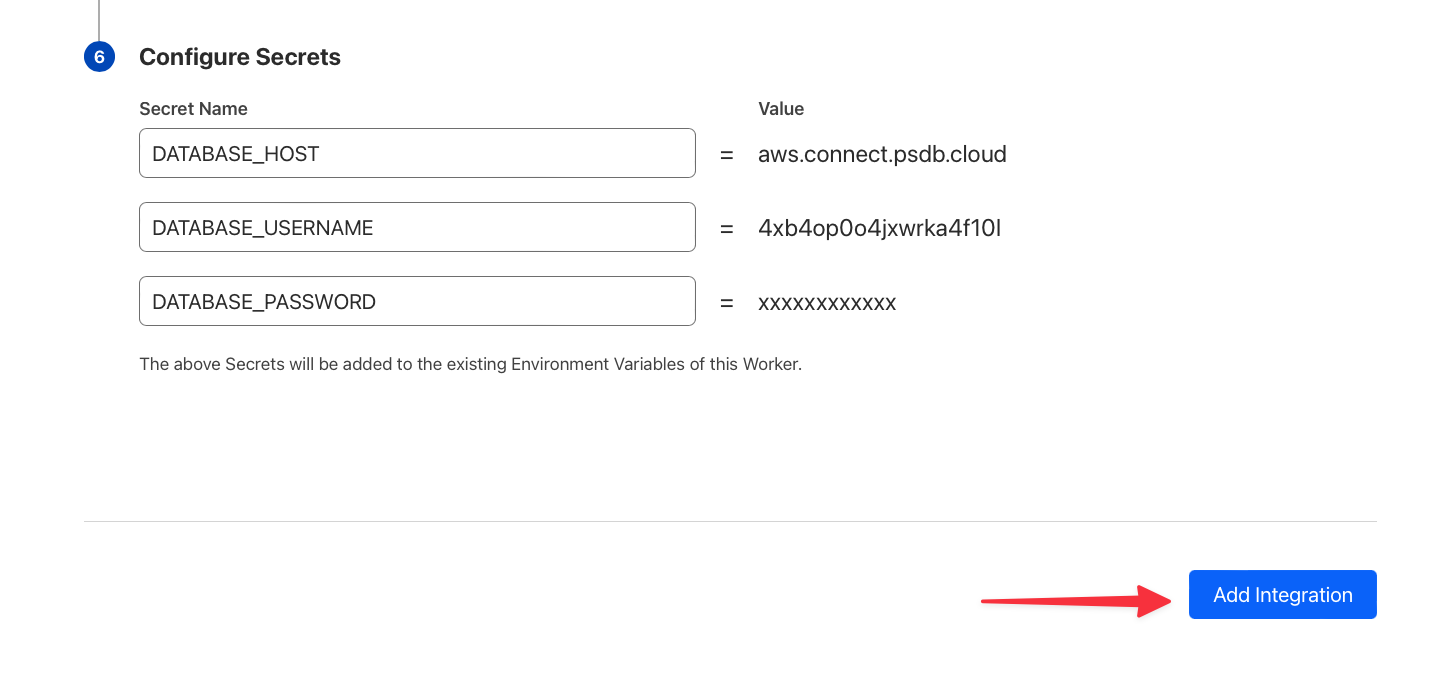
Finally, you’ll be given the option to rename the secrets that will be configured on your behalf. These can be left as is. Click "Add Integration" to complete the process.
Test the integration
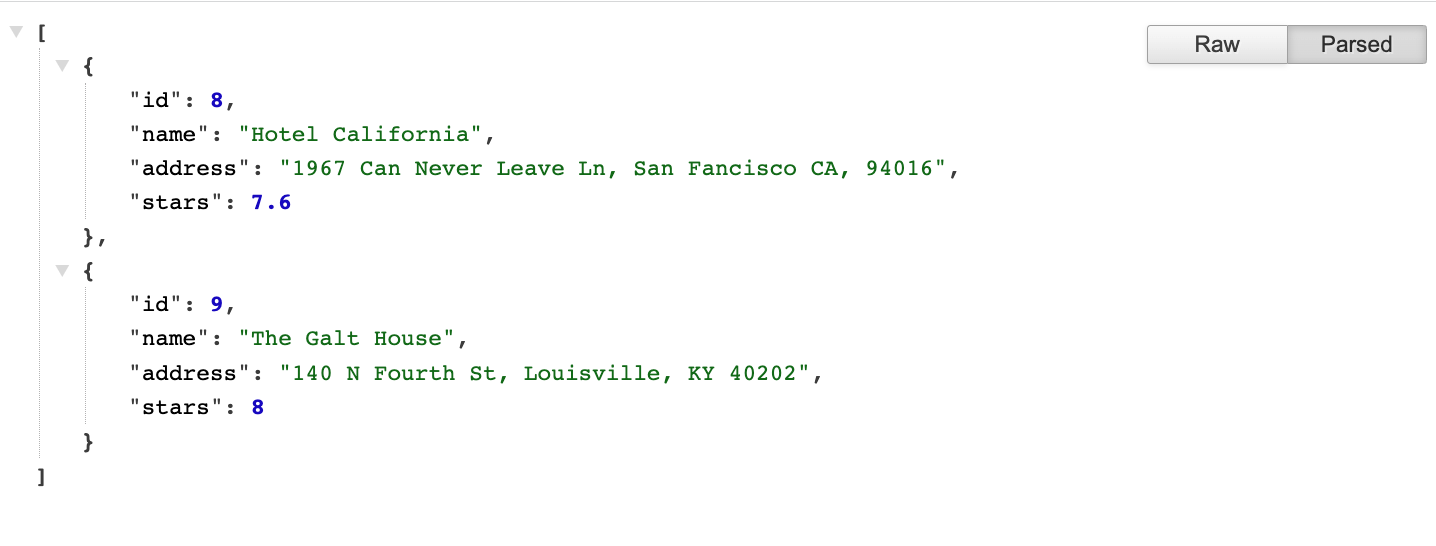
Back in the overview of the worker, there is a preview URL that you can use to open a new tab in your browser that runs the worker and displays the results. Once you’ve located the preview URL, click it to test the worker.
Conclusion
With the new PlanetScale Integration in Cloudflare Workers, you can now easily create credentials without ever having to handle them manually, making it both easier and more secure when using the platforms together. For more information, check out the Cloudflare database integrations documentation.
Have you ever built anything with PlanetScale and Cloudflare? Share it on Twitter and be sure to tag @planetscale and @cloudflaredev!