

Getting started
Prerequisites
- You will need a PlanetScale account.
- An administrator of your PlanetScale organization must join the Neki Platform Preview.
Create a Neki database
- Dashboard
- CLI
1
Click “New database” > “Create new database” on your organization’s
overview page.
2
Name your database.
3
Select a region. For the lowest latency, select a region near you or your
application’s hosting location.
4
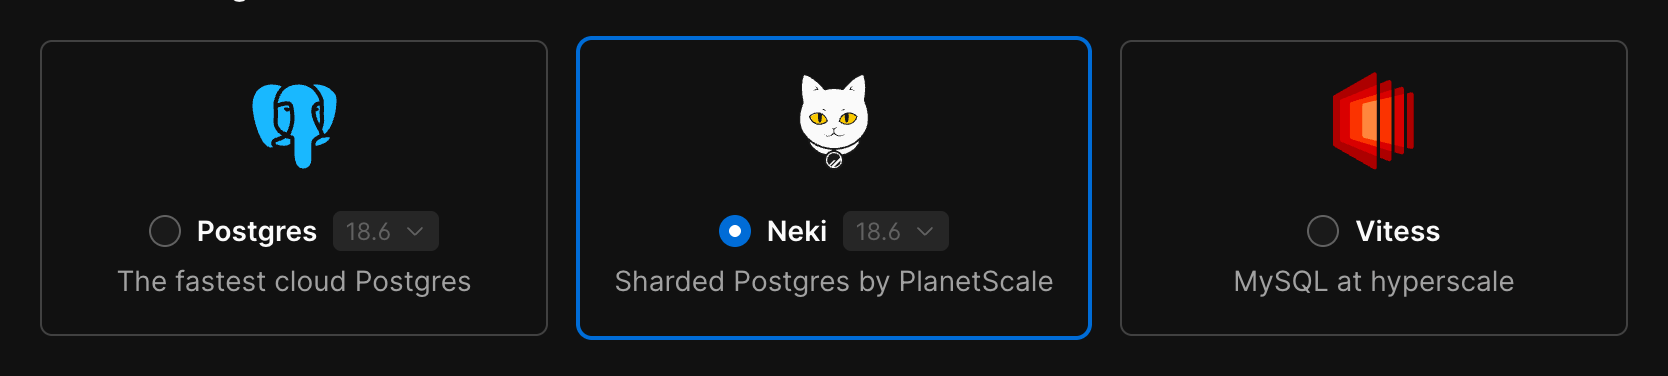
Select Neki as the database engine.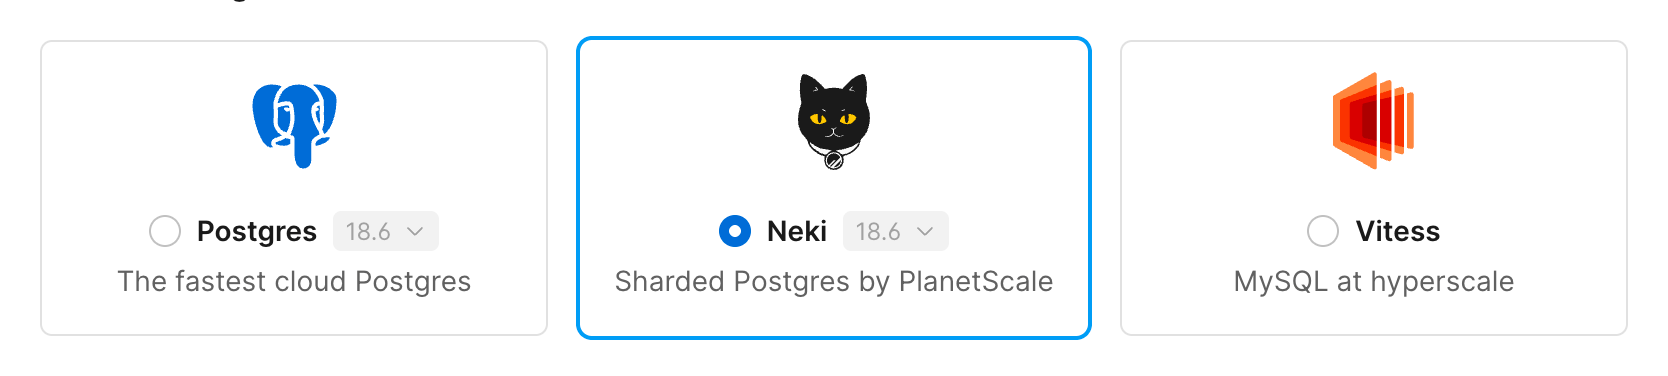
5
Select the desired cluster configuration, storage option, and cluster size
for your database.
6
If prompted, add a valid credit or debit card.
7
Click “Create database” to deploy your database.
Add a schema to your database
Use the dashboard’s web console to create some example tables. To use another SQL client, first see Connect to your database.2
Select Console and connect to the 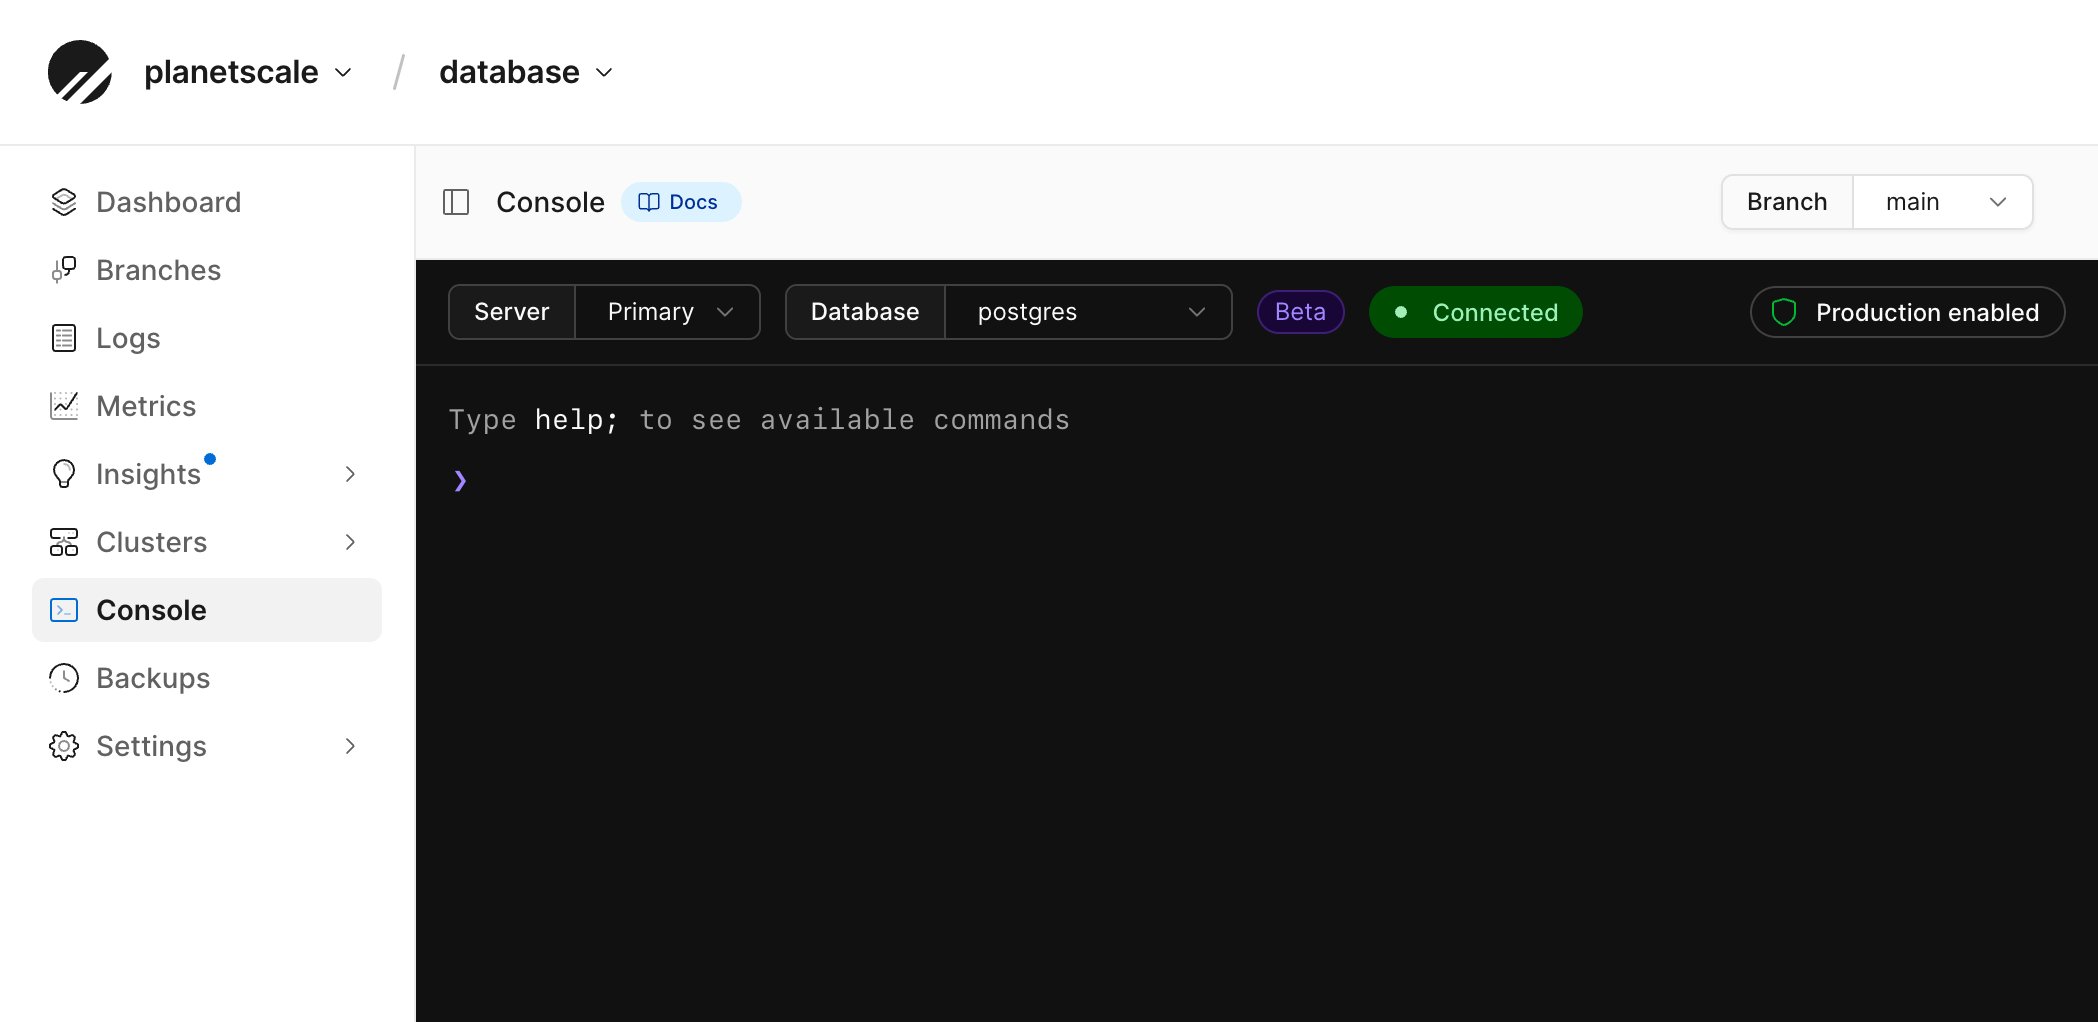
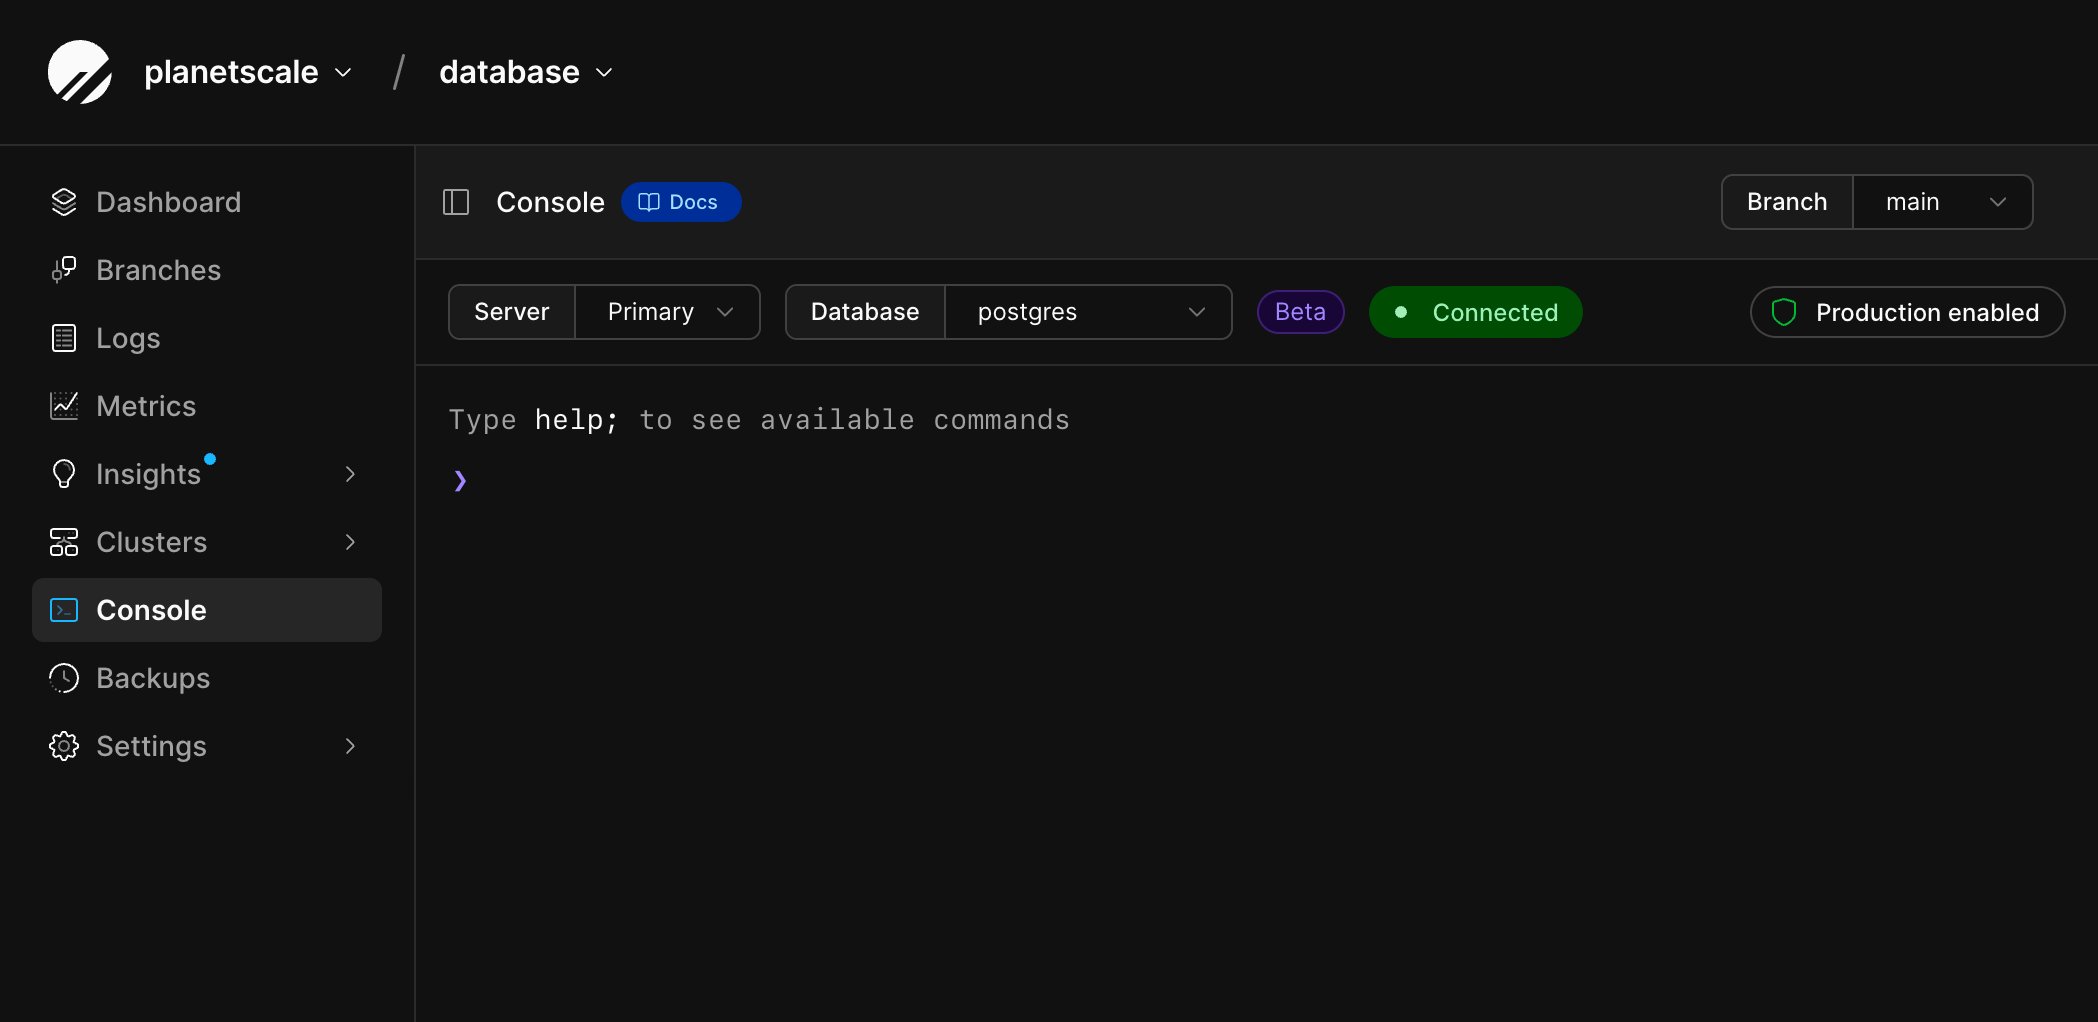
main branch. The console connects to
the Primary server and the postgres database by default. See Web
console for connection controls and supported commands.3
Create some example tables by running the following
commands in the web console:
4
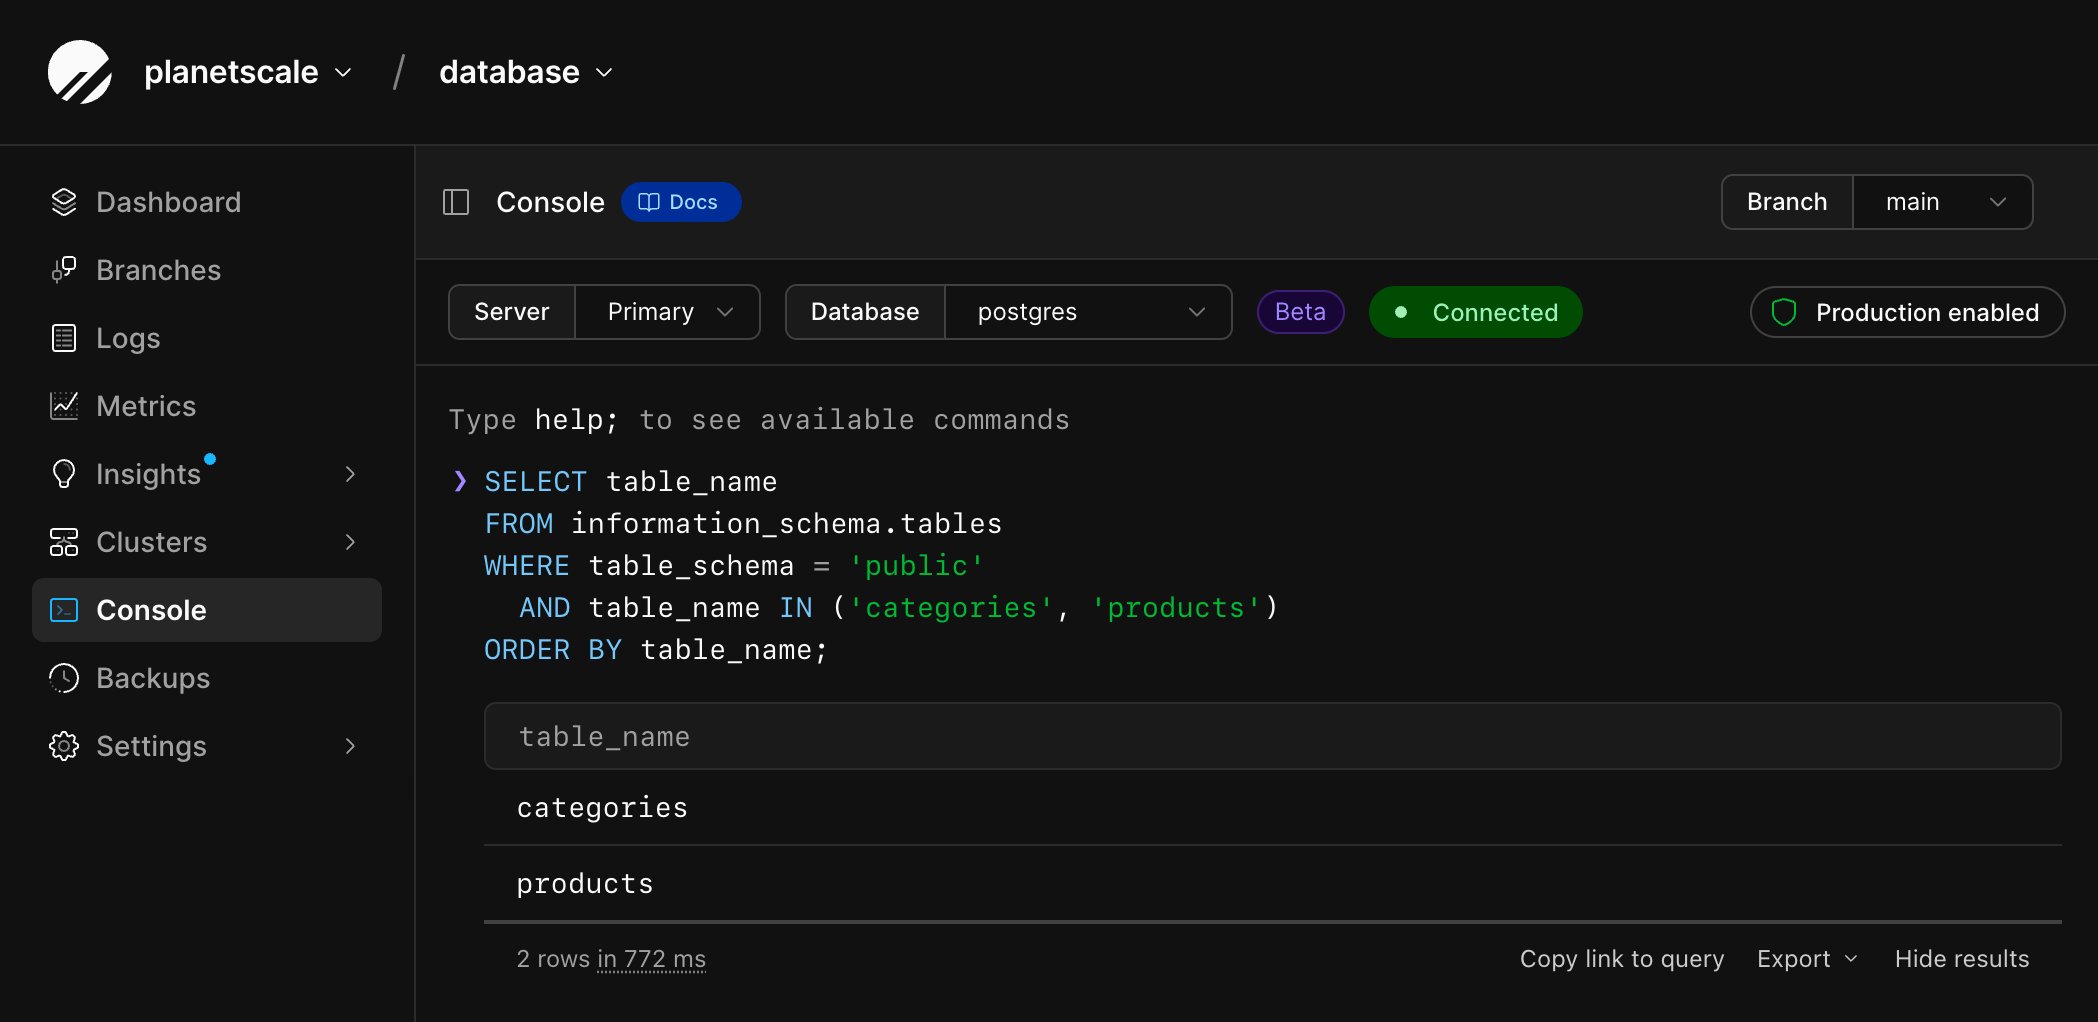
You can confirm that the tables have been added by running: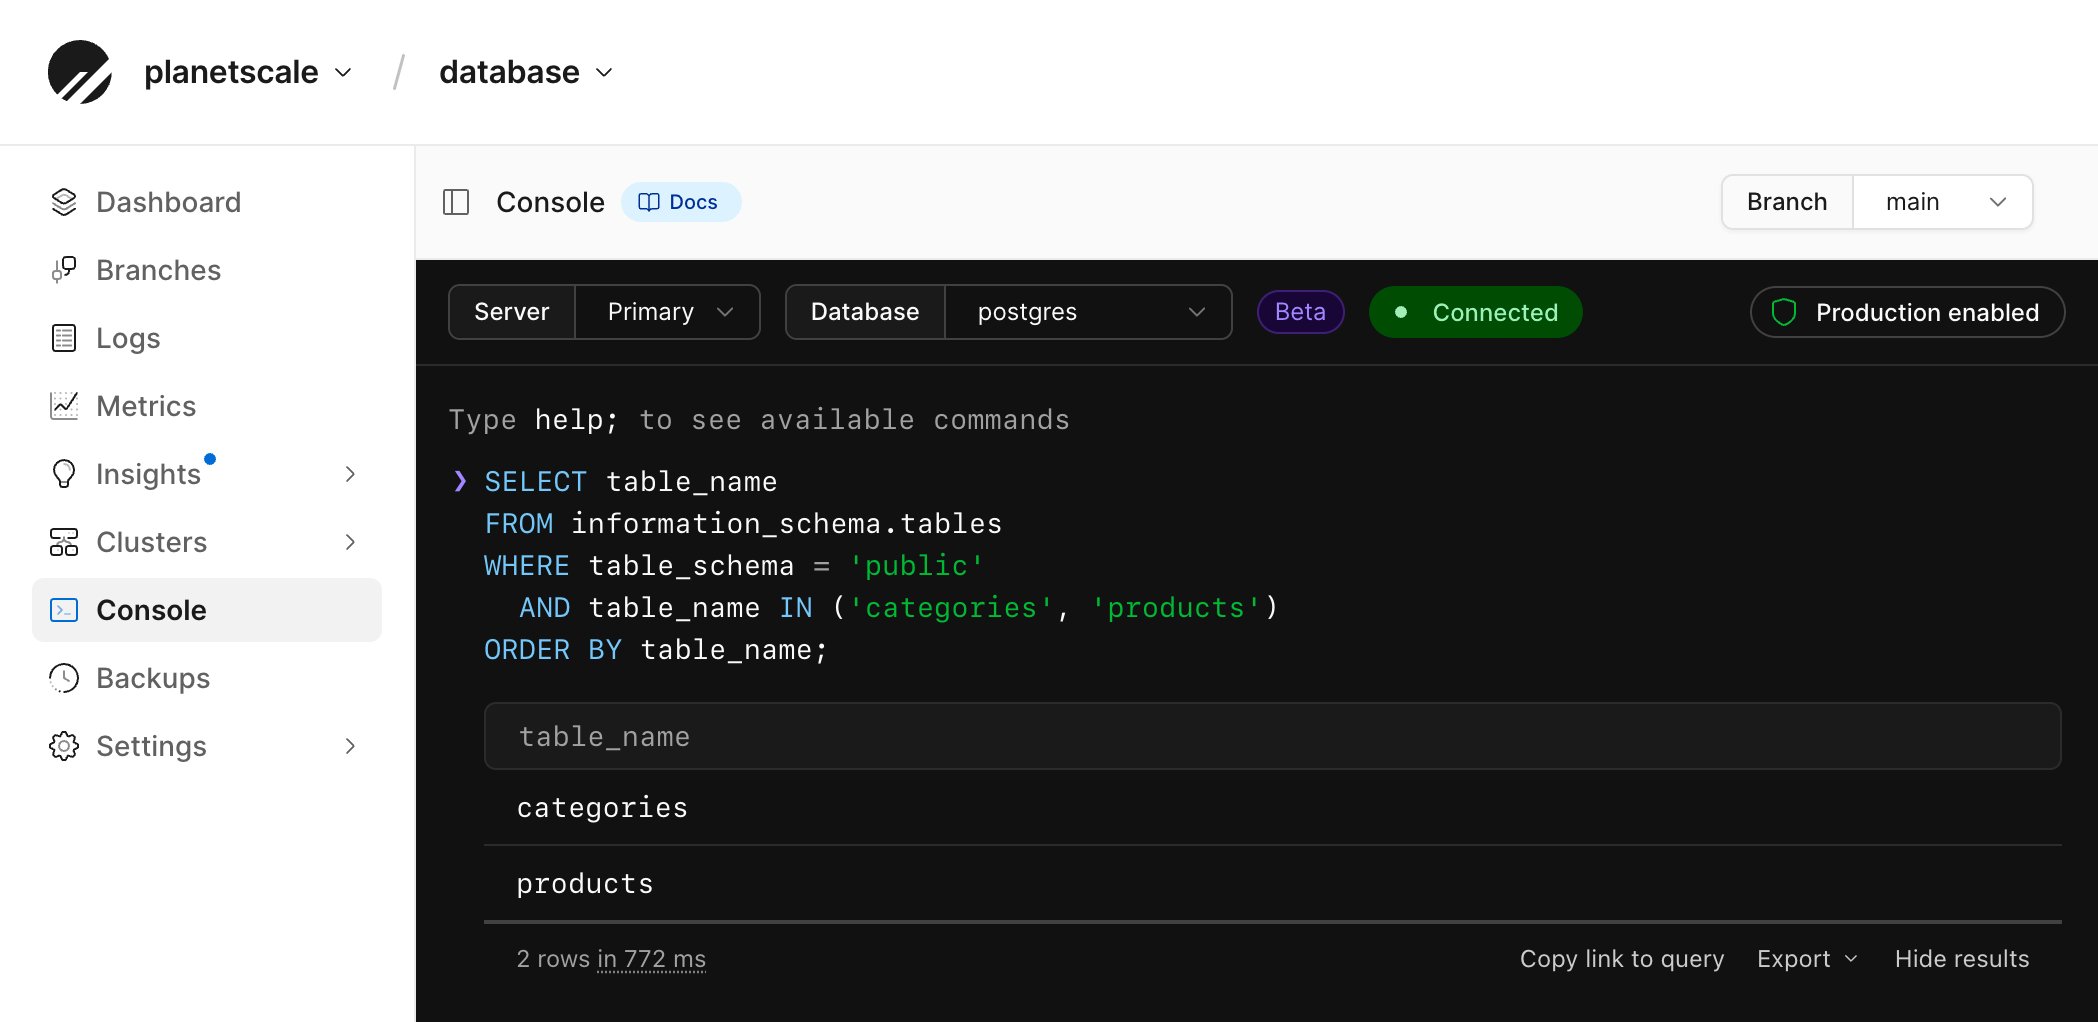
Insert data into your database
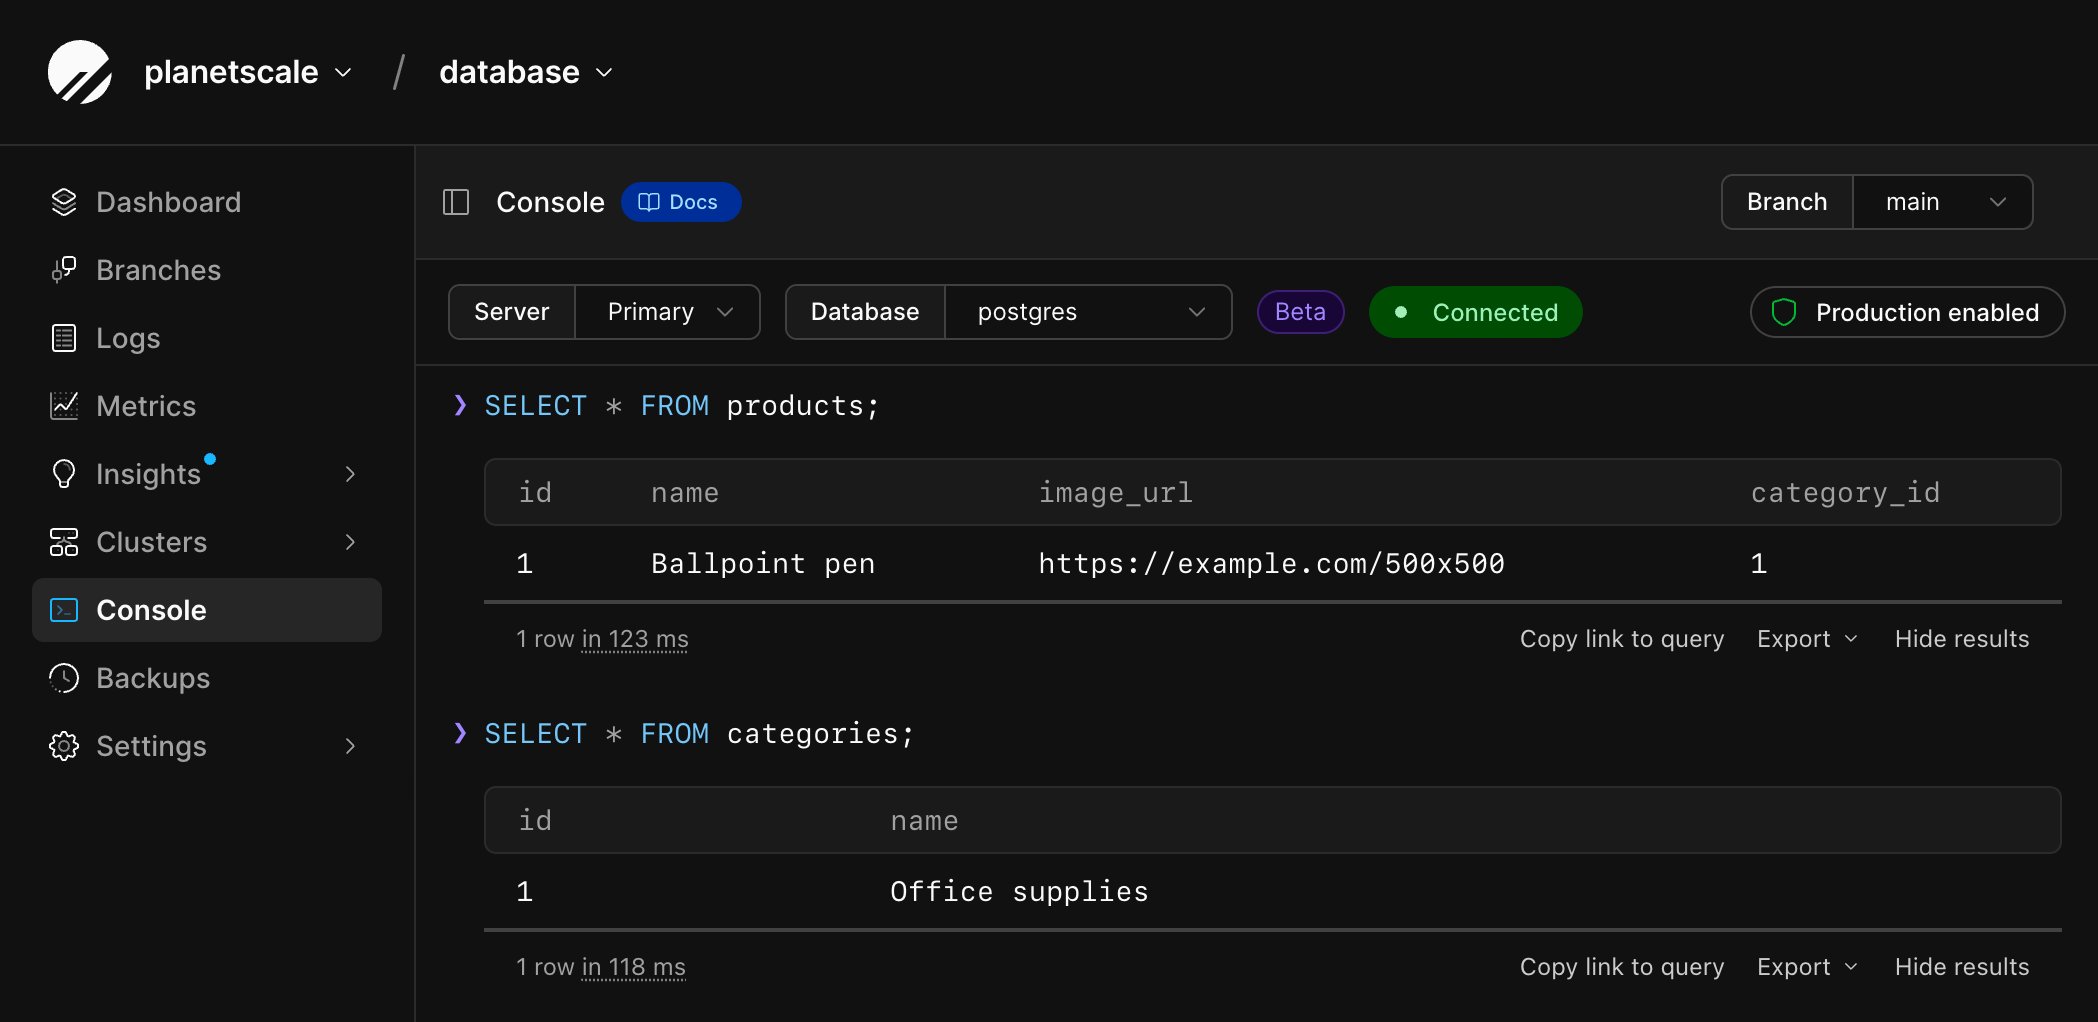
Run the following SQL to add some rows to the tables: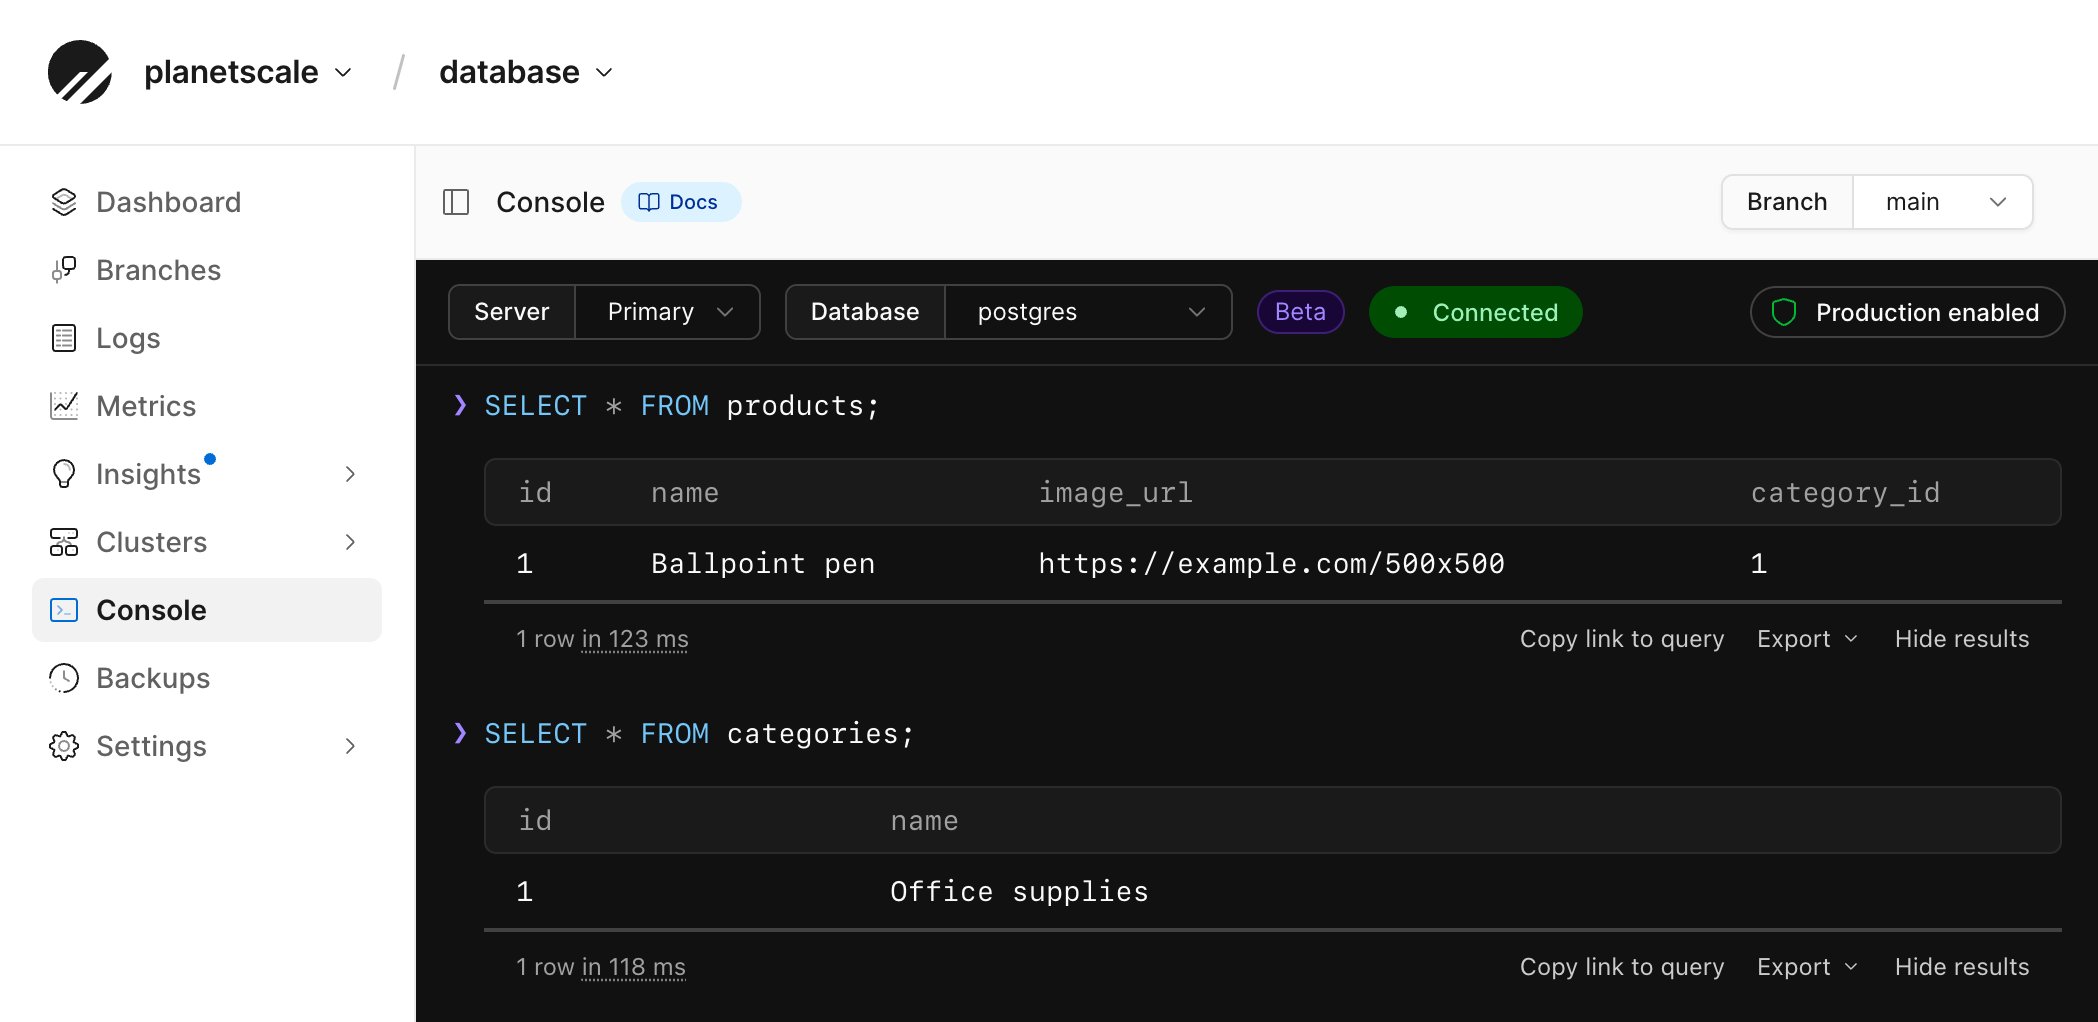
main, and it will display the names of
the two tables you just created. Click on the name of each table to see further
schema details.
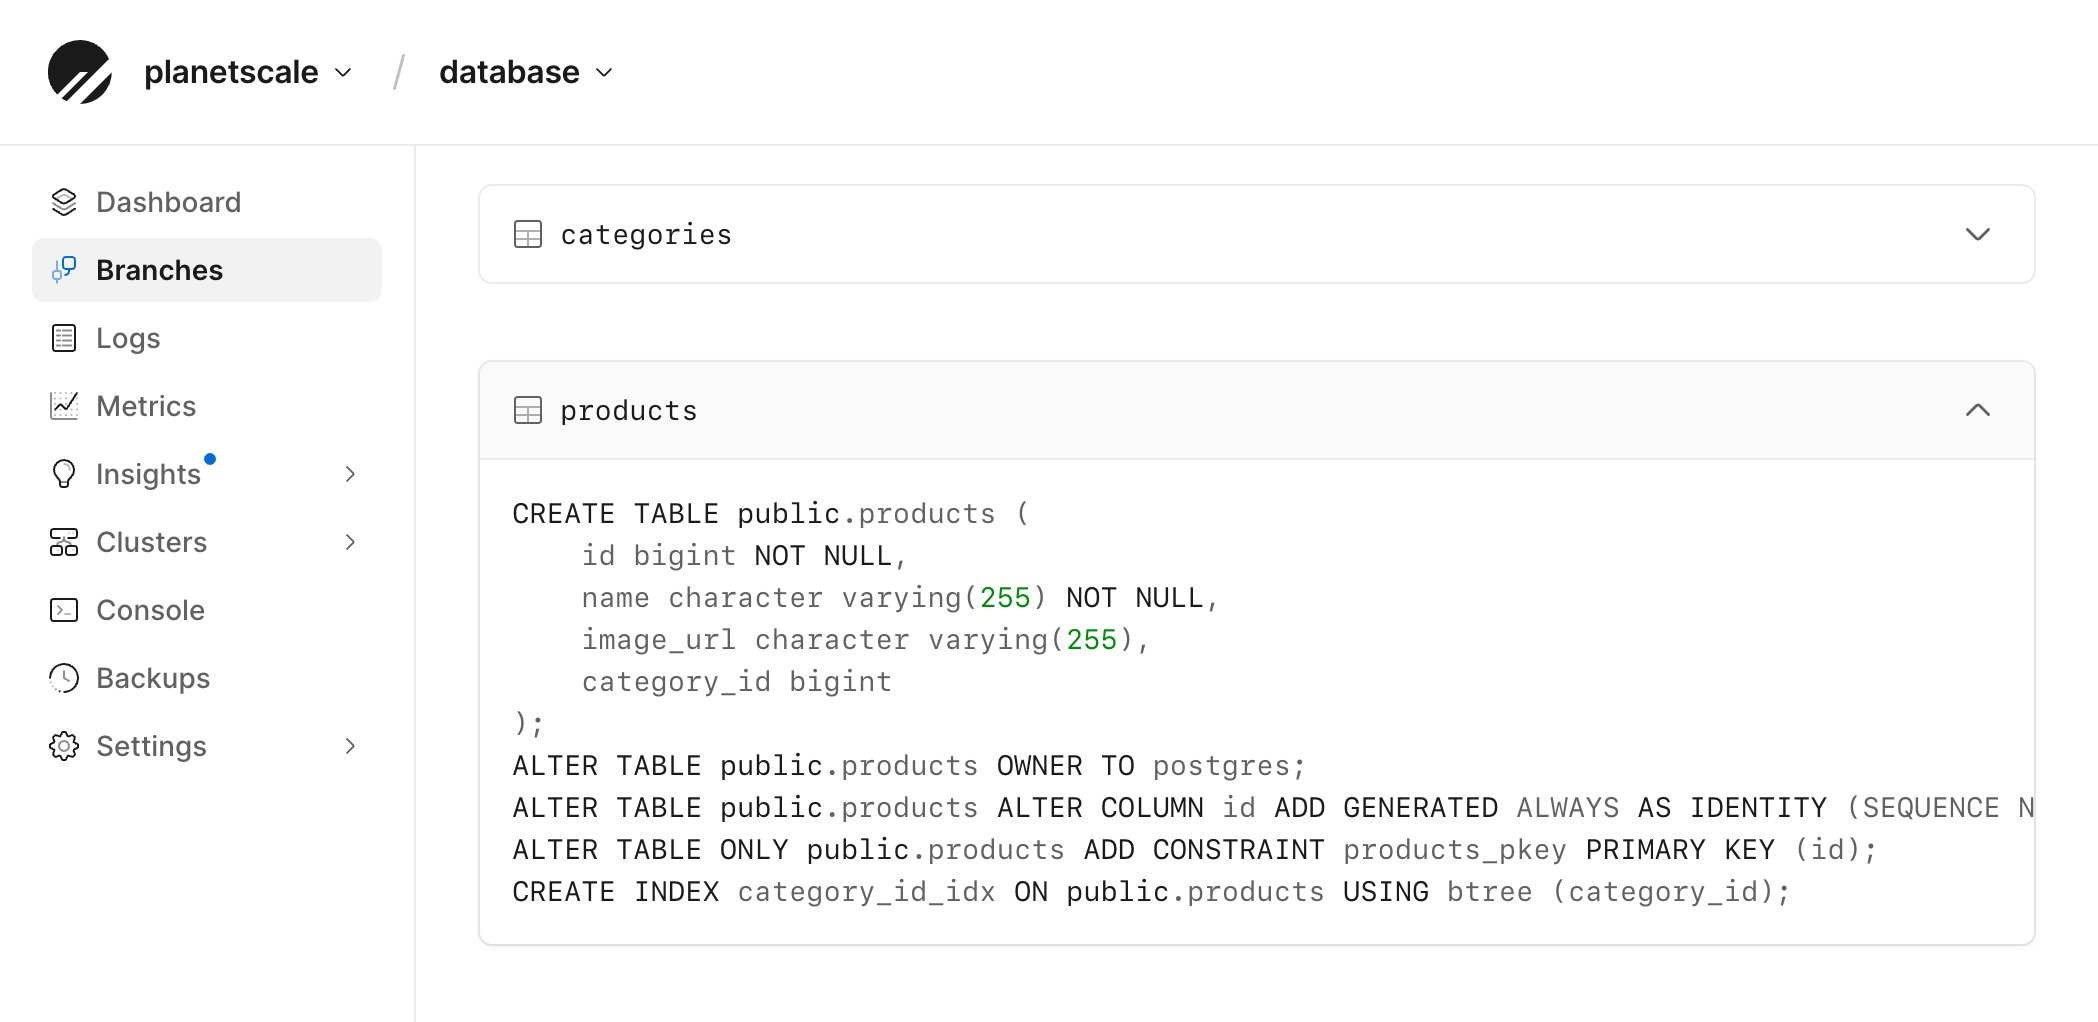
Connect to your database
Connect from outside the PlanetScale dashboard by creating a new role in the Settings -> Roles page, or openpsql through the PlanetScale CLI.
On the dashboard page, you can also click Connect to create a new role.
- Dashboard
- CLI
1
With the default branch selected, click Connect from your database dashboard.
2
Click Create new role. A role determines which operations the connection can
perform. See Roles and credentials for more details.
3
Copy the generated 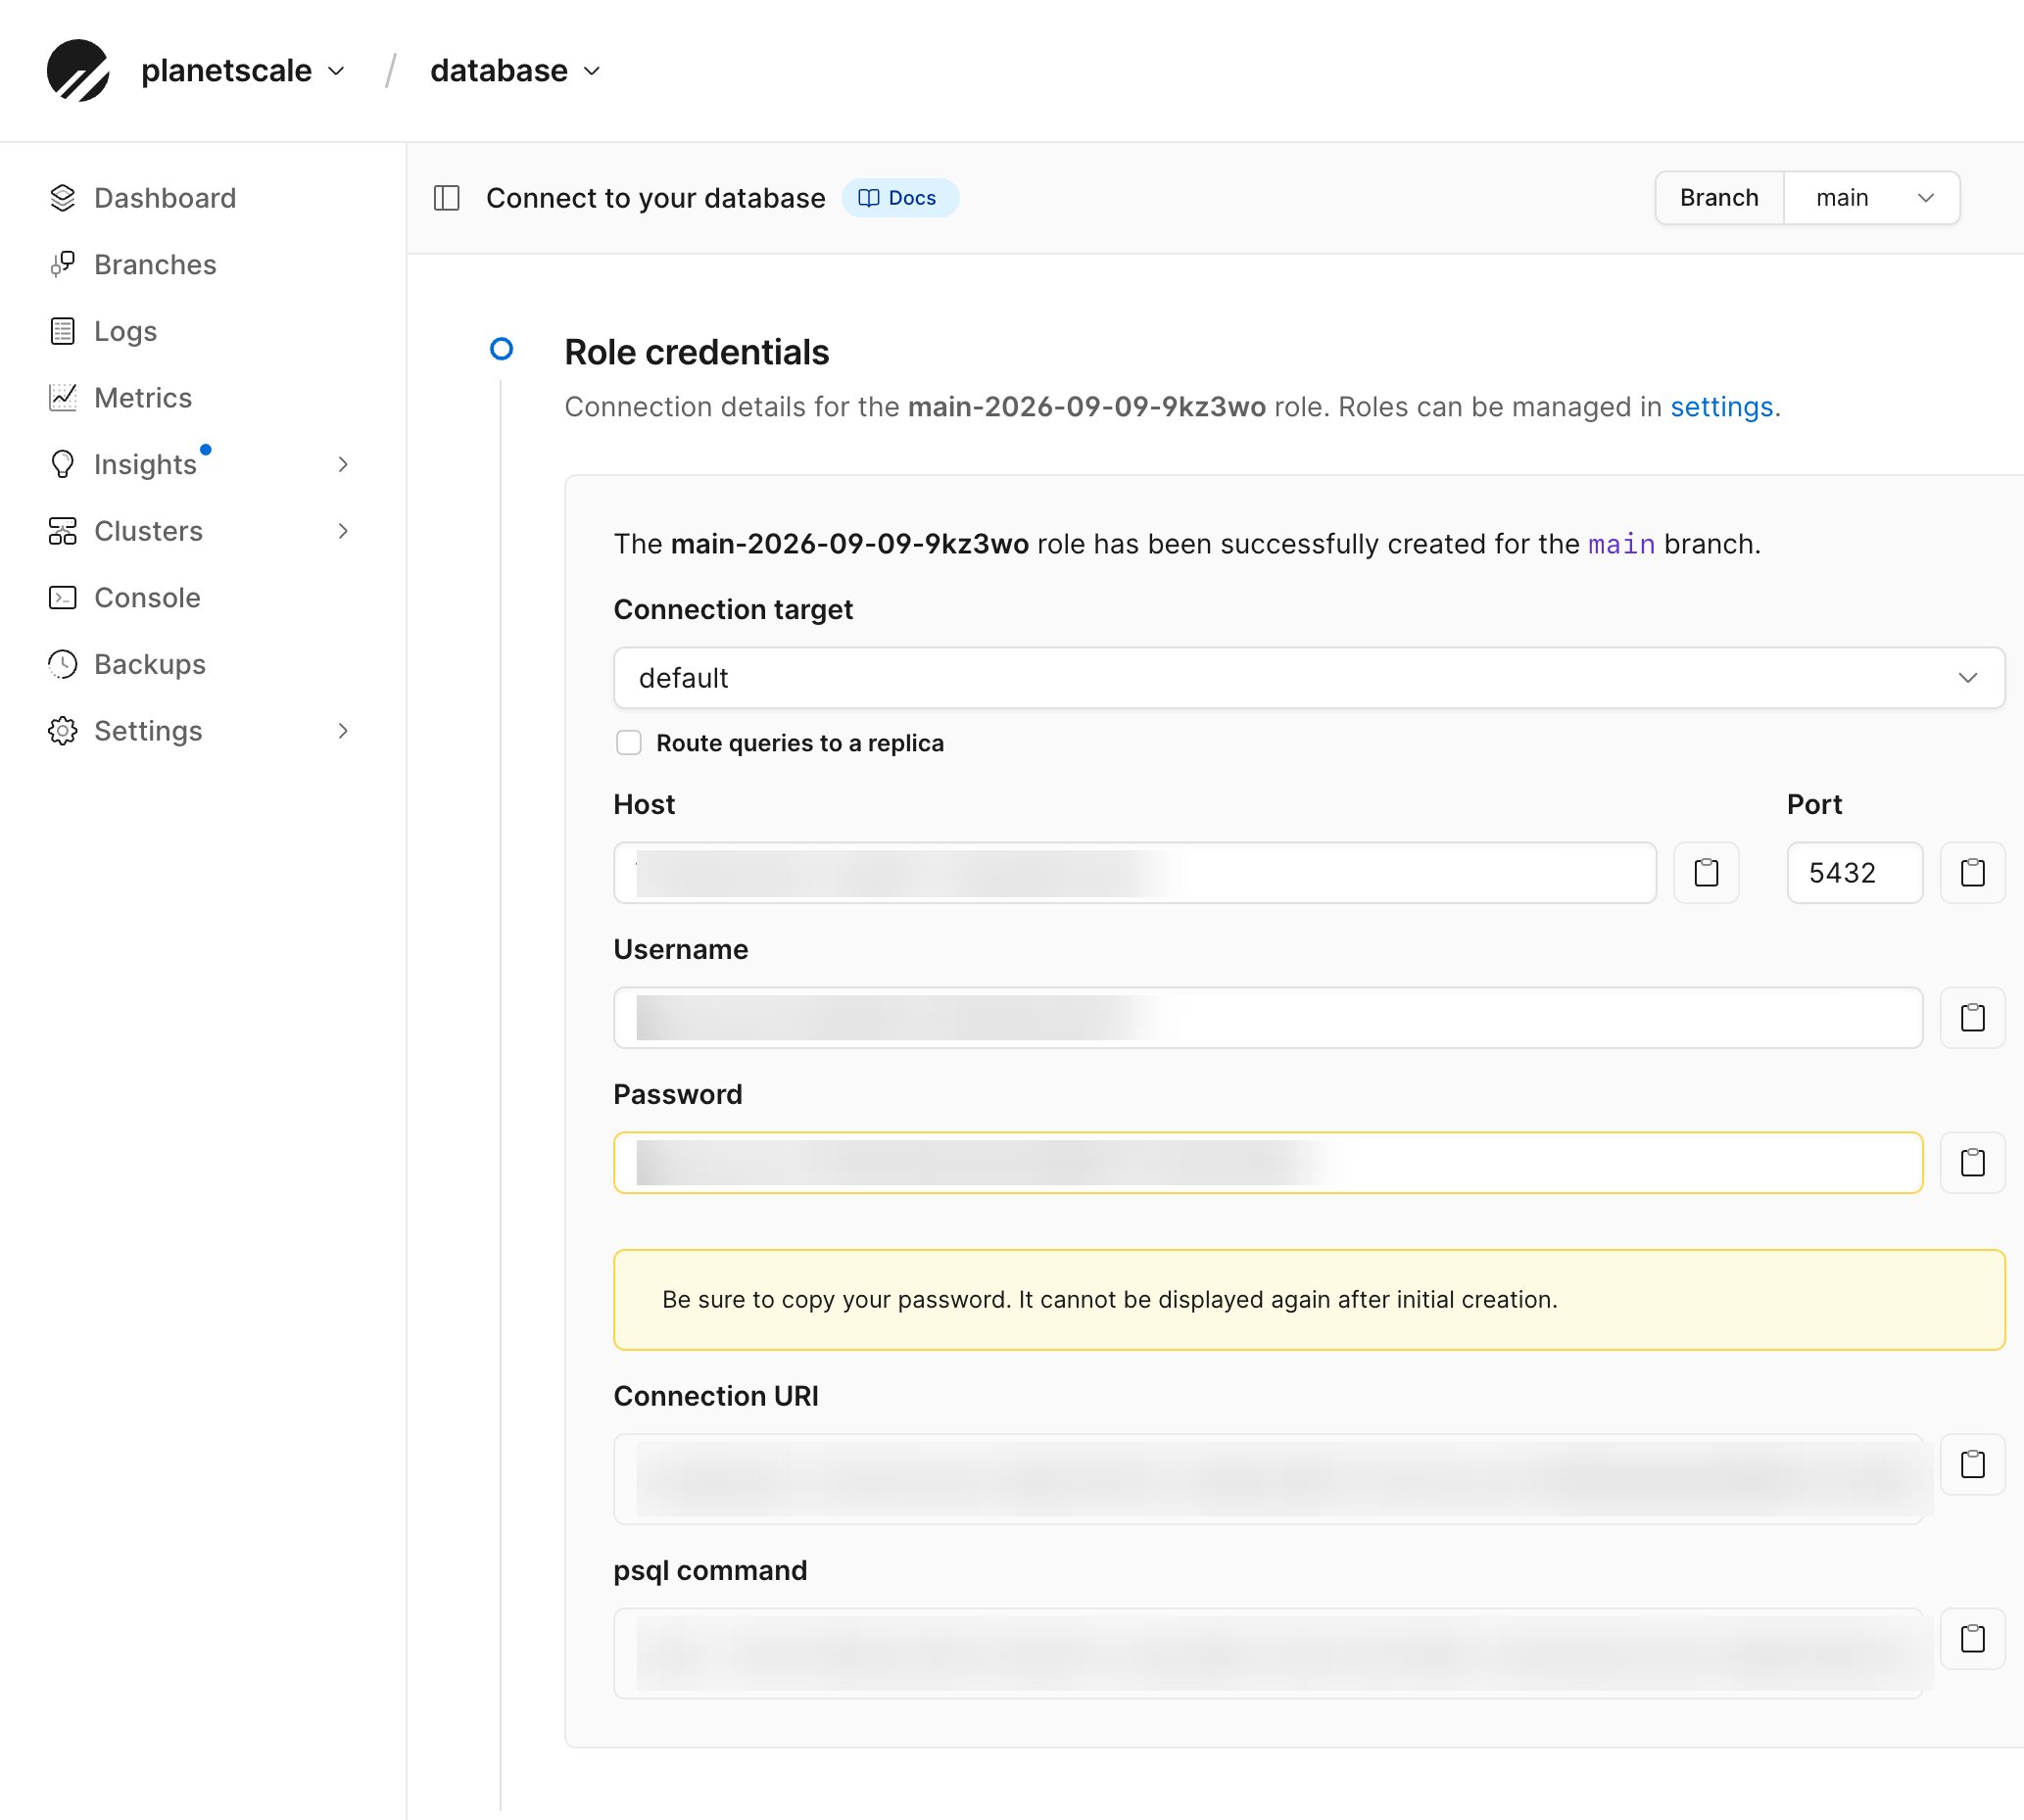
psql command and enter it into your terminal.postgres prompt appears, query the data you added:
What’s next?
Open the Connect page and select a framework or language to configure your application. See Connect to Neki for connection parameters, replica routing, and router groups. A new Neki database starts on one shard. Continue with the Sharding quickstart to see how sharding works in Neki. When you want to continue developing your database, create a development branch frommain so you can work independently of the
production branch. See Development environments
to initialize an empty branch for schema work and tests.