

How Neki backups work
When a backup begins, PlanetScale starts backup work for every managed shard in the branch. Each shard reports its own status, size, and recovery position. The Neki backup is successful only after every shard backup succeeds. The Backups page reports the overall backup as pending, running, successful, or failed. A successful backup records the per-shard recovery information required to restore the branch later. Backups capture each shard primary. Replica instances are not backed up separately.Replicas and backups
Adding a replica to a shard restores that replica from the shard’s last backup. The admin then joins the replica to the shard primary so it can start replication and catch up. The same path can repair a replica that can no longer catch up from WAL. That restore does not create a new backup on the Backups page. See Database replicas.Automatic backups
PlanetScale creates required backup schedules for production and development branches when a database becomes ready. These schedules run every 12 hours and retain each backup for two days. Required schedules cannot be modified or removed. Those backups use the included backup-storage allowance. See Backup pricing.View backups
1
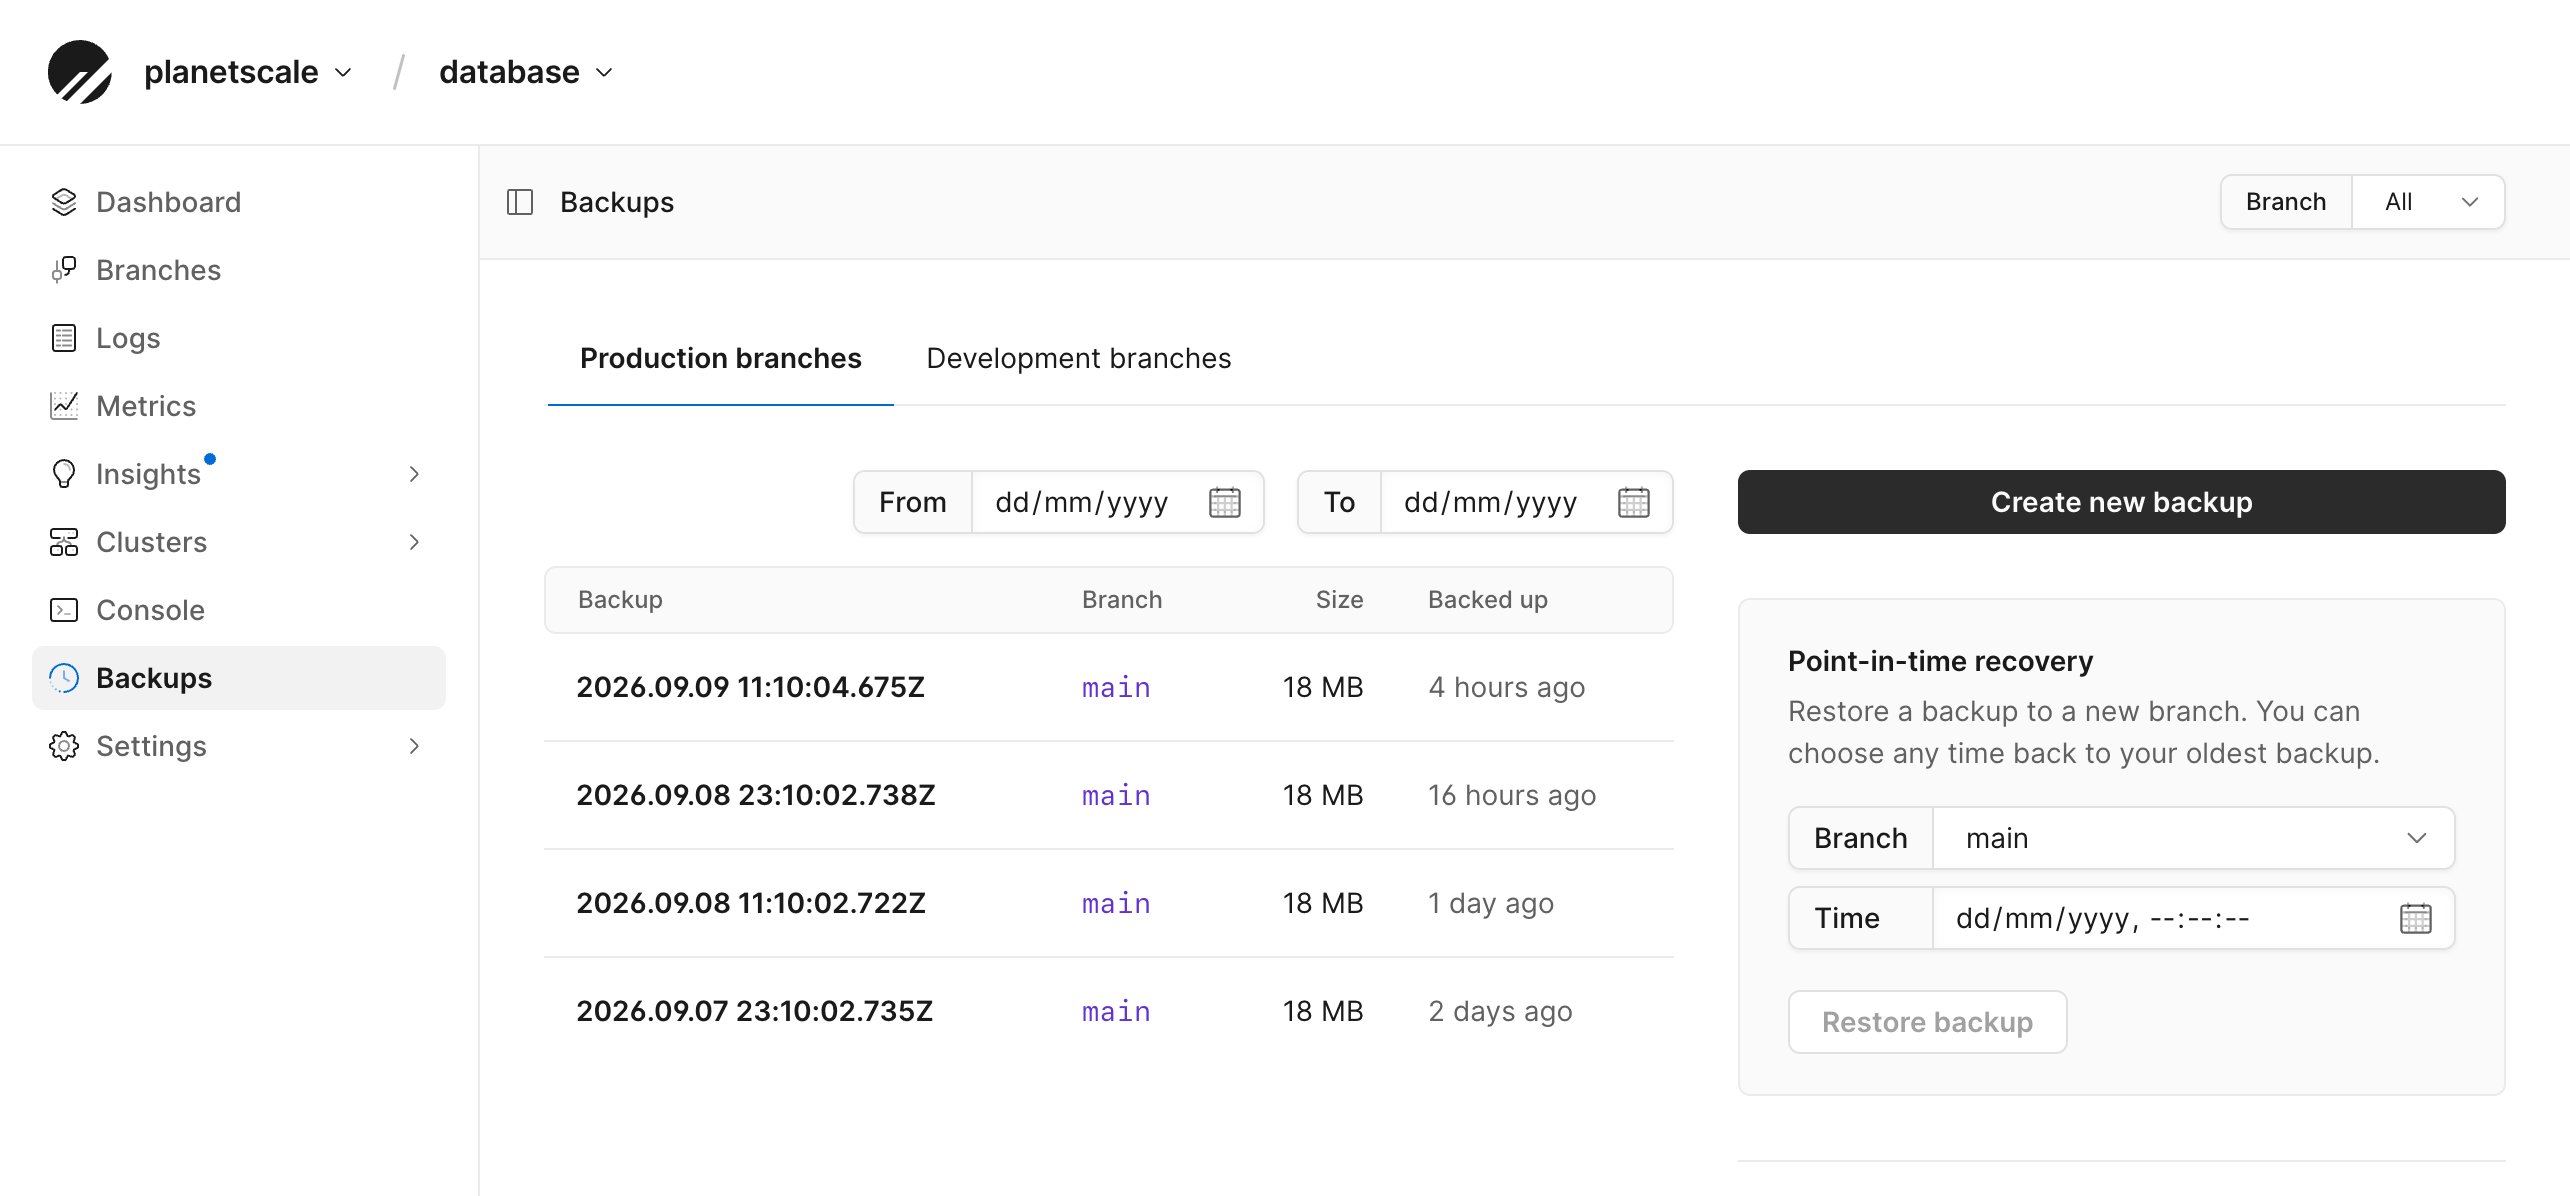
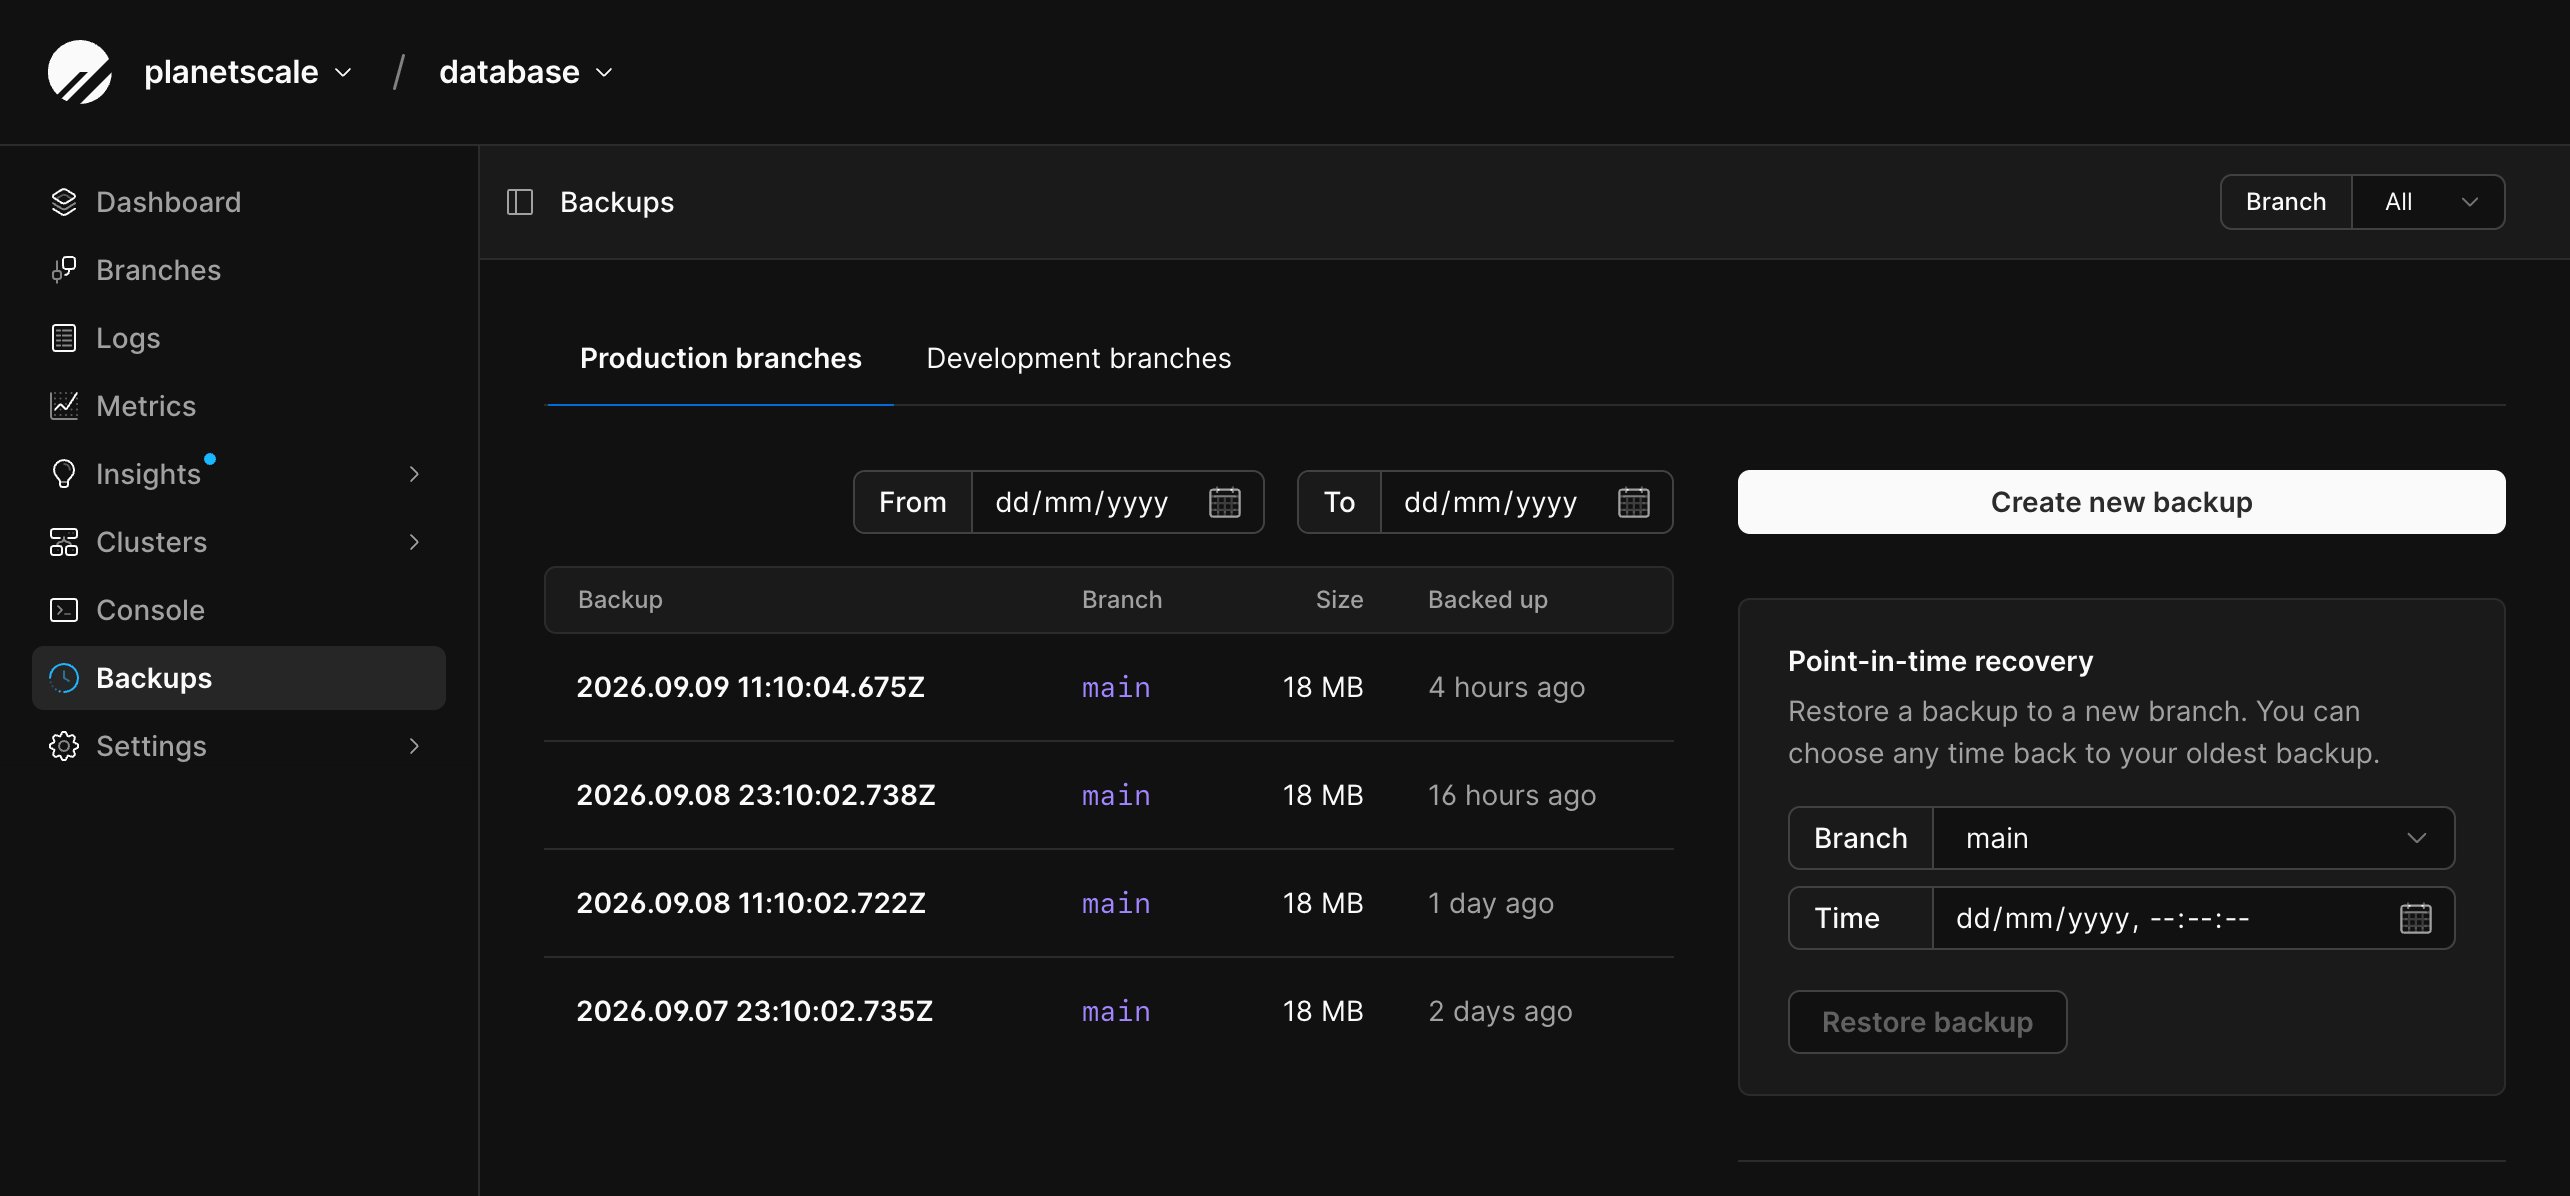
From the PlanetScale dashboard, select your Neki database.
2
Select Backups.
3
Select Production branches or Development branches.
4
Optionally filter the list by branch or date range.
5
Review the backup name, source branch, size, completion time, and current
status.
Create a manual backup
You can create one manual backup at a time for a branch.1
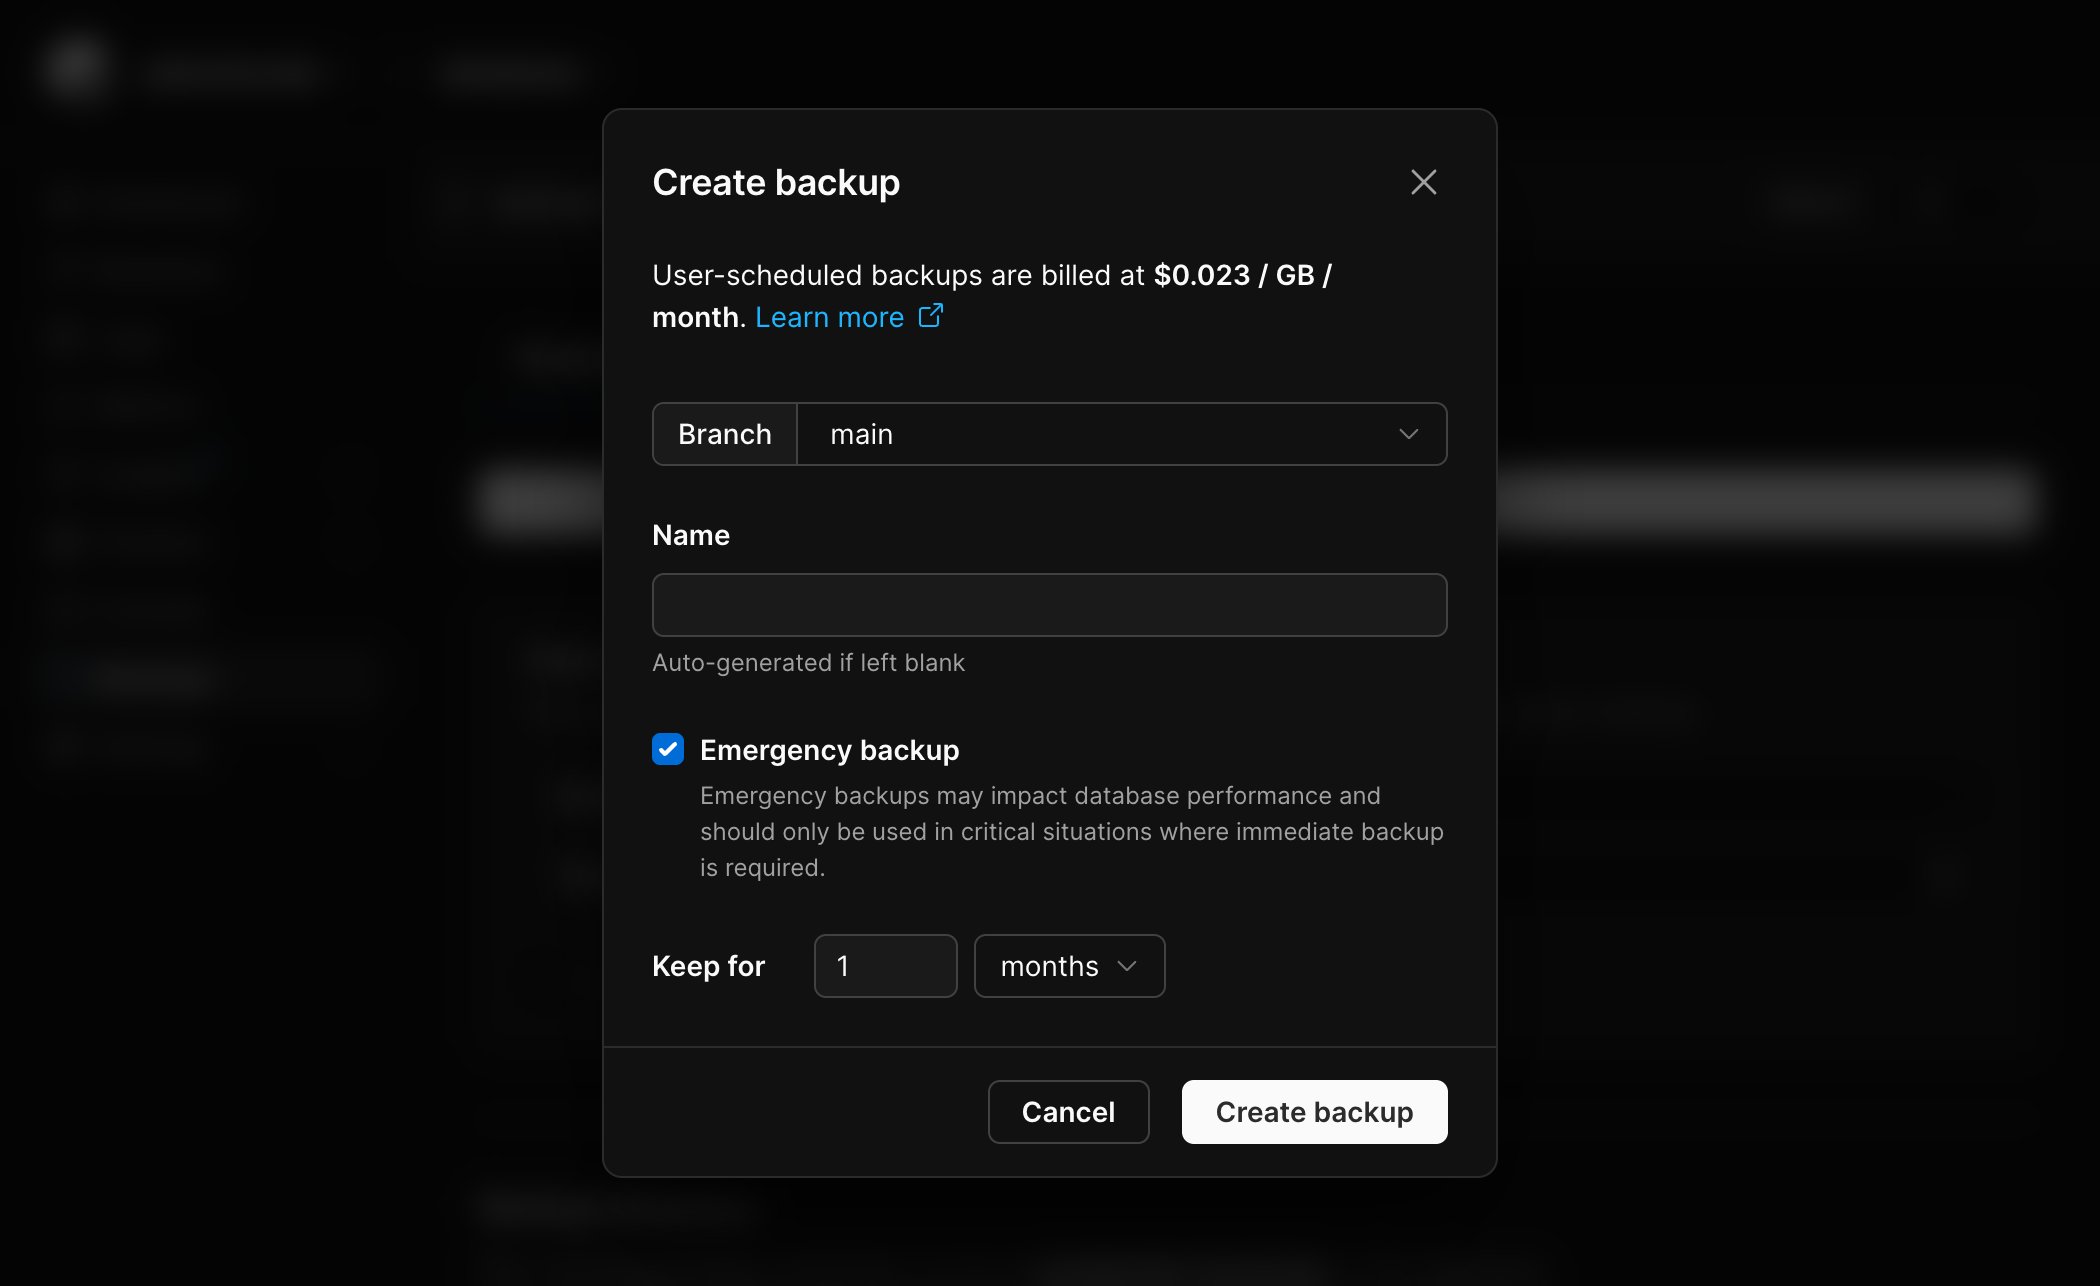
From the database’s Backups page, select Create new backup.
2
Select the branch to back up.
3
Enter a backup name, or leave the field empty to generate one automatically.
4
Set how long to retain the backup. Retention can be measured in hours, days,
weeks, months, or years.
5
Select Create backup.
Emergency backups
The manual-backup form also provides an Emergency backup option.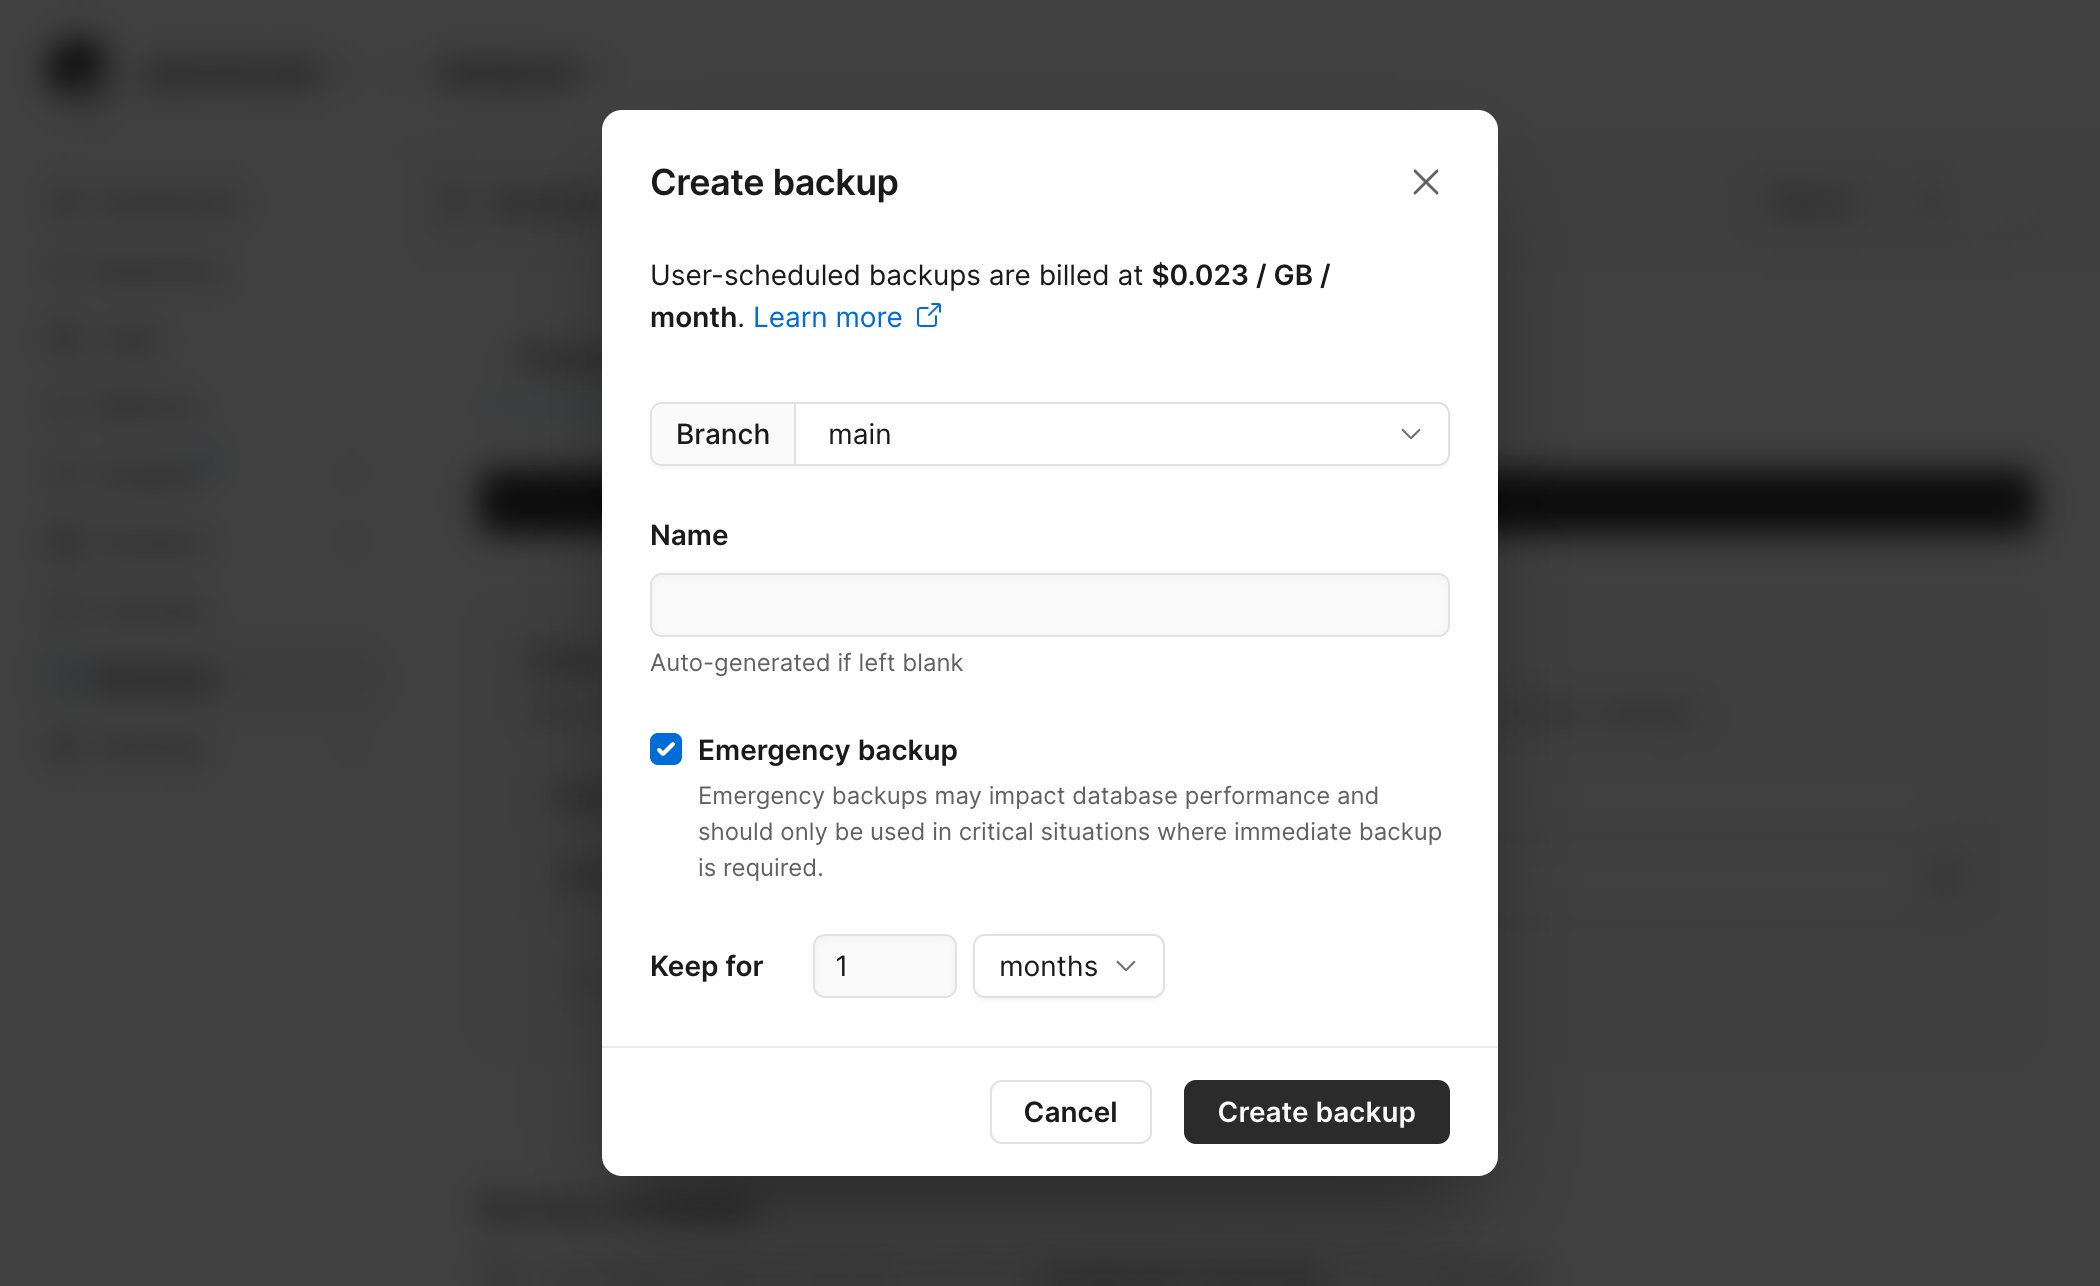
Create a custom backup schedule
A database-level schedule applies to every branch of the selected type. For example, a production schedule runs for every production branch in the database.1
From the database’s Backups page, select Production branches or Development branches.
2
Select Add new schedule.
3
Choose an hourly, daily, weekly, or monthly frequency and when the backup
should begin. Times are configured in UTC.
4
Set the retention period in hours, days, weeks, months, or years.
5
Enter a schedule name, or leave the field empty to generate one
automatically.
6
Select Save schedule.
Restore a backup
A completed Neki backup can be restored to a new branch.1
From the database’s Backups page, select a successful backup.
2
Select Restore to new branch.
3
Enter a name for the new branch.
4
For each configuration profile, select a cluster size and replica count.
Cluster sizes must use the same CPU architecture as the source profile.
Use development SKUs for every profile to create a development branch, or
production SKUs for every profile to create a production branch. You
cannot mix development and production profile sizes.
5
For each router group, select a router size and the number of replicas per
availability zone.
6
Review the estimated monthly cost, then select Restore backup.
Point-in-time recovery
Point-in-time recovery restores a new branch to a selected time rather than to the exact completion time of a backup. Neki starts from an eligible successful backup completed at or before the selected time, then replays the Postgres write-ahead log (WAL) for each restored shard until that time. The dashboard limits the available window to times between the oldest eligible backup and five minutes before the current time.1
From the database’s Backups page, find Point-in-time recovery.
2
Select the source branch.
3
Select the date and time to restore.
4
Enter a name.
5
Choose a compatible cluster size and replica count for each configuration profile.
6
Choose a size and replicas per availability zone for each router group.
7
Review the estimated monthly cost.
8
Select Restore backup to create the branch.
--config-profile and
--router for each resource that needs an override. This example assumes the
source has only its default profile and router: