> ## Documentation Index
> Fetch the complete documentation index at: https://planetscale.com/docs/llms.txt
> Use this file to discover all available pages before exploring further.
# Next.js and PlanetScale Netlify template tutorial
## Overview
This guide will show you how to get up and running with the [Netlify, Next.js, and PlanetScale starter template](https://templates.netlify.com/template/nextjs-planetscale-starter/). The template includes the following features:
* Simple user admin dashboard
* [PlanetScale](/) database
* [Prisma ORM](https://www.prisma.io/) integration
* [Next.js authentication](https://nextjs.org/docs/app/building-your-application/authentication)
* One-click [deploy to Netlify](https://netlify.com)
* [Tailwind CSS](https://tailwindcss.com/) styling
 If you're coming from the **[Netlify Template](https://templates.netlify.com/template/nextjs-planetscale-starter/)** and you already clicked deploy, you're in the right place! This tutorial will walk you through how to set up your PlanetScale database so that you can fill in the environment variables in the Netlify dashboard. You'll also learn how to set up your local environment so you can continue to develop and extend this starter template. Just read through the prerequisites and then skip the first section to [go straight to the local setup](#set-up-the-project-locally).
If you're **starting fresh and haven't deployed yet** (or don't want to deploy), you can start from the beginning of this tutorial.
### Prerequisites
To follow along with this guide, you'll need the following:
* A [free PlanetScale account](https://auth.planetscale.com/sign-up)
* The [PlanetScale CLI](https://github.com/planetscale/cli#installation)
* [Yarn](https://yarnpkg.com/getting-started/install)
* [Node (LTS)](https://nodejs.org/en/)
* A [free Netlify account](https://app.netlify.com/signup)
## One-click deploy to Netlify
The one-click deploy button allows you to connect Netlify to your GitHub account to clone the `nextjs-planetscale-starter` repository and automatically deploy it. Be sure to [sign up for a Netlify account](https://app.netlify.com/signup) before clicking the deploy button.
[](https://app.netlify.com/start/deploy?repository=https://github.com/planetscale/nextjs-planetscale-starter)
Once you click the button, you'll be taken to Netlify’s direct deploy page with the pre-built project’s repository passed as a parameter in the URL. Click the "**Connect to GitHub**" button to authorize access.
Next, you'll be asked to configure your site variables. For the `Secret` value, navigate to [`https://generate-secret.now.sh/32`](https://generate-secret.now.sh/32) to generate a secret and then paste that in. You can leave the `Database URL` and `NextAuth URL` values blank for now. Click "Save & Deploy".
Your site will take about a minute to build and then you'll be taken to a settings page. A unique Netlify URL will be generated for the project. You can click that now to see your live site! The next section will show you how to set the project up locally and create your PlanetScale database to connect to your live site.
## Set up the project locally
If you already went through the [Netlify deployment](https://templates.netlify.com/template/nextjs-planetscale-starter/), find the repository that was created for you in your GitHub account and clone it.
If you didn't deploy and just want to run the template locally, you can clone the [`nextjs-planetscale-starter` repository](https://github.com/planetscale/nextjs-planetscale-starter).
Enter into the folder and install the dependencies:
```bash theme={null}
yarn install
```
Run the application with:
```bash theme={null}
yarn next
```
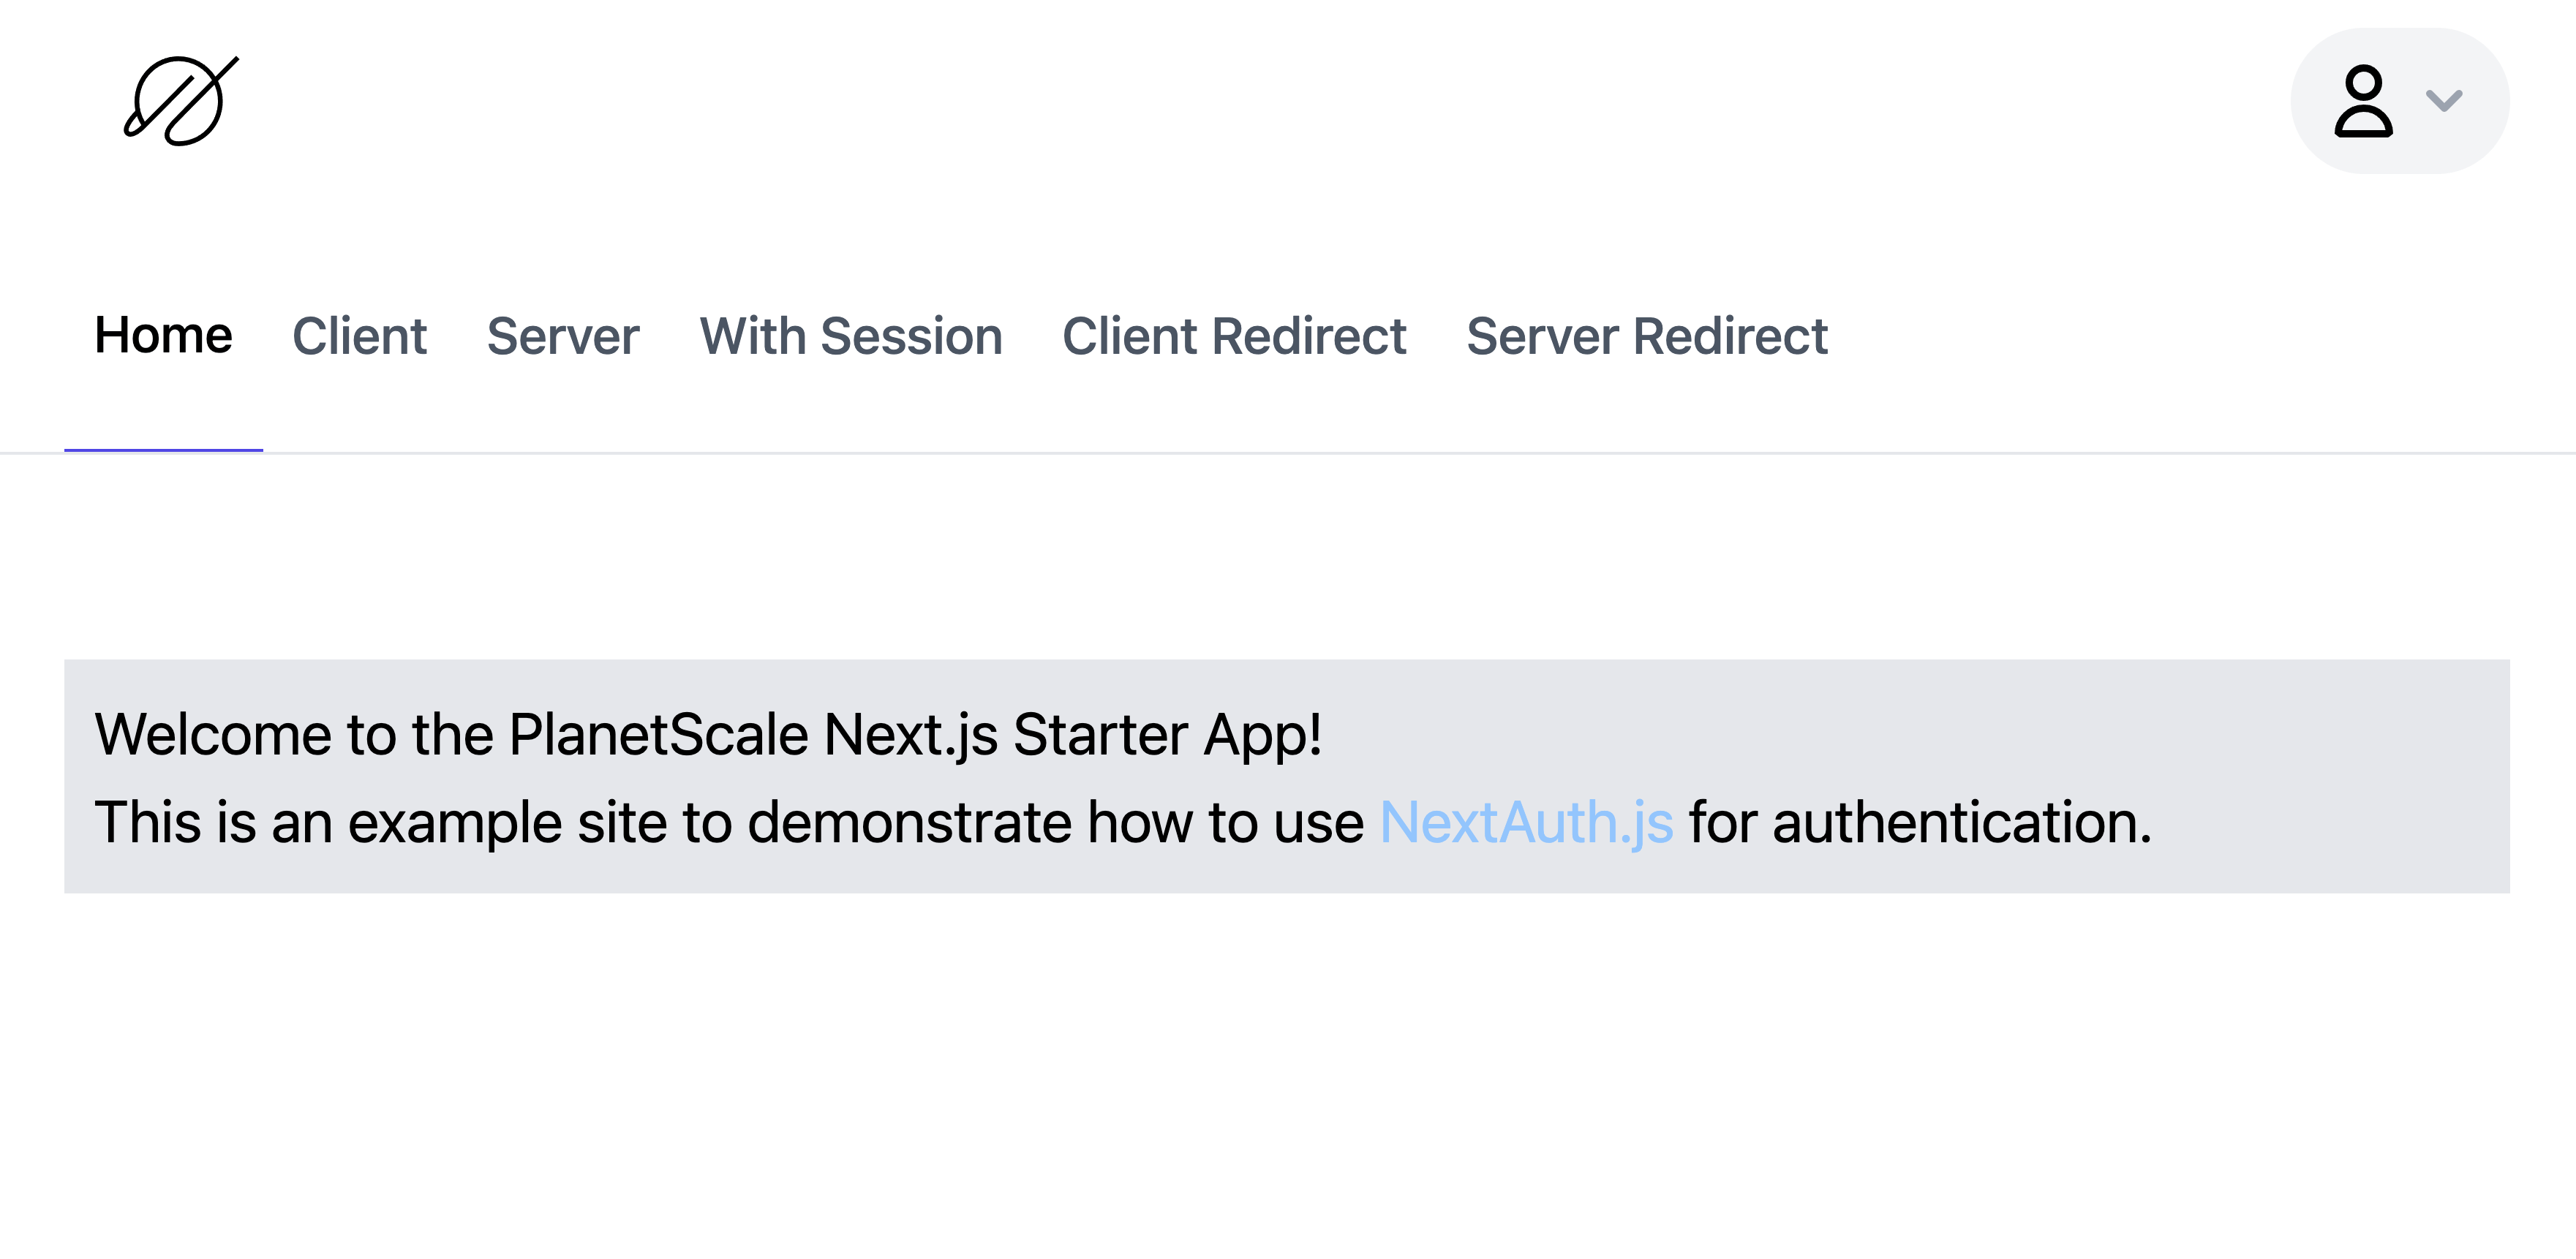
Navigate to [http://localhost:3000/](http://localhost:3000/) in your browser to view the PlanetScale Next.js Starter app.
If you're coming from the **[Netlify Template](https://templates.netlify.com/template/nextjs-planetscale-starter/)** and you already clicked deploy, you're in the right place! This tutorial will walk you through how to set up your PlanetScale database so that you can fill in the environment variables in the Netlify dashboard. You'll also learn how to set up your local environment so you can continue to develop and extend this starter template. Just read through the prerequisites and then skip the first section to [go straight to the local setup](#set-up-the-project-locally).
If you're **starting fresh and haven't deployed yet** (or don't want to deploy), you can start from the beginning of this tutorial.
### Prerequisites
To follow along with this guide, you'll need the following:
* A [free PlanetScale account](https://auth.planetscale.com/sign-up)
* The [PlanetScale CLI](https://github.com/planetscale/cli#installation)
* [Yarn](https://yarnpkg.com/getting-started/install)
* [Node (LTS)](https://nodejs.org/en/)
* A [free Netlify account](https://app.netlify.com/signup)
## One-click deploy to Netlify
The one-click deploy button allows you to connect Netlify to your GitHub account to clone the `nextjs-planetscale-starter` repository and automatically deploy it. Be sure to [sign up for a Netlify account](https://app.netlify.com/signup) before clicking the deploy button.
[](https://app.netlify.com/start/deploy?repository=https://github.com/planetscale/nextjs-planetscale-starter)
Once you click the button, you'll be taken to Netlify’s direct deploy page with the pre-built project’s repository passed as a parameter in the URL. Click the "**Connect to GitHub**" button to authorize access.
Next, you'll be asked to configure your site variables. For the `Secret` value, navigate to [`https://generate-secret.now.sh/32`](https://generate-secret.now.sh/32) to generate a secret and then paste that in. You can leave the `Database URL` and `NextAuth URL` values blank for now. Click "Save & Deploy".
Your site will take about a minute to build and then you'll be taken to a settings page. A unique Netlify URL will be generated for the project. You can click that now to see your live site! The next section will show you how to set the project up locally and create your PlanetScale database to connect to your live site.
## Set up the project locally
If you already went through the [Netlify deployment](https://templates.netlify.com/template/nextjs-planetscale-starter/), find the repository that was created for you in your GitHub account and clone it.
If you didn't deploy and just want to run the template locally, you can clone the [`nextjs-planetscale-starter` repository](https://github.com/planetscale/nextjs-planetscale-starter).
Enter into the folder and install the dependencies:
```bash theme={null}
yarn install
```
Run the application with:
```bash theme={null}
yarn next
```
Navigate to [http://localhost:3000/](http://localhost:3000/) in your browser to view the PlanetScale Next.js Starter app.
 ## Database setup
Next, you need to set up your PlanetScale database. If you don't already have a [PlanetScale account](/planetscale-plans), you can [sign up for a free one here](https://auth.planetscale.com/sign-up).
### Create your database
To begin, create a new database. You can either do this in the dashboard or using the [PlanetScale CLI](/cli).
In the dashboard, click on the "**Create a database**" button. Name your database "`netlify-starter`", or whatever name you wish. Select the region closest to you, and click "**Create database**".
Alternatively, [sign in and create a database with the CLI](/vitess/tutorials/planetscale-quick-start-guide#getting-started-%E2%80%94-planetscale-cli) by running the following:
```bash theme={null}
pscale database create --region
```
The list of region slugs can be found in our [Regions documentation](/vitess/regions#available-regions).
### Connect to your database branches locally
To connect locally, make sure you've authenticated in the CLI. If not, follow the directions in the [sign-in section of our quickstart guide](/vitess/tutorials/planetscale-quick-start-guide#sign-in-to-your-account).
Next, connect to your `main` branch locally by running the following in your terminal:
```bash theme={null}
pscale connect main --port
```
Choose any unused port. This tutorial uses `3309`. You'll see the response "Secure connection to database `netlify-starter` and branch `main` is established!" along with the local proxy address for your database. Take note of that address for the next step.
## Set up local environment variables
For the last part of setup, you need to fill in your environment variables.
Make a copy of the `.env.example` file at the root of your project and rename it `.env`:
```bash theme={null}
cp .env.example .env
```
The `DATABASE_URL` value comes from your PlanetScale database and will be in the following form:
`mysql://@:/`
* `user` — the database user
* `address` — the local address returned in the previous step
* `port` — the port you specified in the previous step
* `database` — the name of your database
Below is an example of the `.env` file based on this tutorial:
```js theme={null}
DATABASE_URL="mysql://root@127.0.0.1:3309/netlify-starter"
NEXTAUTH_URL=http://localhost:3000
# Navigate to https://generate-secret.now.sh/32 to generate a secret for the variable below
NEXTAUTH_SECRET=
```
Remember, these are the values for your **local environment**. The values needed for the Netlify environment variables will be covered shortly.
## Push your database schema to PlanetScale
Now that your PlanetScale database is connected to your application, it's time to [push your database schema](https://www.prisma.io/docs/orm/reference/prisma-cli-reference#db-push).
In your terminal, run:
```bash theme={null}
yarn db:push
```
You can view the schema in your PlanetScale dashboard by clicking the `netlify-starter` database > "**Branches**" > `main` > "**Schema**" > "**Refresh schema**".
You'll now see the following tables:
* `Account`
* `Session`
* `User`
* `VerificationToken`
You can also verify it worked using the PlanetScale CLI. Run the following to start a MySQL shell (where `netlify-starter` is your database):
```bash theme={null}
pscale shell netlify-starter main
```
Once in the shell, view the tables with:
```bash theme={null}
SHOW tables;
```
Type `exit` to exit the MySQL shell.
The database schema, `db/schema.prisma`, has been loaded and your PlanetScale database is now ready for data.
## Seed the database
To seed the database with users, run the following:
```bash theme={null}
yarn db:seed
```
This will add three mock users to the `User` database, as described in `db/seed.ts`. To verify that they were added, click on the "**Console**" tab in your PlanetScale dashboard on the `main` branch of your `netlify-starter` database.
Run the following:
```bash theme={null}
SELECT * from User;
```
You can also run this command from the CLI using the same `pscale shell` command mentioned above.
## Netlify environment variables
Now that you have your site running locally, let's shift back to the live Netlify site.
The final step in the site deployment is configuring your production environment variables. In the Netlify dashboard under your site's settings page, click on "**Build & deploy**" > "**Environment**" in the left nav.
Click on the "**Edit variables**" button and enter in the following key/value pairs:
* `DATABASE_URL` — To find this value, go back to your PlanetScale dashboard, click on the `netlify-starter` database, click "**Connect**". If the password is masked and you don't have one, you may click the "**Generate new password**" button to create a new one. Next, click on the "**General**" dropdown in that modal and select "**Prisma**". Copy the value for `url` and paste that back in the Netlify dashboard as the value for `DATABASE_URL`. Be sure to save your PlanetScale password somewhere as you won't be able to access it again after closing the modal.
* `NEXTAUTH_SECRET` — You may have already filled this out, but if not generate a new secret at [https://generate-secret.now.sh/32](https://generate-secret.now.sh/32) and paste in the value that's returned.
* `NEXTAUTH_URL` — Paste in the Netlify site name that was generated for you. For example, `https://stoic-lumiere-6df10.netlify.app`
Click "**Save**". Now, redeploy the site with these new variables by going to "Deploys" in the top nav and clicking the "**Trigger deploy**" > "**Deploy site**" button.
## Set up your admin account
Now that your site is live and connected to your PlanetScale database, you need to set up your admin account for your application. Go to `/admin/setup` on your live Netlify site (or locally if you didn't deploy), and fill in the form to set up your account. This will be automatically saved to your PlanetScale database.
Creating an admin account gives you access to the `/admin` route in your application, which is the dashboard to manage your users.
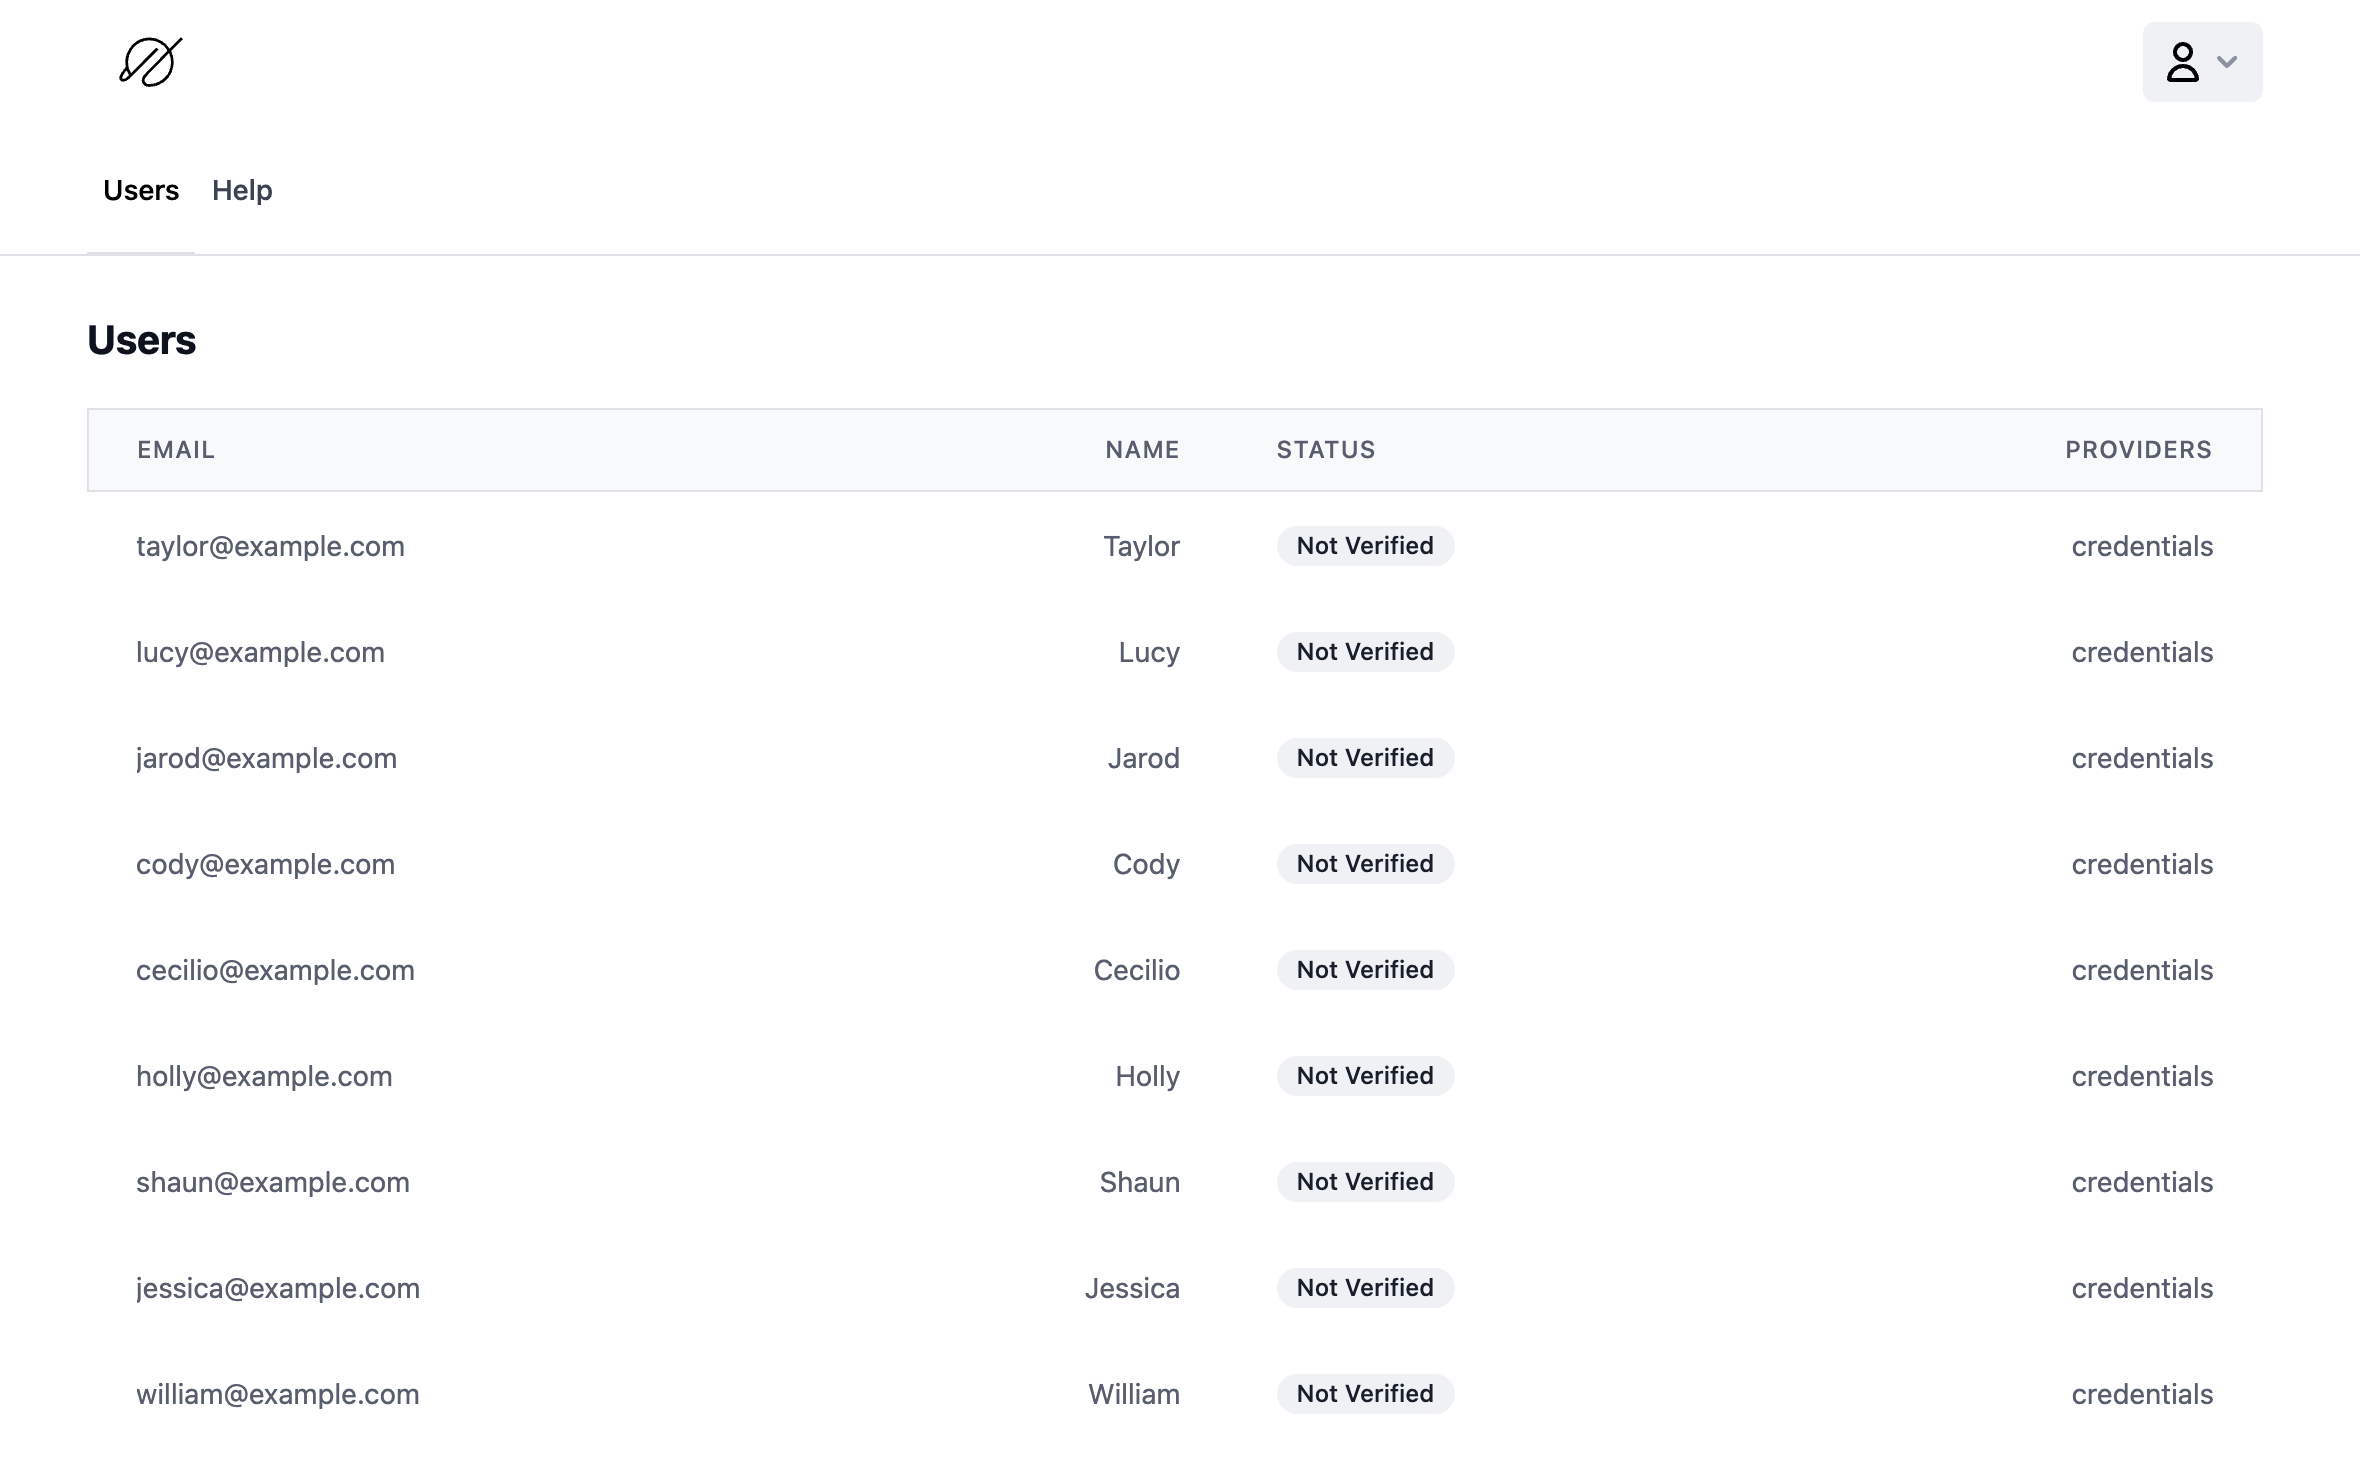
Once you're signed in as an admin, navigate to `/admin` to see a list of your users.
## Customize and extend
And that's it! If you followed this tutorial completely, you now have a local and production version of your **Next.js + PlanetScale + Prisma admin dashboard**. So what's next?
Now, it's time to extend it! Next.js Authentication is baked into this starter, so you can explore the [Next.js docs to manage authentication](https://nextjs.org/docs/app/building-your-application/authentication) in your application.
You also have a fully functional PlanetScale MySQL database built for scale using the power of [Vitess](https://vitess.io/). You might have noticed that this tutorial uses the same database locally as it is in production. This was just for simplicity, but with PlanetScale, you can take advantage of our [powerful branching feature](/vitess/schema-changes/branching) to create development branches of your database specifically for testing locally. All you have to do is create a new branch and swap out the `DATABASE_URL` environment variable in your local `.env` file.
Finally, you have [Prisma ORM](https://www.prisma.io/) already configured in your application. If you want to add any more fields to your `User` table or create any new tables, Prisma makes it easy with the `schema.prisma` file. If you want to make any schema changes, it's a perfect time to try out the [PlanetScale branching feature](/vitess/schema-changes/branching) feature. If you mess up, those changes won't touch production. And once you're satisfied with the changes, you can deploy to production without causing downtime thanks to PlanetScale [non-blocking schema changes](/vitess/schema-changes).
Hopefully this tutorial has been helpful. We'd love to hear how you're extending your starter application. [Tweet us @PlanetScale](https://twitter.com/planetscale) and share what you built!
## Need help?
Get help from [the PlanetScale Support team](https://planetscale.com/contact?initial=support), or join our [Discord community](https://pscale.link/community) to see how others are using PlanetScale.
## Database setup
Next, you need to set up your PlanetScale database. If you don't already have a [PlanetScale account](/planetscale-plans), you can [sign up for a free one here](https://auth.planetscale.com/sign-up).
### Create your database
To begin, create a new database. You can either do this in the dashboard or using the [PlanetScale CLI](/cli).
In the dashboard, click on the "**Create a database**" button. Name your database "`netlify-starter`", or whatever name you wish. Select the region closest to you, and click "**Create database**".
Alternatively, [sign in and create a database with the CLI](/vitess/tutorials/planetscale-quick-start-guide#getting-started-%E2%80%94-planetscale-cli) by running the following:
```bash theme={null}
pscale database create --region
```
The list of region slugs can be found in our [Regions documentation](/vitess/regions#available-regions).
### Connect to your database branches locally
To connect locally, make sure you've authenticated in the CLI. If not, follow the directions in the [sign-in section of our quickstart guide](/vitess/tutorials/planetscale-quick-start-guide#sign-in-to-your-account).
Next, connect to your `main` branch locally by running the following in your terminal:
```bash theme={null}
pscale connect main --port
```
Choose any unused port. This tutorial uses `3309`. You'll see the response "Secure connection to database `netlify-starter` and branch `main` is established!" along with the local proxy address for your database. Take note of that address for the next step.
## Set up local environment variables
For the last part of setup, you need to fill in your environment variables.
Make a copy of the `.env.example` file at the root of your project and rename it `.env`:
```bash theme={null}
cp .env.example .env
```
The `DATABASE_URL` value comes from your PlanetScale database and will be in the following form:
`mysql://@:/`
* `user` — the database user
* `address` — the local address returned in the previous step
* `port` — the port you specified in the previous step
* `database` — the name of your database
Below is an example of the `.env` file based on this tutorial:
```js theme={null}
DATABASE_URL="mysql://root@127.0.0.1:3309/netlify-starter"
NEXTAUTH_URL=http://localhost:3000
# Navigate to https://generate-secret.now.sh/32 to generate a secret for the variable below
NEXTAUTH_SECRET=
```
Remember, these are the values for your **local environment**. The values needed for the Netlify environment variables will be covered shortly.
## Push your database schema to PlanetScale
Now that your PlanetScale database is connected to your application, it's time to [push your database schema](https://www.prisma.io/docs/orm/reference/prisma-cli-reference#db-push).
In your terminal, run:
```bash theme={null}
yarn db:push
```
You can view the schema in your PlanetScale dashboard by clicking the `netlify-starter` database > "**Branches**" > `main` > "**Schema**" > "**Refresh schema**".
You'll now see the following tables:
* `Account`
* `Session`
* `User`
* `VerificationToken`
You can also verify it worked using the PlanetScale CLI. Run the following to start a MySQL shell (where `netlify-starter` is your database):
```bash theme={null}
pscale shell netlify-starter main
```
Once in the shell, view the tables with:
```bash theme={null}
SHOW tables;
```
Type `exit` to exit the MySQL shell.
The database schema, `db/schema.prisma`, has been loaded and your PlanetScale database is now ready for data.
## Seed the database
To seed the database with users, run the following:
```bash theme={null}
yarn db:seed
```
This will add three mock users to the `User` database, as described in `db/seed.ts`. To verify that they were added, click on the "**Console**" tab in your PlanetScale dashboard on the `main` branch of your `netlify-starter` database.
Run the following:
```bash theme={null}
SELECT * from User;
```
You can also run this command from the CLI using the same `pscale shell` command mentioned above.
## Netlify environment variables
Now that you have your site running locally, let's shift back to the live Netlify site.
The final step in the site deployment is configuring your production environment variables. In the Netlify dashboard under your site's settings page, click on "**Build & deploy**" > "**Environment**" in the left nav.
Click on the "**Edit variables**" button and enter in the following key/value pairs:
* `DATABASE_URL` — To find this value, go back to your PlanetScale dashboard, click on the `netlify-starter` database, click "**Connect**". If the password is masked and you don't have one, you may click the "**Generate new password**" button to create a new one. Next, click on the "**General**" dropdown in that modal and select "**Prisma**". Copy the value for `url` and paste that back in the Netlify dashboard as the value for `DATABASE_URL`. Be sure to save your PlanetScale password somewhere as you won't be able to access it again after closing the modal.
* `NEXTAUTH_SECRET` — You may have already filled this out, but if not generate a new secret at [https://generate-secret.now.sh/32](https://generate-secret.now.sh/32) and paste in the value that's returned.
* `NEXTAUTH_URL` — Paste in the Netlify site name that was generated for you. For example, `https://stoic-lumiere-6df10.netlify.app`
Click "**Save**". Now, redeploy the site with these new variables by going to "Deploys" in the top nav and clicking the "**Trigger deploy**" > "**Deploy site**" button.
## Set up your admin account
Now that your site is live and connected to your PlanetScale database, you need to set up your admin account for your application. Go to `/admin/setup` on your live Netlify site (or locally if you didn't deploy), and fill in the form to set up your account. This will be automatically saved to your PlanetScale database.
Creating an admin account gives you access to the `/admin` route in your application, which is the dashboard to manage your users.
Once you're signed in as an admin, navigate to `/admin` to see a list of your users.
## Customize and extend
And that's it! If you followed this tutorial completely, you now have a local and production version of your **Next.js + PlanetScale + Prisma admin dashboard**. So what's next?
Now, it's time to extend it! Next.js Authentication is baked into this starter, so you can explore the [Next.js docs to manage authentication](https://nextjs.org/docs/app/building-your-application/authentication) in your application.
You also have a fully functional PlanetScale MySQL database built for scale using the power of [Vitess](https://vitess.io/). You might have noticed that this tutorial uses the same database locally as it is in production. This was just for simplicity, but with PlanetScale, you can take advantage of our [powerful branching feature](/vitess/schema-changes/branching) to create development branches of your database specifically for testing locally. All you have to do is create a new branch and swap out the `DATABASE_URL` environment variable in your local `.env` file.
Finally, you have [Prisma ORM](https://www.prisma.io/) already configured in your application. If you want to add any more fields to your `User` table or create any new tables, Prisma makes it easy with the `schema.prisma` file. If you want to make any schema changes, it's a perfect time to try out the [PlanetScale branching feature](/vitess/schema-changes/branching) feature. If you mess up, those changes won't touch production. And once you're satisfied with the changes, you can deploy to production without causing downtime thanks to PlanetScale [non-blocking schema changes](/vitess/schema-changes).
Hopefully this tutorial has been helpful. We'd love to hear how you're extending your starter application. [Tweet us @PlanetScale](https://twitter.com/planetscale) and share what you built!
## Need help?
Get help from [the PlanetScale Support team](https://planetscale.com/contact?initial=support), or join our [Discord community](https://pscale.link/community) to see how others are using PlanetScale.