> ## Documentation Index
> Fetch the complete documentation index at: https://planetscale.com/docs/llms.txt
> Use this file to discover all available pages before exploring further.
# Connect a Go application using GORM to PlanetScale
## Introduction
In this tutorial, you'll learn how to connect a Go application to a PlanetScale MySQL database using a sample Go starter app with GORM.
Already have a Go application and just want to connect to PlanetScale? Check out the [Go quick connect
repo](https://github.com/planetscale/connection-examples/tree/main/go).
## Prerequisites
* [Go](https://go.dev/doc/install)
* A [PlanetScale account](https://auth.planetscale.com/sign-up)
* [PlanetScale CLI](https://github.com/planetscale/cli) — You can also follow this tutorial in the PlanetScale admin dashboard, but the CLI will make setup quicker.
## Set up the Go app
This guide will integrate [a simple Go (Golang) app](https://github.com/planetscale/golang-example) with PlanetScale that will display a list of products stored in the database. If you have an existing application, you can also use that.
Clone the starter Go application:
```bash theme={null}
git clone https://github.com/planetscale/golang-example.git
```
Enter into the folder:
```bash theme={null}
cd golang-example
```
Copy the `.env.example` file into `.env`:
```bash theme={null}
cp .env.example .env
```
## Set up the database
Next, you need to set up your PlanetScale database and connect to it in the Go application.
You can create a database in the [PlanetScale dashboard](https://app.planetscale.com) or from the PlanetScale CLI. This guide will use the CLI, but you can follow the database setup instructions in the [PlanetScale quickstart guide](/vitess/tutorials/planetscale-quick-start-guide) if you prefer the dashboard.
Authenticate the CLI with the following command:
```bash theme={null}
pscale auth login
```
Create a new database with a default `main` branch with the following command:
```bash theme={null}
pscale database create --region
```
For `DATABASE_NAME`, you can use any name with lowercase, alphanumeric characters, or underscores. You can also use dashes, but we don't recommend them, as they may need to be escaped in some instances.
For `REGION_SLUG`, choose a region closest to you from the [available regions](/vitess/regions#available-regions) or leave it blank.
That's it! Your database is ready to use. Next, let's connect it to the Go application and then add some data.
## Connect to the Go app
There are **two ways to connect** your Go app to PlanetScale:
* With an auto-generated username and password
* Using the PlanetScale proxy with the CLI
Both options are covered below.
### Option 1: Connect with username and password (Recommended)
Create a username and password with the PlanetScale CLI by running:
```bash theme={null}
pscale password create
```
A default branch, `main`, is created when you create the database, so you can use that for `BRANCH_NAME`.
The `PASSWORD_NAME` value represents the name of the username and password being generated. You can have multiple
credentials for a branch, so this gives you a way to categorize them. To manage your passwords in the dashboard, go to
your database dashboard page, click "Settings", and then click "Passwords".
Take note of the values returned to you, as you won't be able to see this password again.
Open the `.env` file in your Go app and update `DSN` as follows:
```bash theme={null}
DSN=":@tcp()/?tls=true&interpolateParams=true"
```
Fill in `USERNAME`, `PASSWORD`, `ACCESS HOST URL`, and `DATABASE_NAME` with the appropriate values from the CLI output above. Do not remove the parentheses around the access host URL.
You can also get these exact values to copy/paste from your PlanetScale dashboard. In the dashboard, click on the database > "**Connect**" > "**Connect with**" language dropdown > "**Go**".
### Option 2: Connect with the PlanetScale proxy
To connect with the PlanetScale proxy, you need the [PlanetScale CLI](https://github.com/planetscale/cli).
Open a connection by running the following:
```bash theme={null}
pscale connect
```
If you're following this guide exactly and haven't created any branches, you can use the default branch, `main`.
A secure connection to your database will be established, and you'll see a local address you can use to connect to your application.
Open the `.env` file in your Go app and update it as follows:
```bash theme={null}
DSN="mysql://root@tcp(127.0.0.1:)/?interpolateParams=true"
```
The connection uses port `3306` by default, but if that's being used, it will pick a random port. Make sure you paste in whatever port is returned in the terminal. Fill in the database name as well.
## Run migrations and seeder
Now that you're connected let's add some data to see it in action. The sample application has an endpoint that you can use to run migrations to create your `categories` and `products` tables. It will seed your database with sample product and category data. You can find this in `main.go`.
Let's run those now.
First, start your Go app with:
```bash theme={null}
go run .
```
Next, navigate to [`localhost:8080/seed`](http://localhost:8080/seed) to run the migrations and the seeder.
You can now see the products and categories:
* Get all products — [`localhost:8080/products`](http://localhost:8080/products)
* Get all categories — [`localhost:8080/categories`](http://localhost:8080/categories)
* Get a single product — [`localhost:8080/product/{id}`](http://localhost:8080/products/1)
* Get a single category — [`localhost:8080/category/{id}`](http://localhost:8080/categories/1)
### Foreign key constraints
If you're using GORM in your Go application and [do not want to use foreign key constraints](/vitess/operating-without-foreign-key-constraints), you can turn them off with this line in the `main.go` file of the Go starter application:
```go theme={null}
// ...
DisableForeignKeyConstraintWhenMigrating: true,
// ...
```
If you prefer to use foreign key constraints in your Go application, you can skip the previous step. However, you need to first enable [foreign key constraint](/vitess/foreign-key-constraints) support in your database settings page.
## Add data manually
If you want to continue to play around with adding data on the fly, you have a few options:
* PlanetScale CLI shell
* PlanetScale dashboard console
* Your favorite MySQL client (for a list of tested MySQL clients, review our article on [how to connect MySQL GUI applications](/vitess/tutorials/connect-mysql-gui))
The first two options are covered below.
### Add data with PlanetScale CLI
You can use the PlanetScale CLI to open a MySQL shell to interact with your database.
You may need to install the MySQL command line client if you haven't already.
Run the following command in your terminal:
```bash theme={null}
pscale shell
```
This will open up a MySQL shell connected to the specified database and branch.
A branch, `main`, was automatically created when you created your database, so you can use that for `BRANCH_NAME`.
Add a record to the `products` table:
```sql theme={null}
INSERT INTO `products` (name, description, image, category_id)
VALUES ('Spaceship', 'Get ready for the trip of a lifetime', 'https://via.placeholder.com/300.png', 2);
```
The value `id` will be filled with a default value.
You can verify it was added in the PlanetScale CLI MySQL shell with:
```sql theme={null}
SELECT * FROM products;
```
Type `exit` to exit the shell.
You can now navigated the [Go products page](http://localhost:8080/products) to see the new record.
### Add data with PlanetScale dashboard console
If you don't care to install MySQL client or the PlanetScale CLI, another quick option is using the MySQL console built into the PlanetScale dashboard.
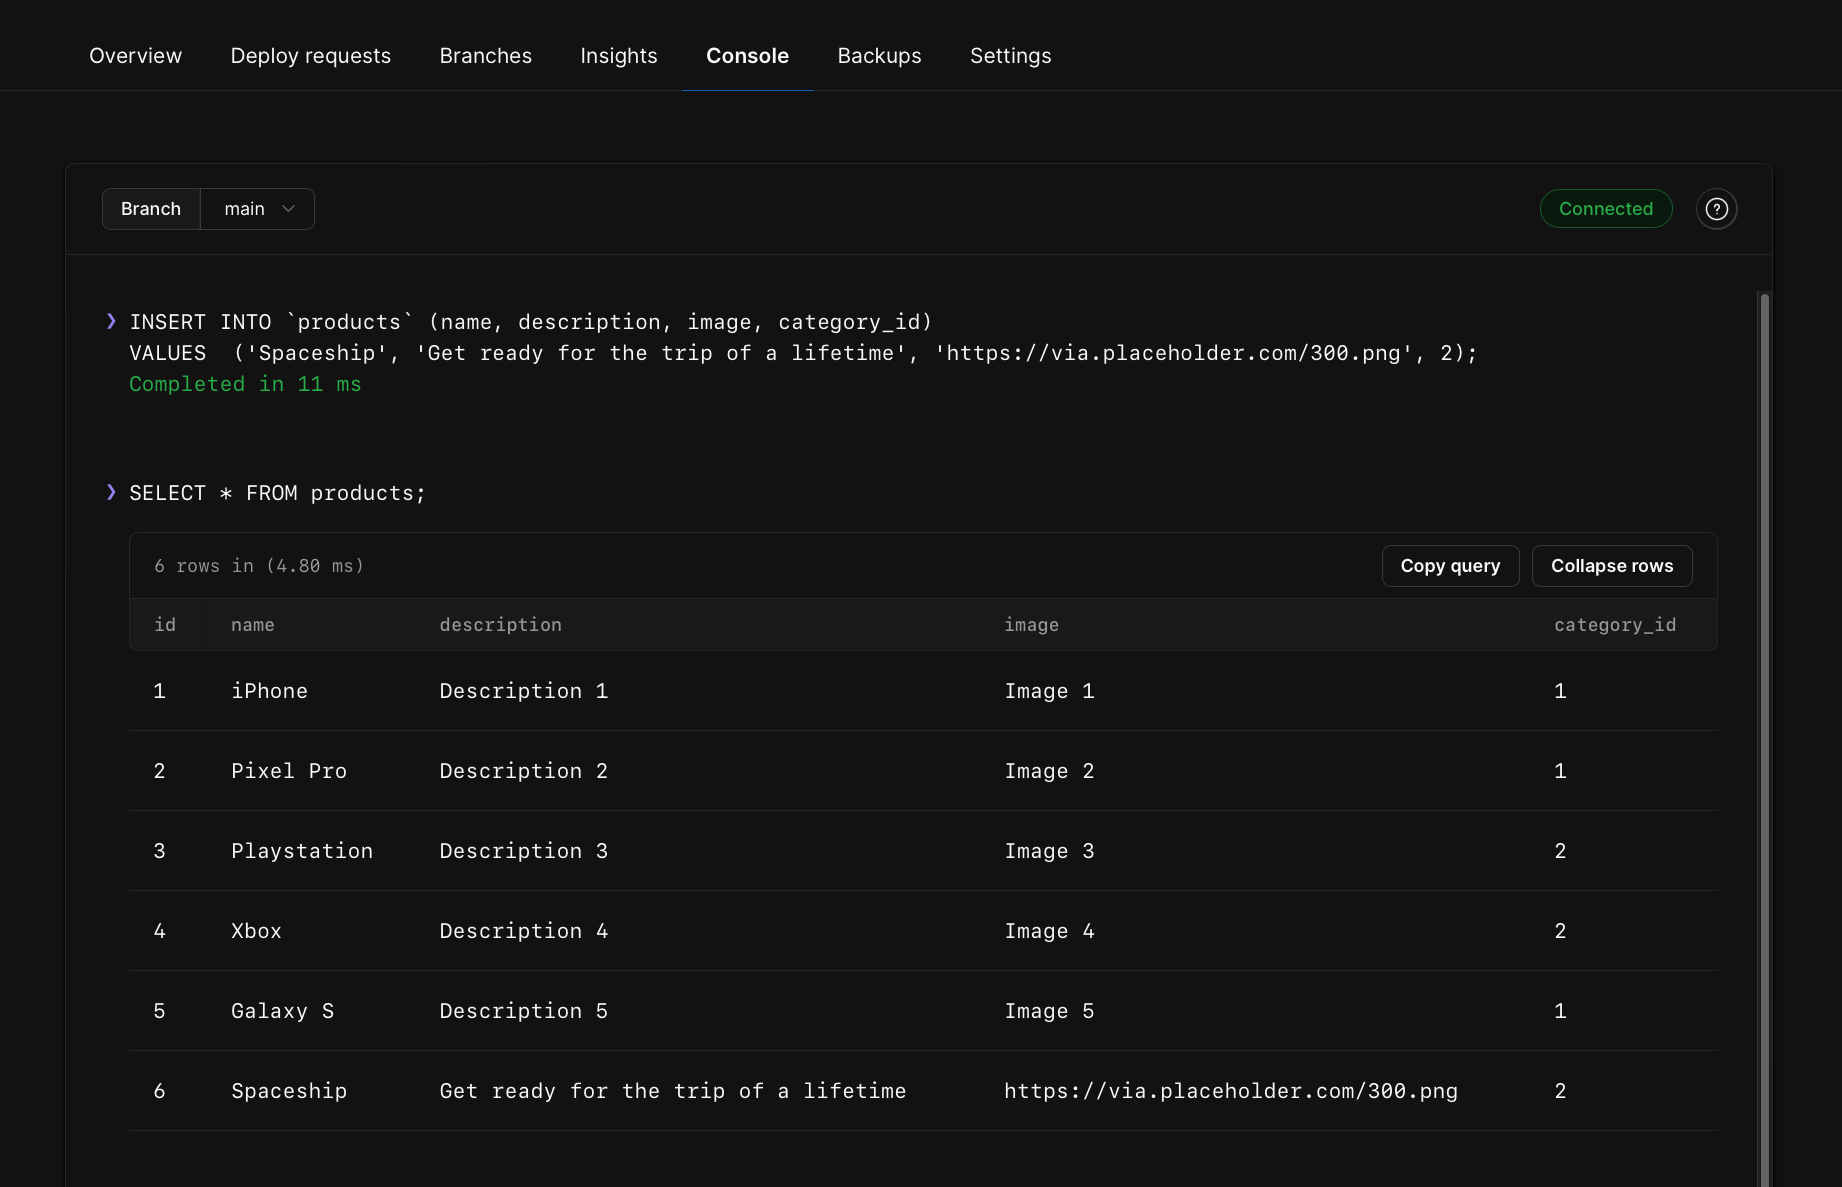 Go to your [PlanetScale dashboard](https://app.planetscale.com) and select your Go database.
Click on "**Console**".
Select the `main` branch and click "**Connect**".
Add a new record to the `product` table with:
```sql theme={null}
INSERT INTO `products` (name, description, image, category_id)
VALUES ('Spaceship', 'Get ready for the trip of a lifetime', 'https://via.placeholder.com/300.png', 2);
```
You can confirm that it was added by running:
```sql theme={null}
SELECT * FROM products;
```
You can now refresh the [Go products page](http://localhost:8080/products) to see the new record.
## What's next?
Once you're done with initial development, you can enable [safe migrations](/vitess/schema-changes/safe-migrations) on your `main` production branch to protect it against direct schema changes and enable zero-downtime schema migrations.
When you're reading to make more schema changes, you'll [create a new branch](/vitess/schema-changes/branching) off of your production branch. Branching your database creates an isolated copy of your production schema so that you can easily test schema changes in development. Once you're happy with the changes, you'll open a [deploy request](/vitess/schema-changes/deploy-requests). This will generate a diff showing the changes that will be deployed, making it easy for your team to review.
Learn more about how PlanetScale allows you to make [non-blocking schema changes](/vitess/schema-changes) to your database tables without locking or causing downtime for production databases.
## Need help?
Get help from [the PlanetScale Support team](https://planetscale.com/contact?initial=support), or join our [Discord community](https://pscale.link/community) to see how others are using PlanetScale.
Go to your [PlanetScale dashboard](https://app.planetscale.com) and select your Go database.
Click on "**Console**".
Select the `main` branch and click "**Connect**".
Add a new record to the `product` table with:
```sql theme={null}
INSERT INTO `products` (name, description, image, category_id)
VALUES ('Spaceship', 'Get ready for the trip of a lifetime', 'https://via.placeholder.com/300.png', 2);
```
You can confirm that it was added by running:
```sql theme={null}
SELECT * FROM products;
```
You can now refresh the [Go products page](http://localhost:8080/products) to see the new record.
## What's next?
Once you're done with initial development, you can enable [safe migrations](/vitess/schema-changes/safe-migrations) on your `main` production branch to protect it against direct schema changes and enable zero-downtime schema migrations.
When you're reading to make more schema changes, you'll [create a new branch](/vitess/schema-changes/branching) off of your production branch. Branching your database creates an isolated copy of your production schema so that you can easily test schema changes in development. Once you're happy with the changes, you'll open a [deploy request](/vitess/schema-changes/deploy-requests). This will generate a diff showing the changes that will be deployed, making it easy for your team to review.
Learn more about how PlanetScale allows you to make [non-blocking schema changes](/vitess/schema-changes) to your database tables without locking or causing downtime for production databases.
## Need help?
Get help from [the PlanetScale Support team](https://planetscale.com/contact?initial=support), or join our [Discord community](https://pscale.link/community) to see how others are using PlanetScale.